Hey guys, my name is Riven Phoenix and welcome to the Structure of Man Learn to Draw the
Human Figure from your Mind Training Course.
So in this course, what my job is to get you to be able to draw the human figure from
your mind in any angle and any pose that you want by going through a step-by-step process
where you can slowly build up the knowledge that you need to know to be able to do that.
So drawing the figure from your mind has been a really a lifelong dream of mine and I've
studied at the School of Visual Arts and the Connecticut Institute of Art and I've
been teaching art for over 20 years.

So in these lessons, I'm going to be sharing with you 20 years of knowledge and understanding
everything that is to know about the human figure and how to get the student to go through
the step-by-step process where they can grasp the knowledge in the small micro bursts

and build on top of them enough information to be able to do that.
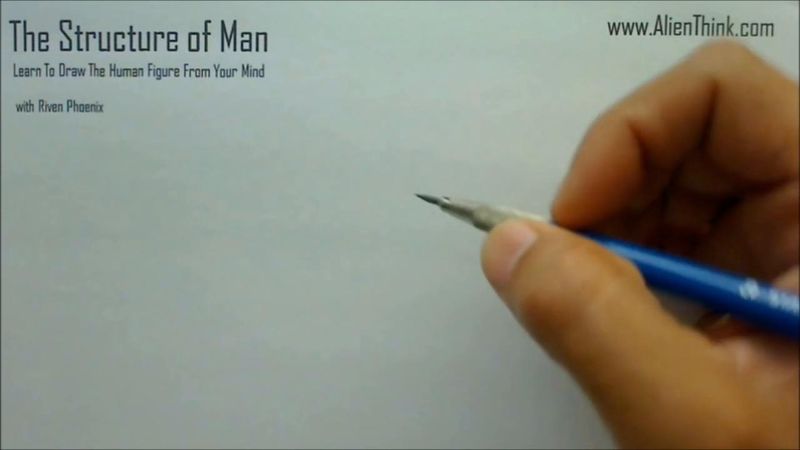
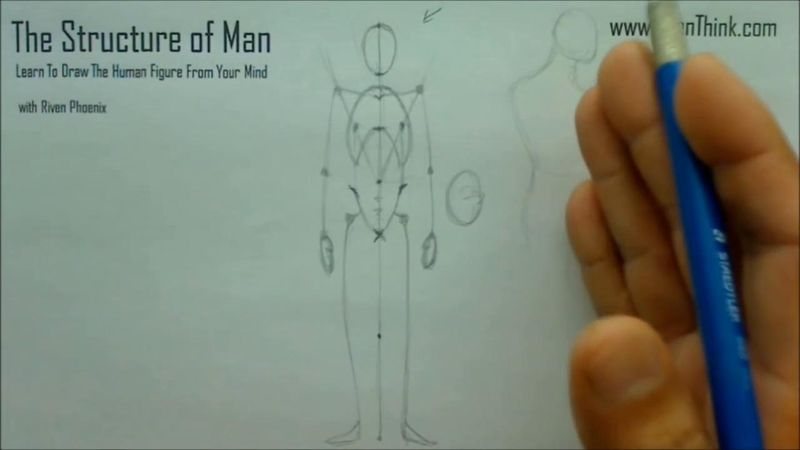
For these videos, what you're going to need is just a regular pencil.
So here I'm just using a lead holder but this is an HB pencil and you also want to use
a needed eraser.
This pencil is really nothing more than a drafting tool which you can get really at any
store or any art store and it comes with its own sharpener.
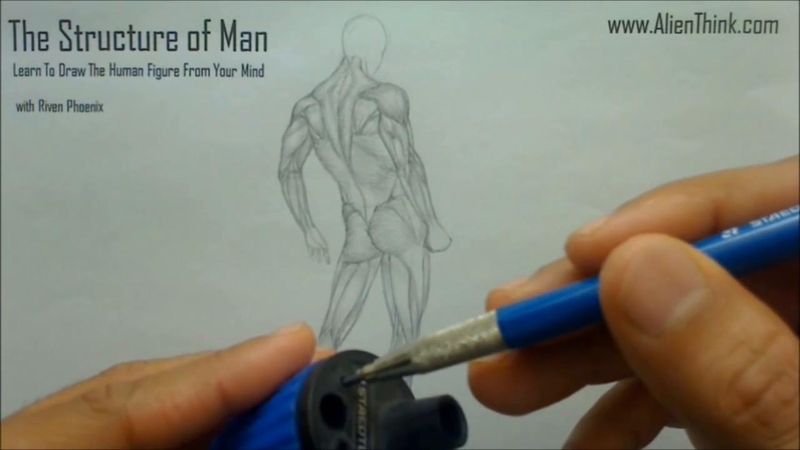
Basically you measure the lead in here, you put it in here and then you can sharpen your
lead.
So it's much more easier to maintain our sharper point.
So to begin this really fascinating journey as to how anyone can really develop this
ability to draw the figure from the mind, we have to start our journey by using a very
powerful concept and that is the concept of invention.
Right, so to explain this, what I'm going to do is just show you a very simple example.
I'm just going to put this to the side here.
So the concept of invention is very simple to understand.
So for example, let's say here I'm going to draw a very simple shape here, a diamond
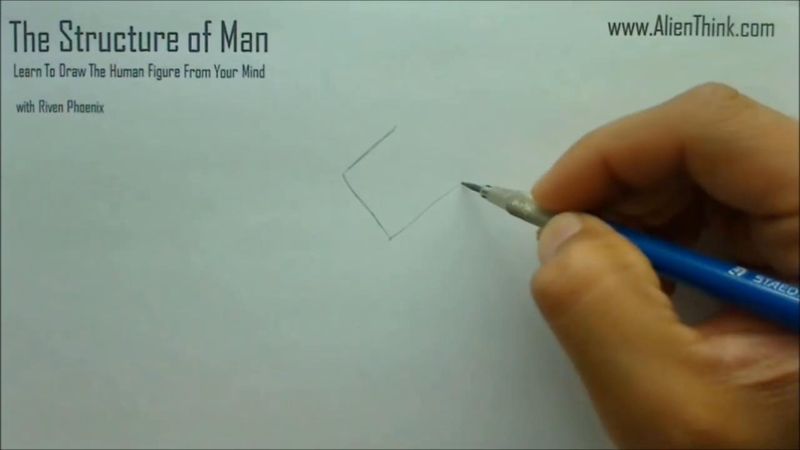
shape.
So in all these lessons, everything that I show you, you should be doing all the exercises
and you'll see that when you do the exercises, how you're understanding how your ability
to draw the figure will really increase by leaves and bounds.
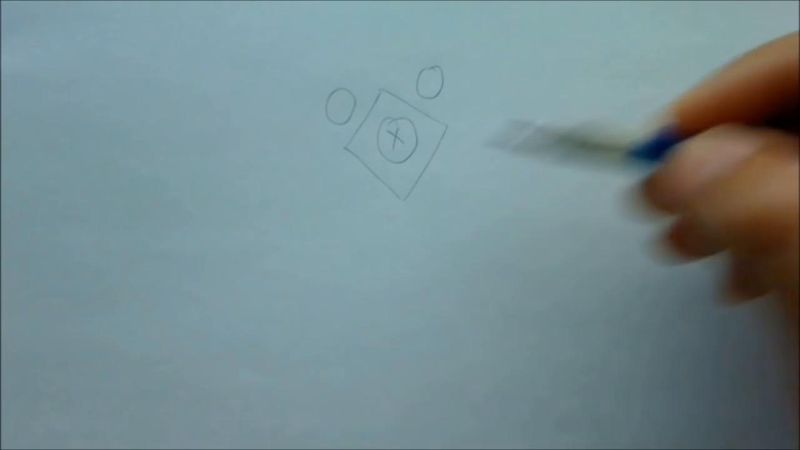
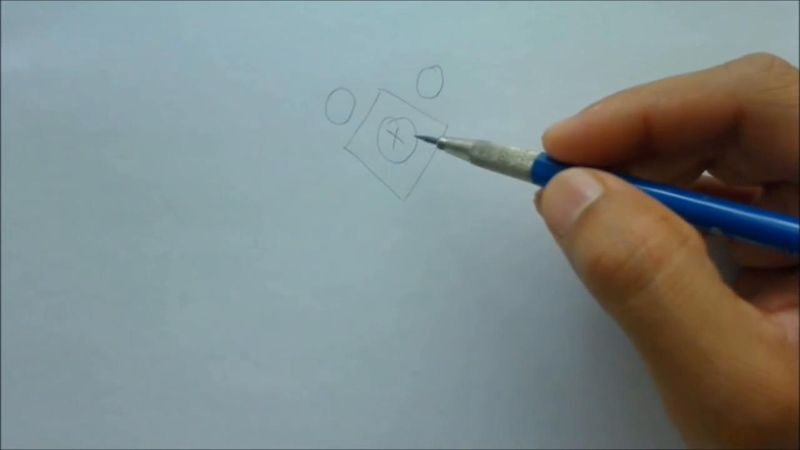
So here I'm just going to draw, let's say this diamond shape here and let's say here
I'm going to put two circles here, then I put another circle here and put an X over
here.
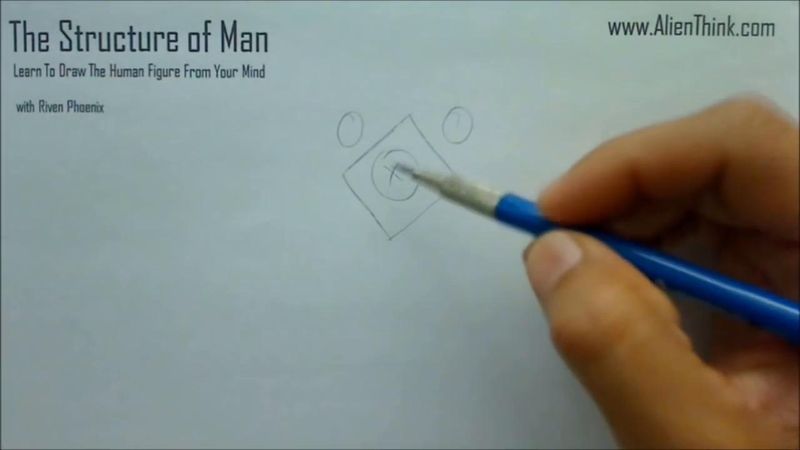
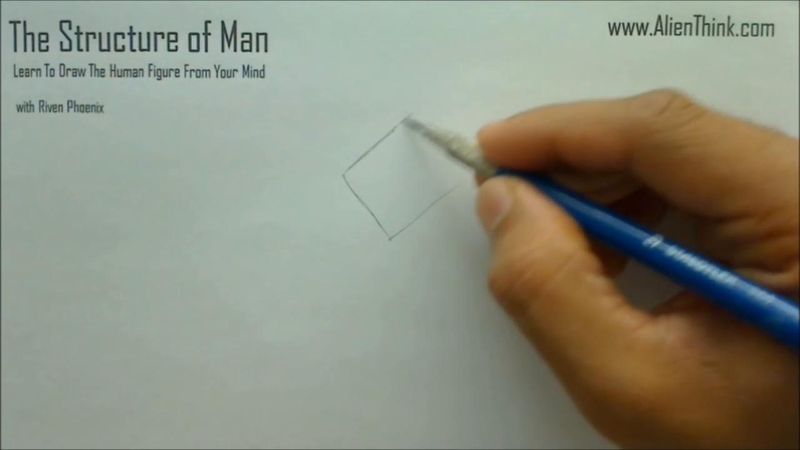
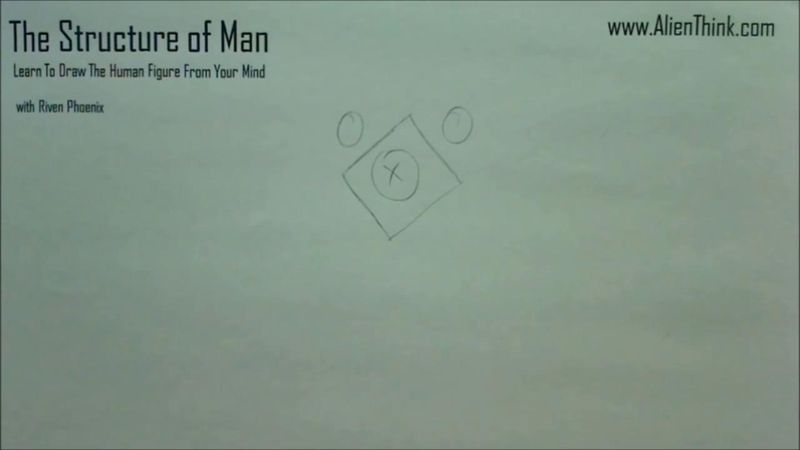
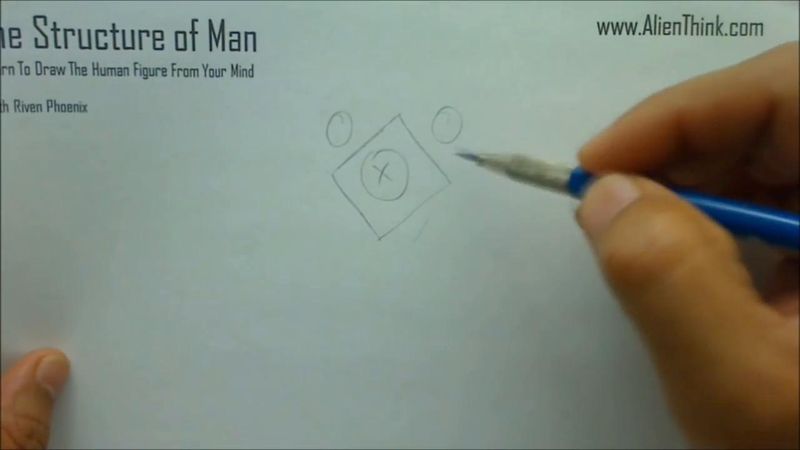
Right, so this is my first design, my first creation.
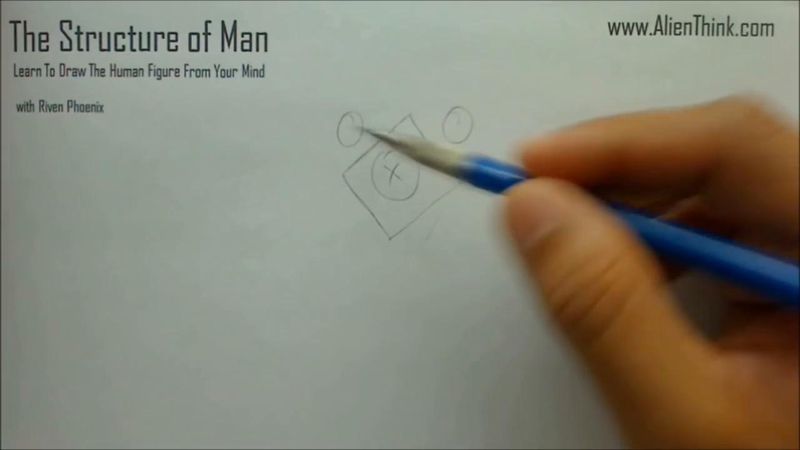
I created this completely for my mind and it has its own rules as to how everything is
put together.
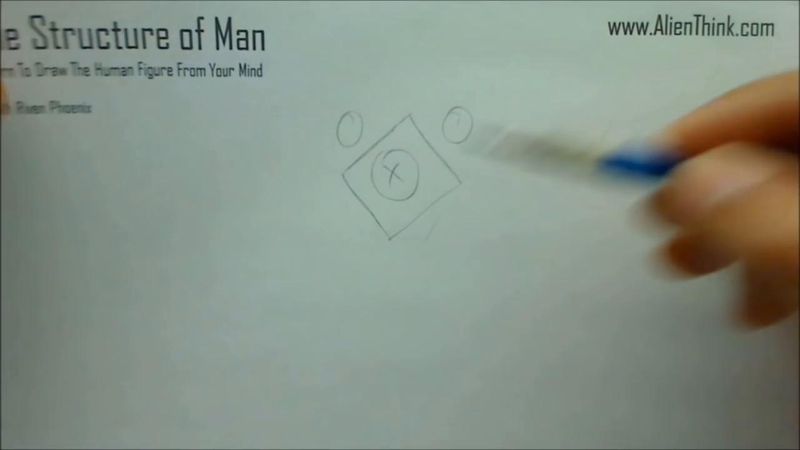
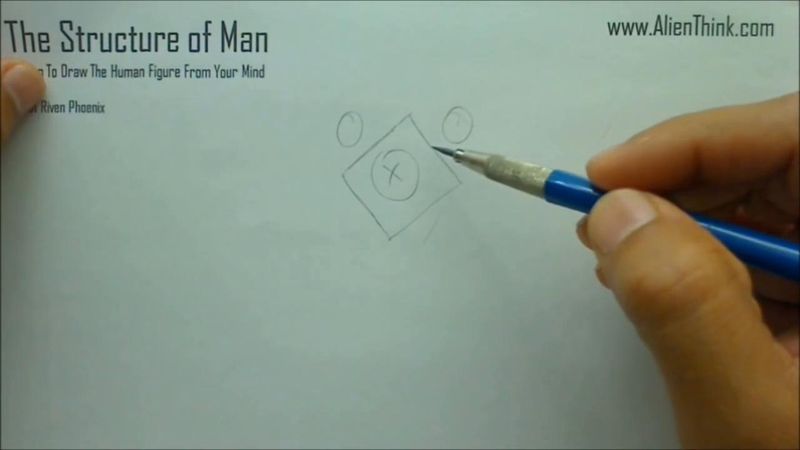
So obviously if I take this paper away and you ask me to draw that again, I can simply
draw it out very fast, right, in any style that I want, basically that's it.
And the reason I was able to reproduce this is because when I drew it first, I was its
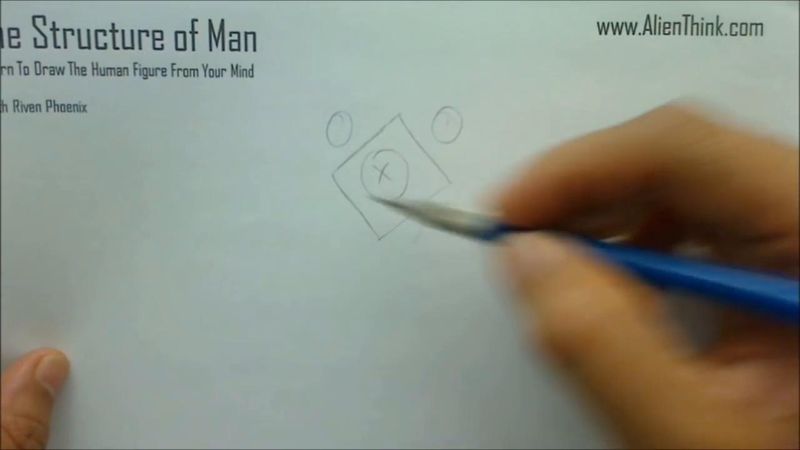
creator.
I decided all the rules.

So when I drew it again, I became its master automatically.
Right, so in figure drawing, we're going to be using the same concept in developing the

understanding needed for figure drawing.
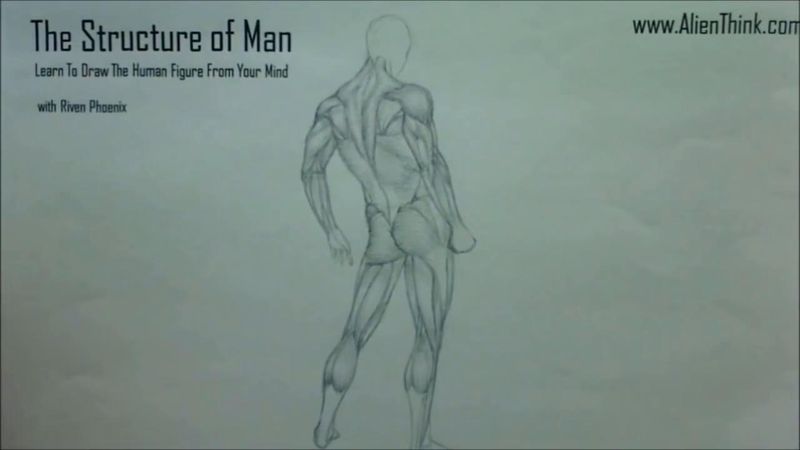
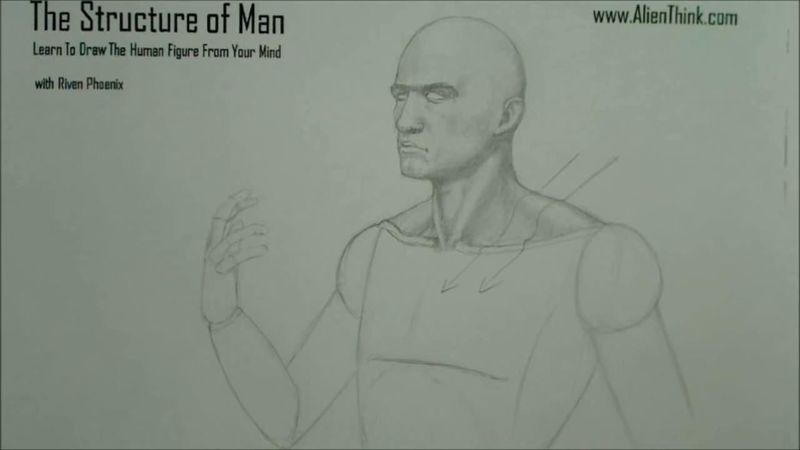
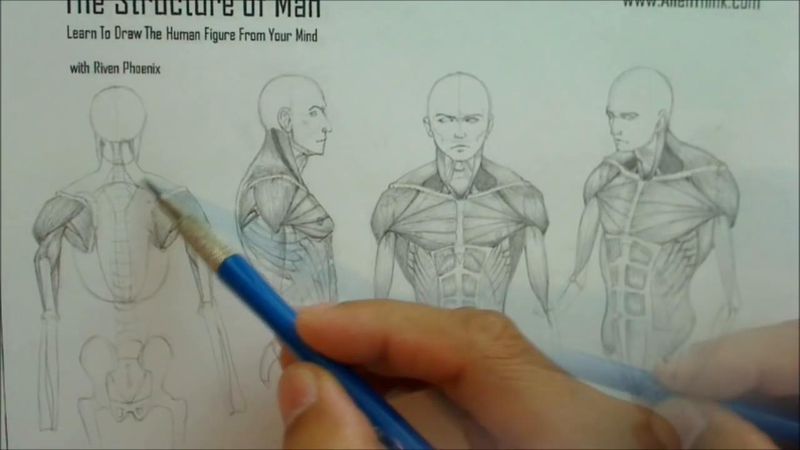
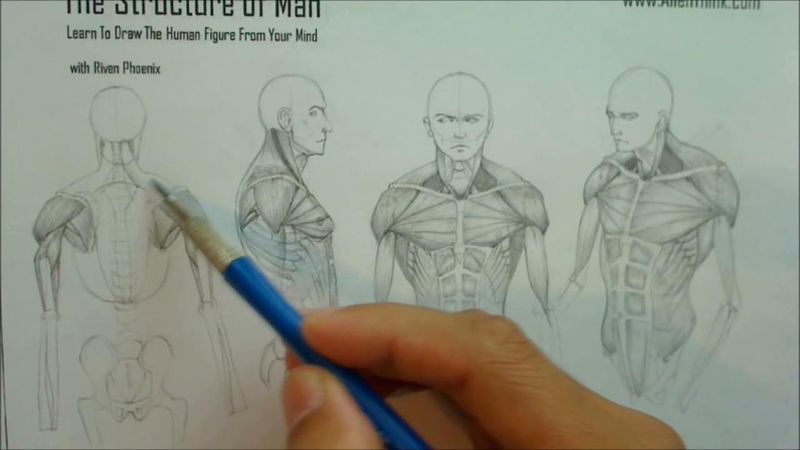
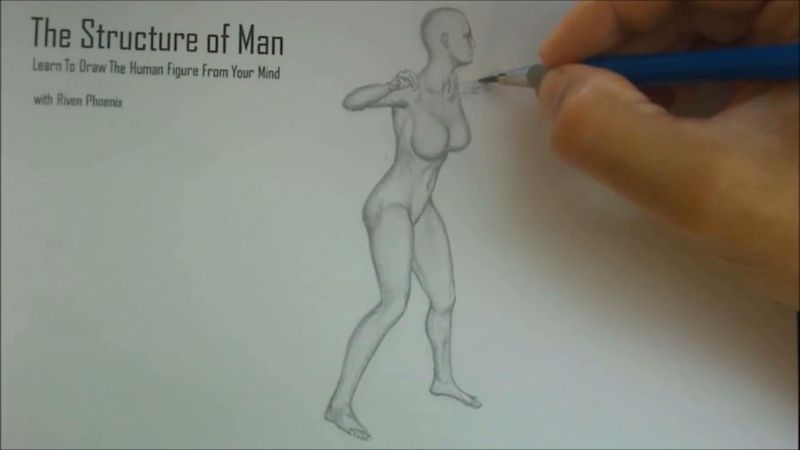
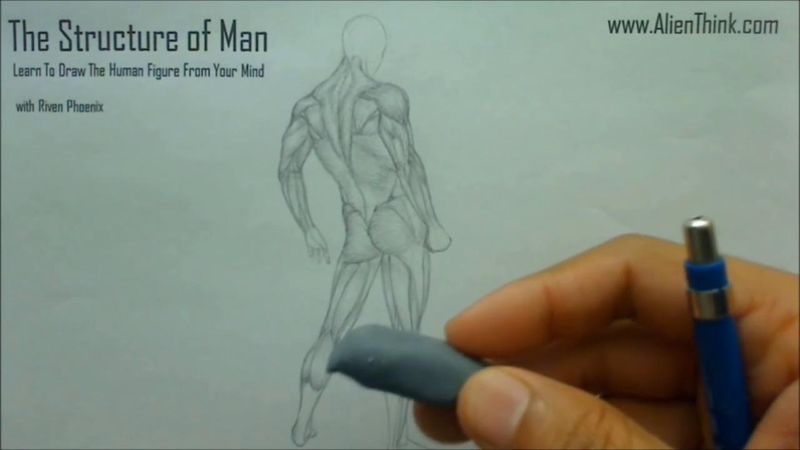
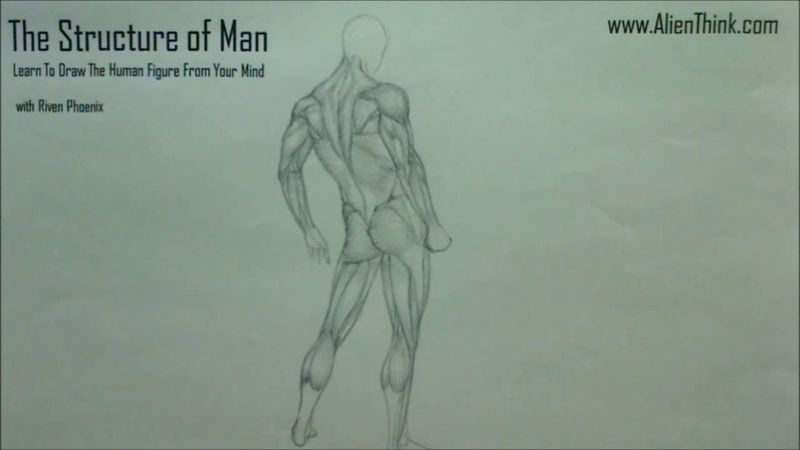
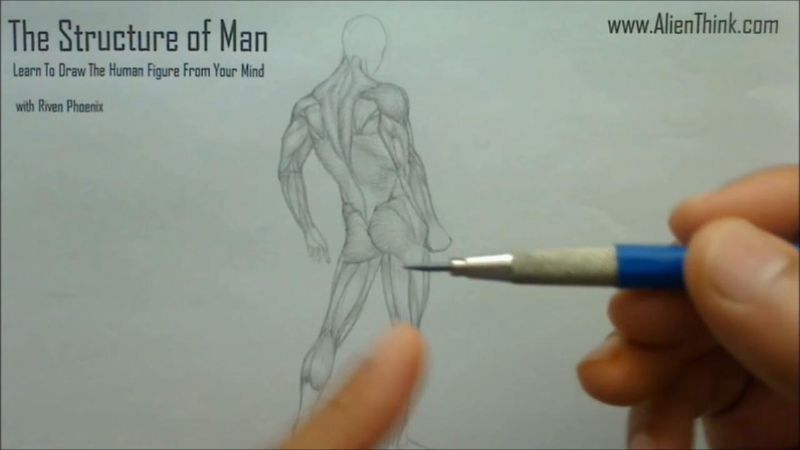
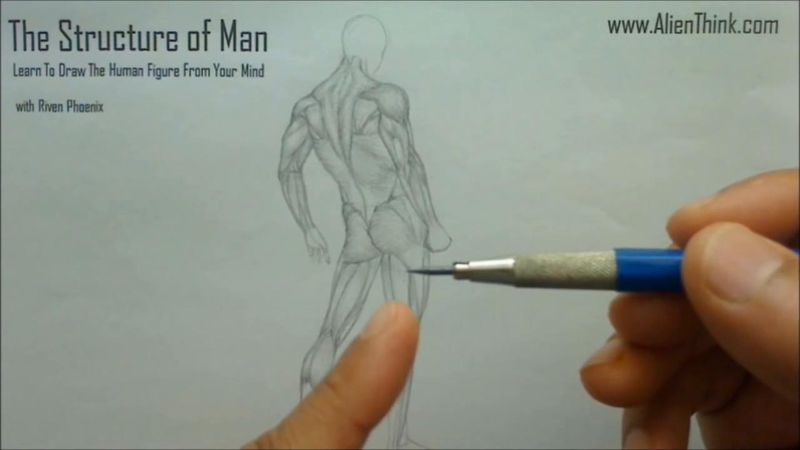
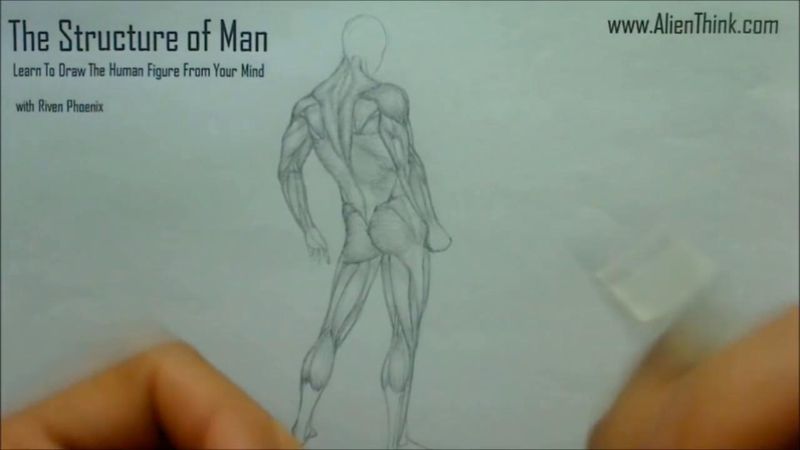
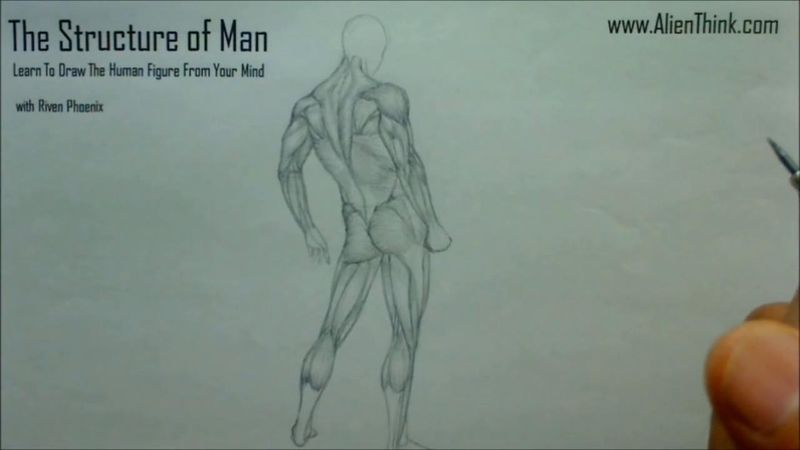
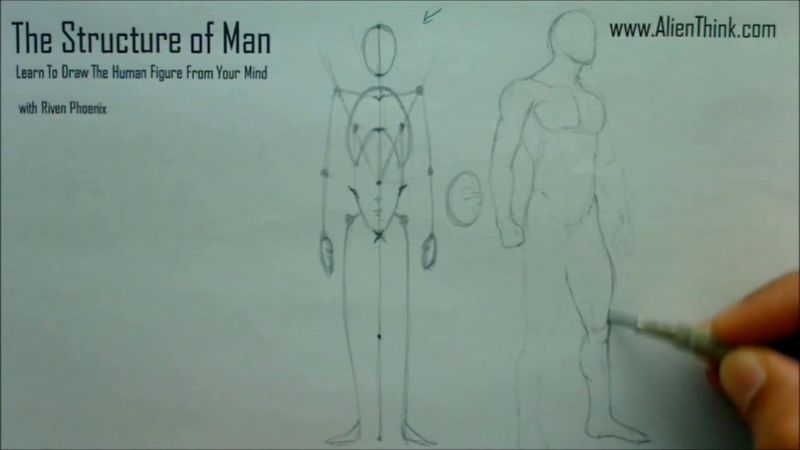
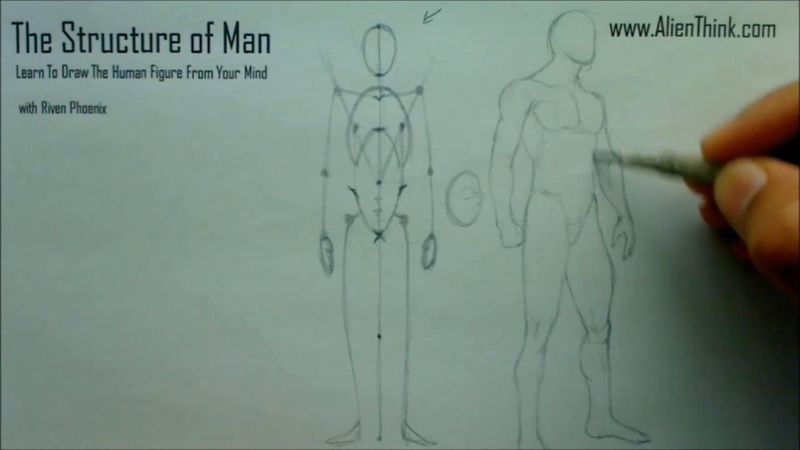
Right, so here is just a drawing here that I did completely from the mind where I'm
showing you how your understanding of the figure will increase where you can understand

how all the muscles wrap around each other.
So the first exercise is that we want to do a very simple idea here and that is we

have to invent the human figure completely from scratch.
So what this means is we need to throw out from our mind that the human figure ever
existed.
We're going to have to design this thing called the human figure and this is what's going
to allow us to understand it much more rapidly because we're going to just be the ones who
are going to decide what the rules are.
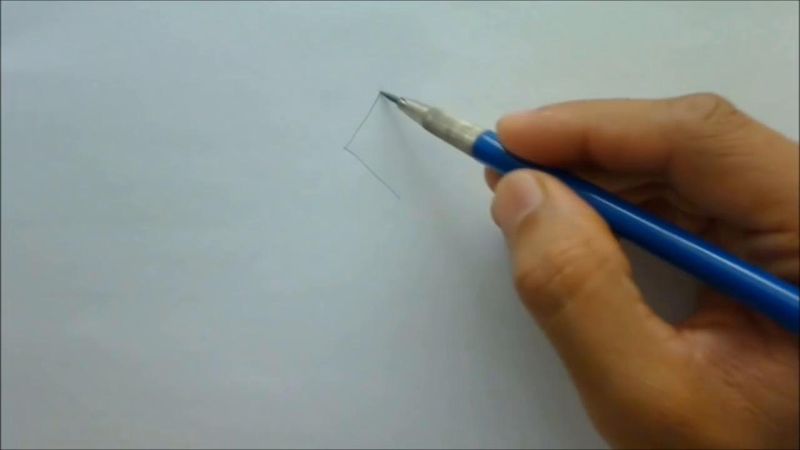
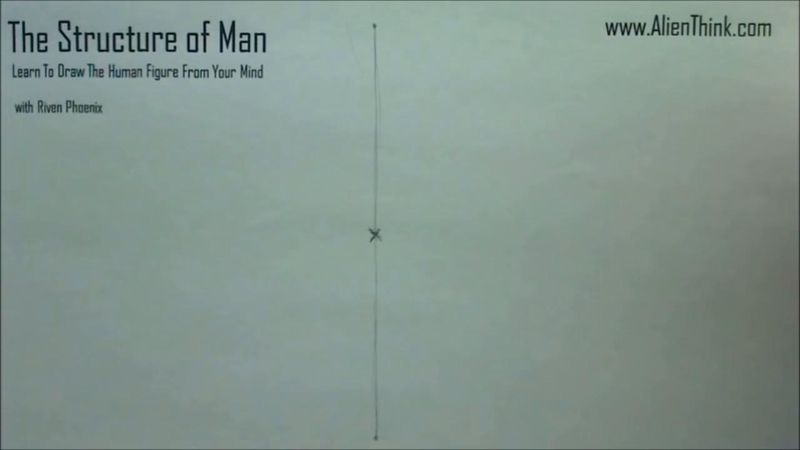
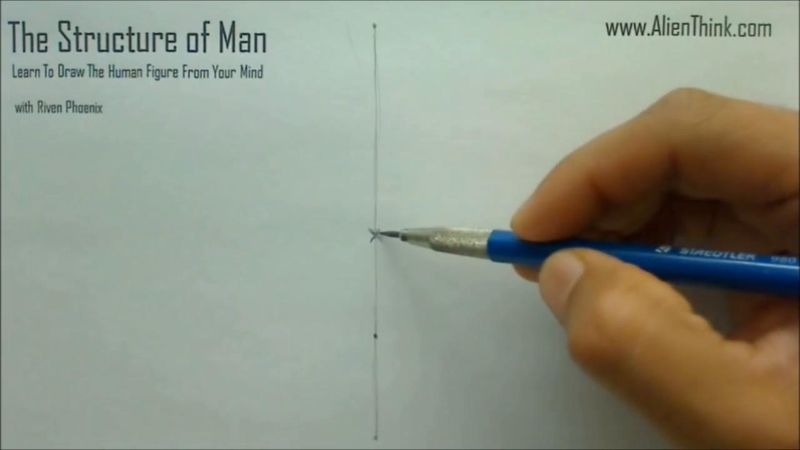
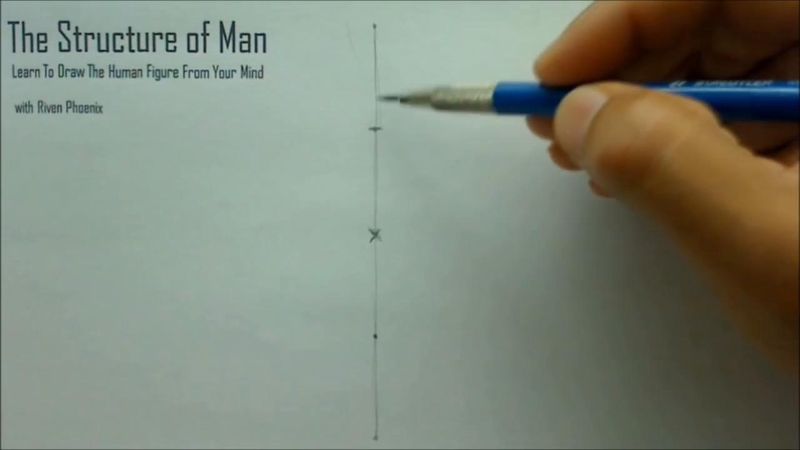
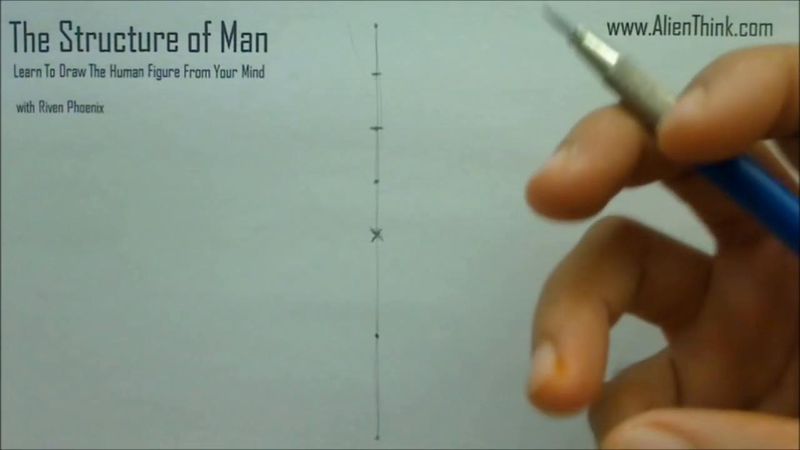
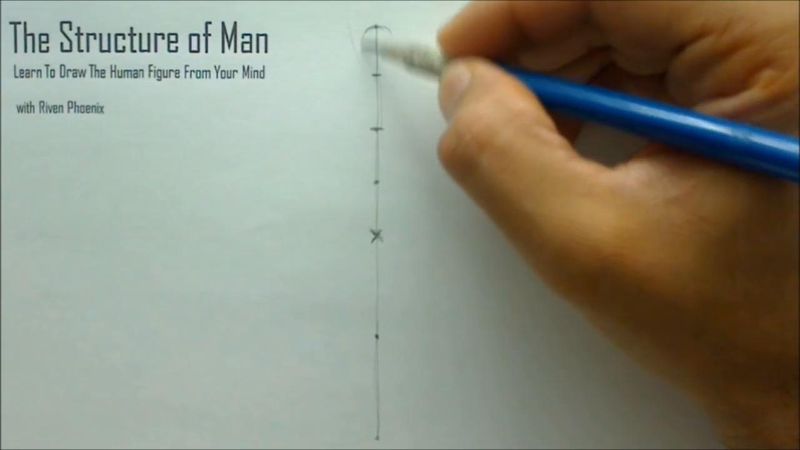
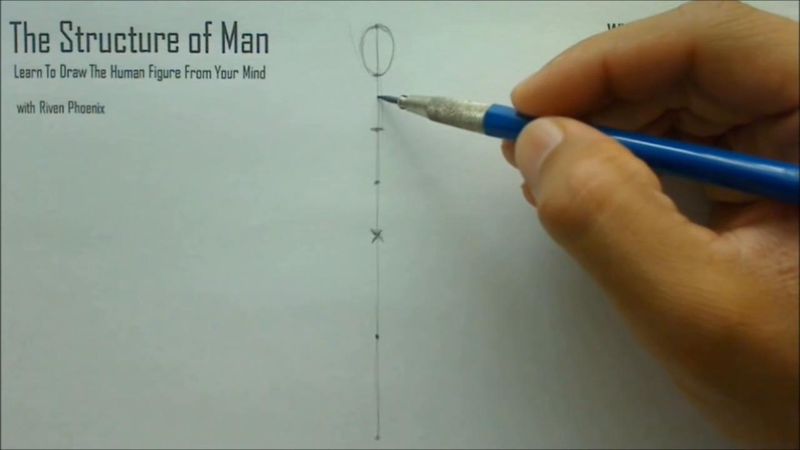
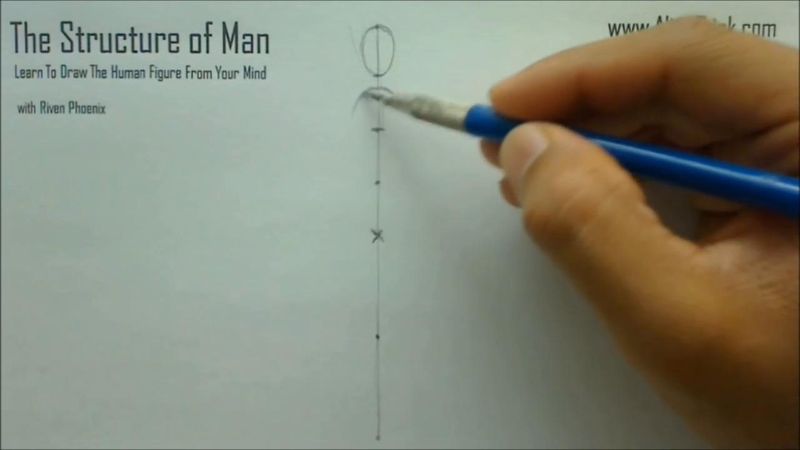
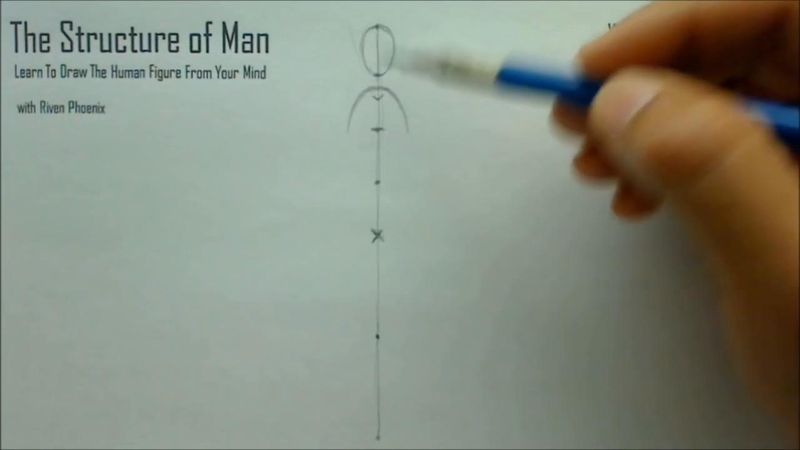
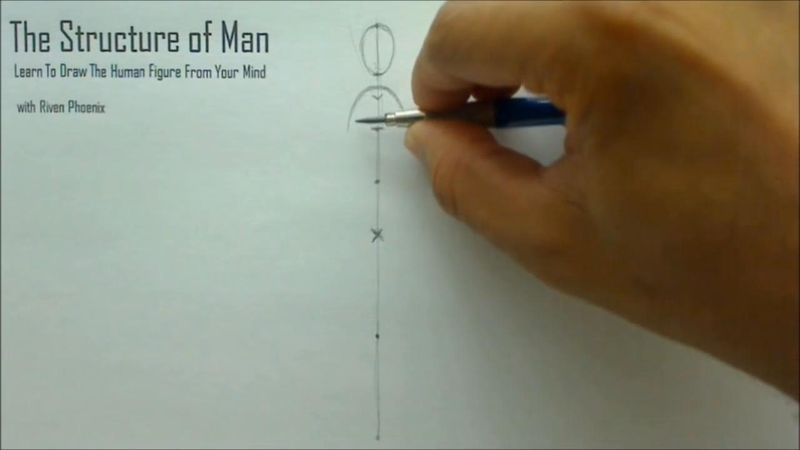
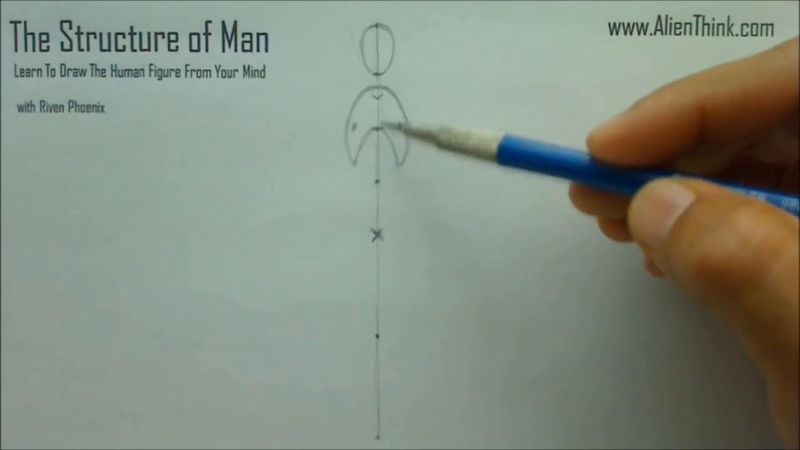
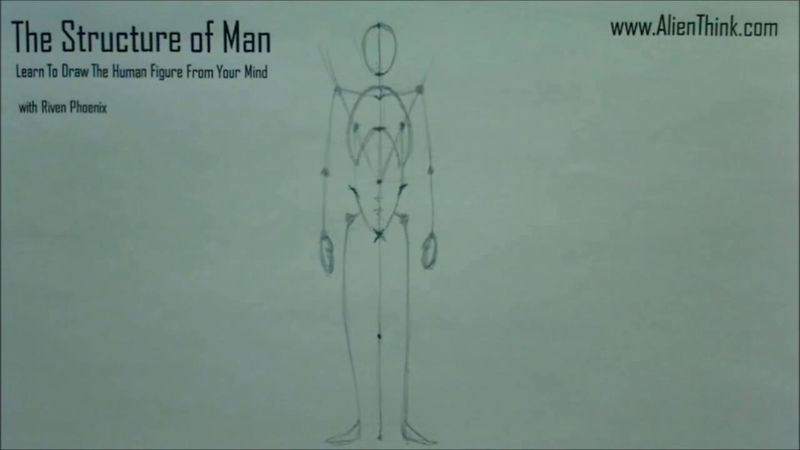
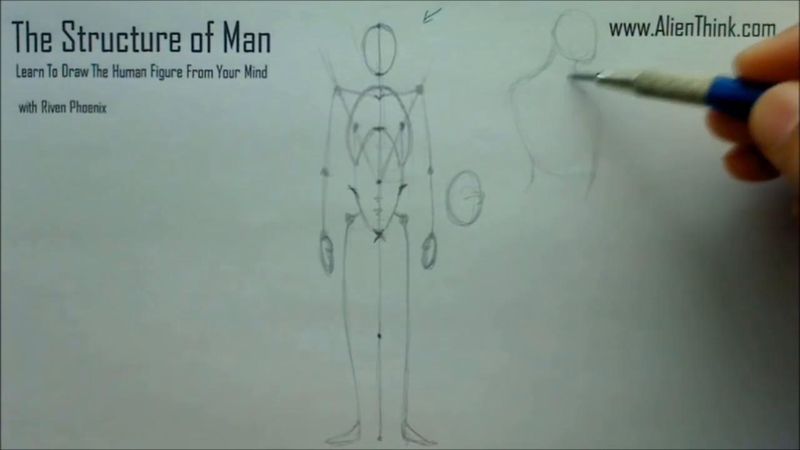
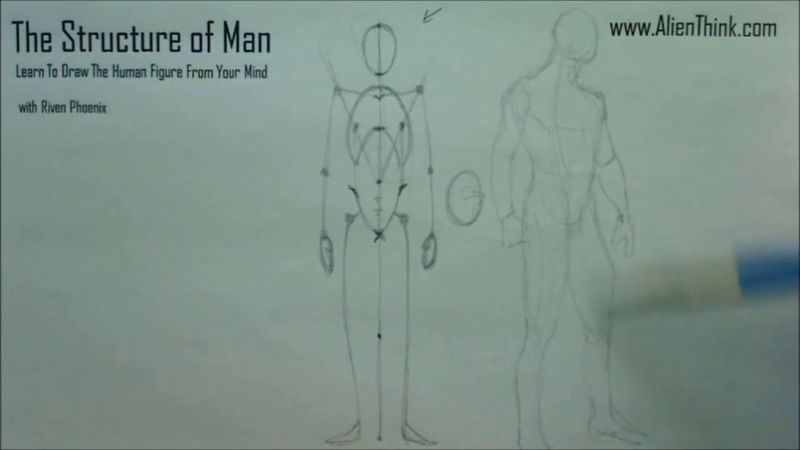
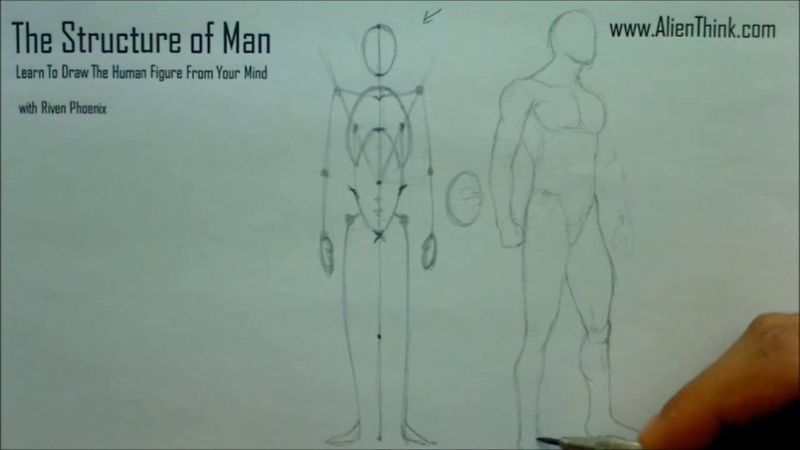
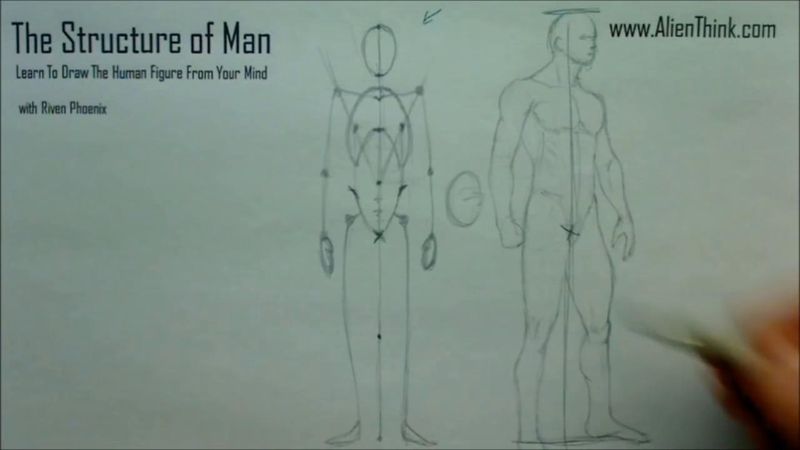
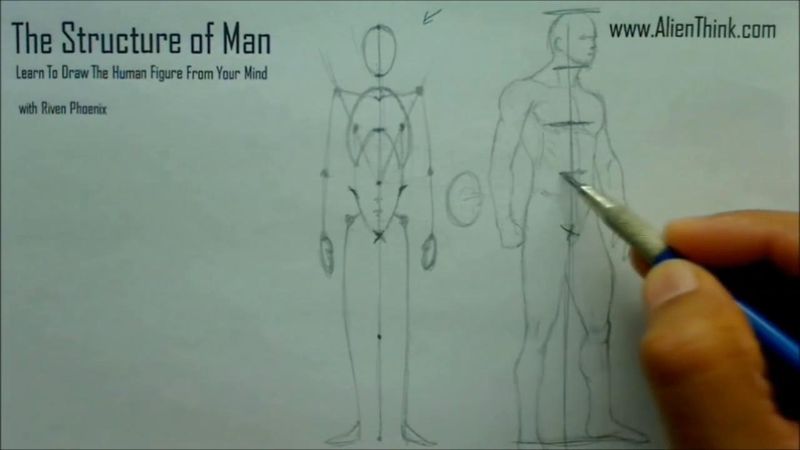
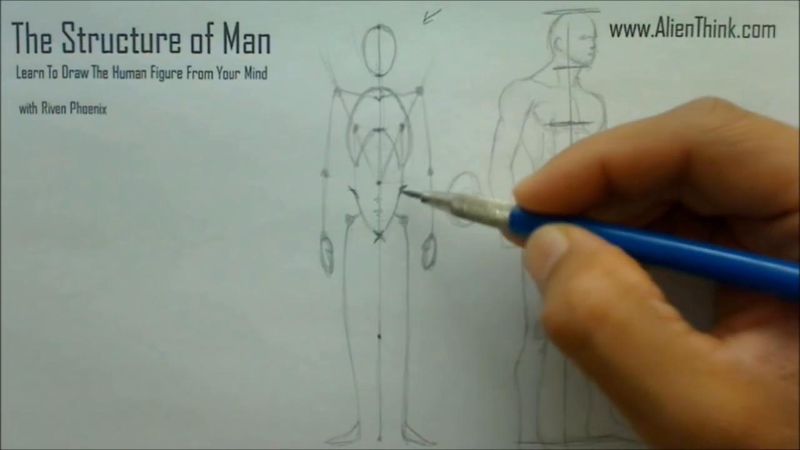
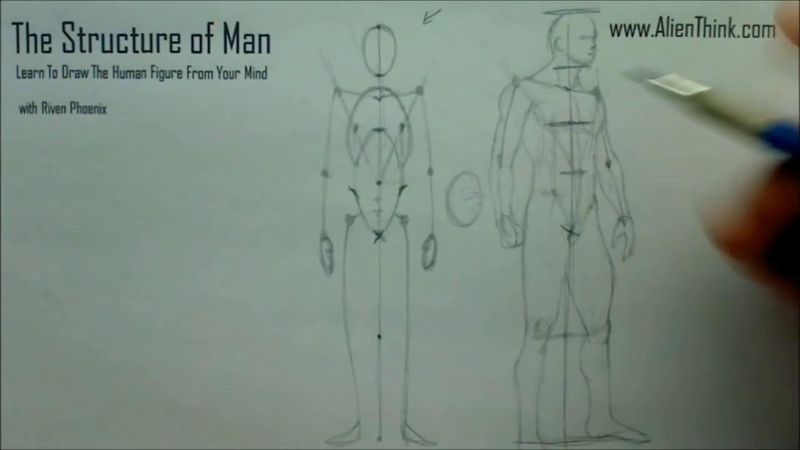
So for the first thing that we want to do here is I want you to draw a very simple line
here.
And what this is is going to be a very powerful toolkit that we are going to create here
to train the mind to understand a very fundamental concept of this invention of the human figure
that we are creating.

So this is like our first basic steps or blueprints to this design of this idea we have
of the human figure, just like this conceptual idea that we're coming up with.
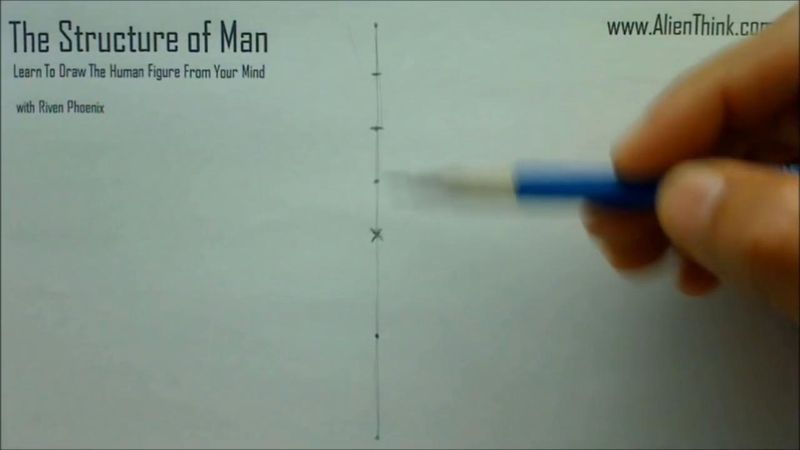
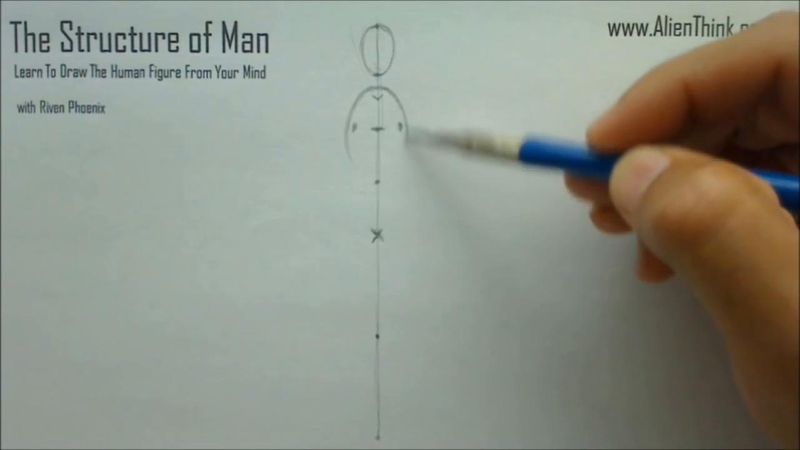
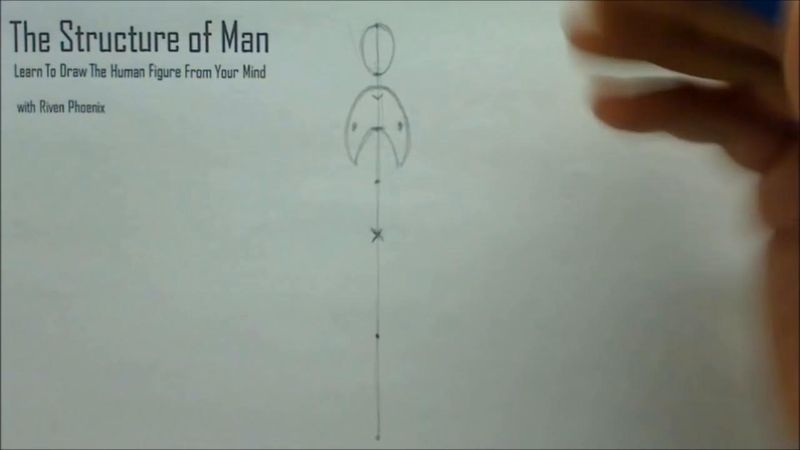
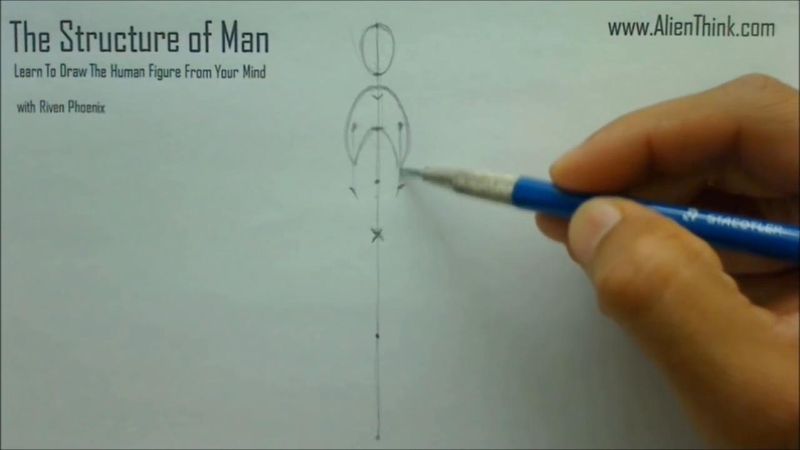
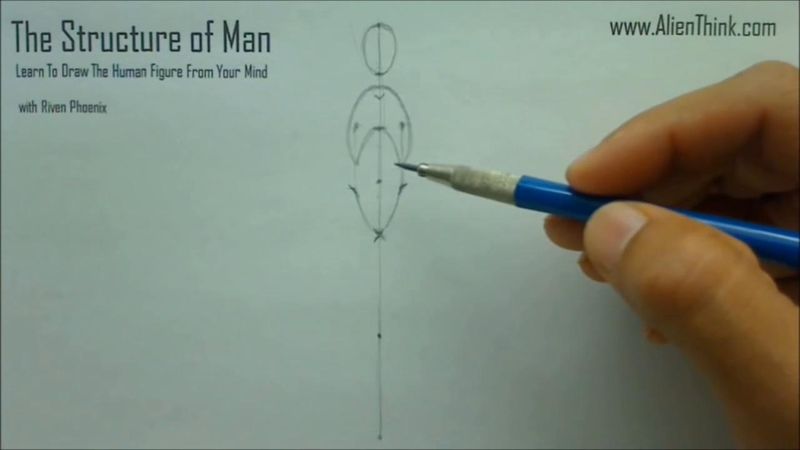
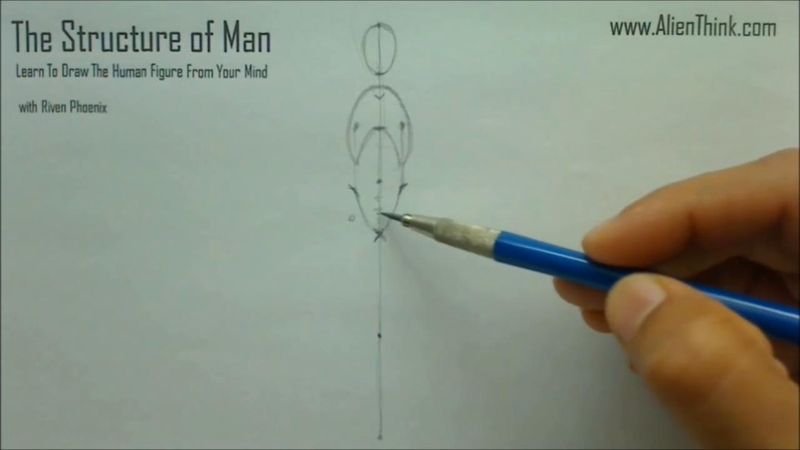
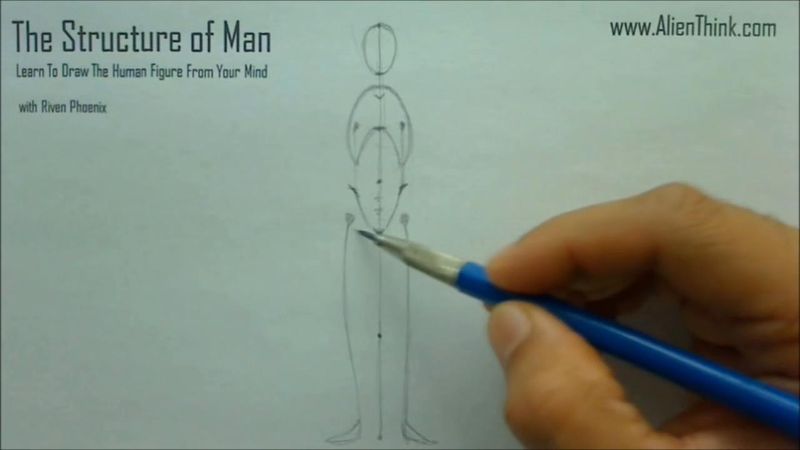
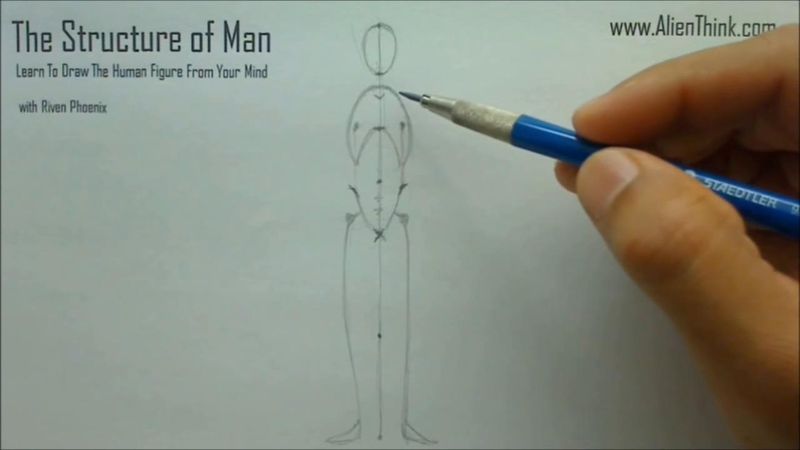
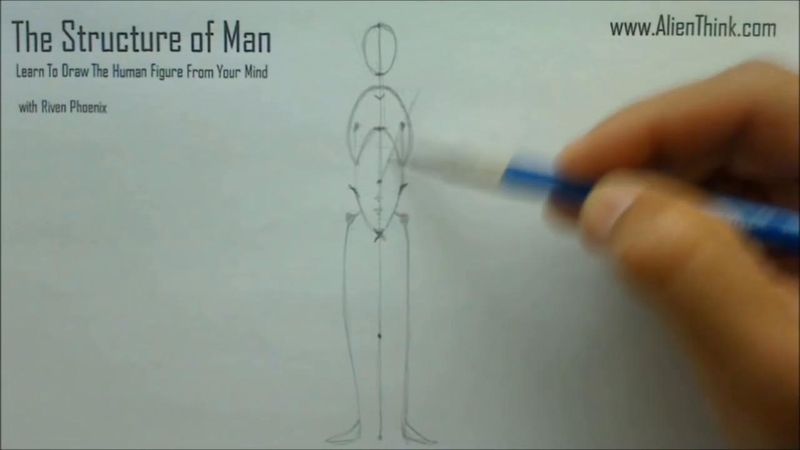
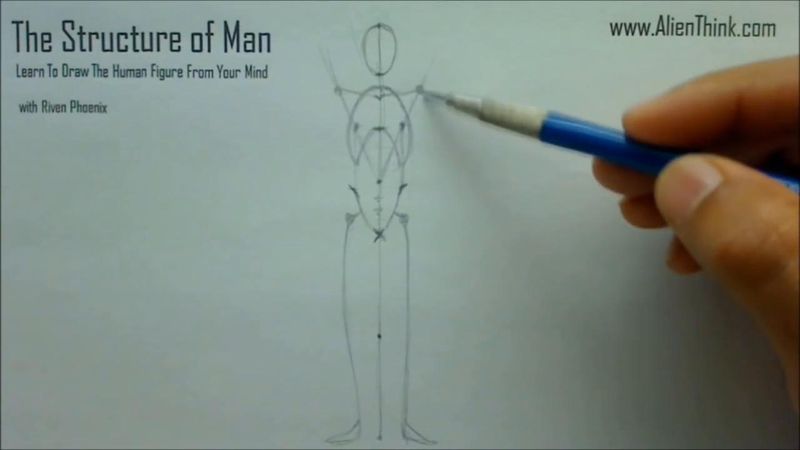
So in these rules, the first thing that we'll say that's okay, well, if we want to create
this invention, what we want to do is when we draw out the line, this gives us basically
the height for this invention.
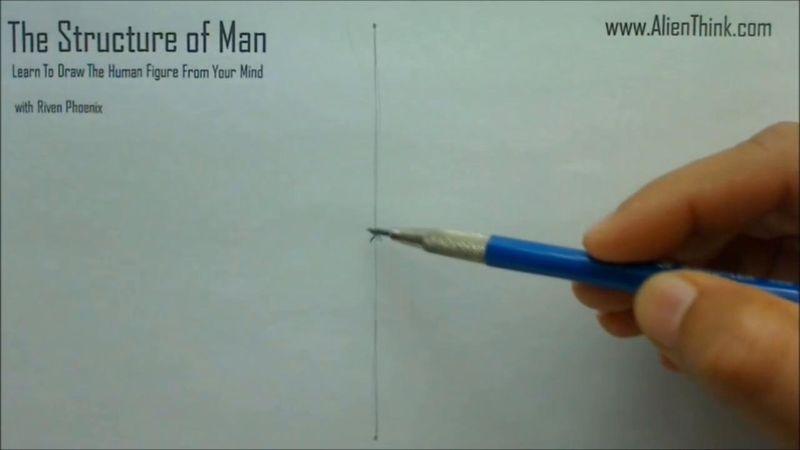
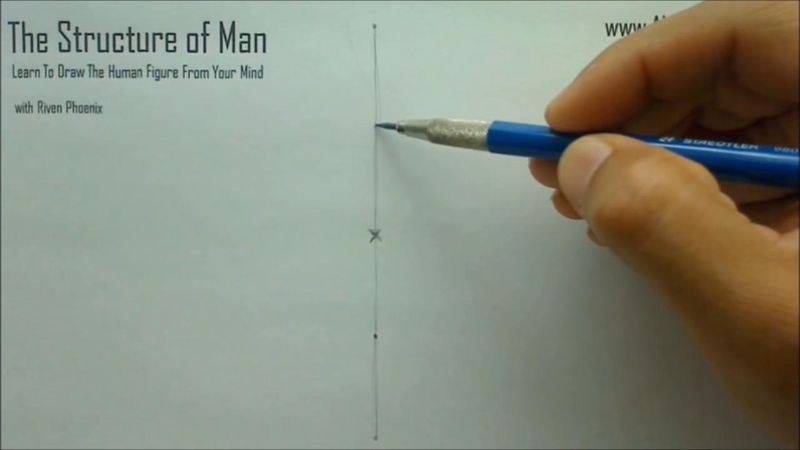
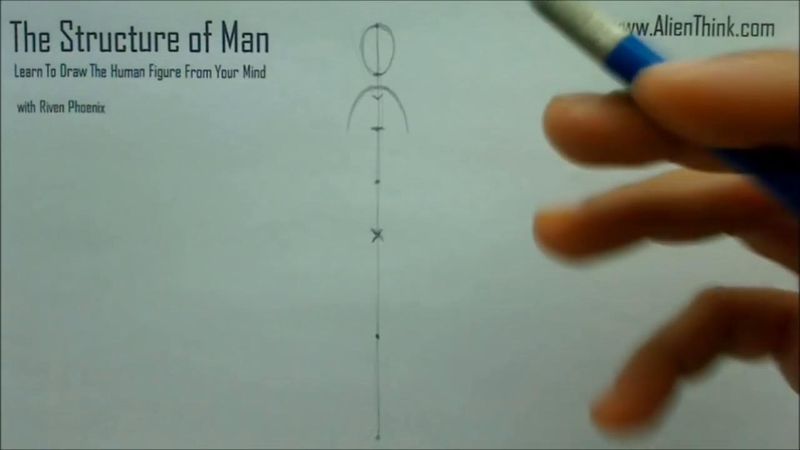
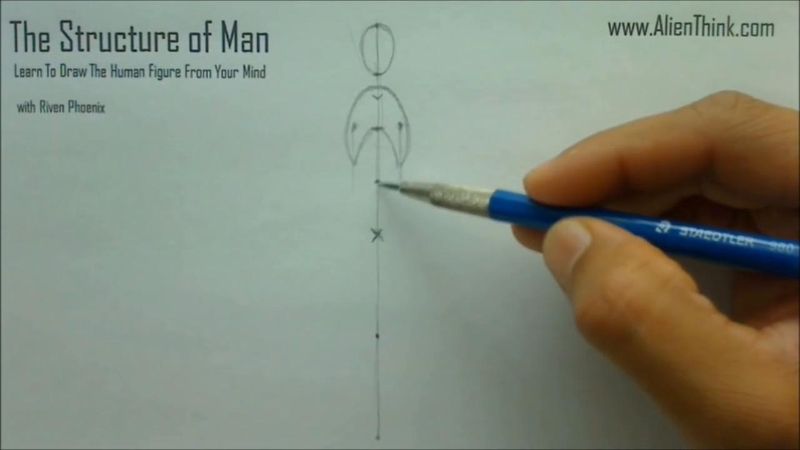
And then we want when we divide this line in half, right, we can just mark an X over
here.
And measure this with a pencil like this just to be more accurate, but you should be
able to just eyeball this.
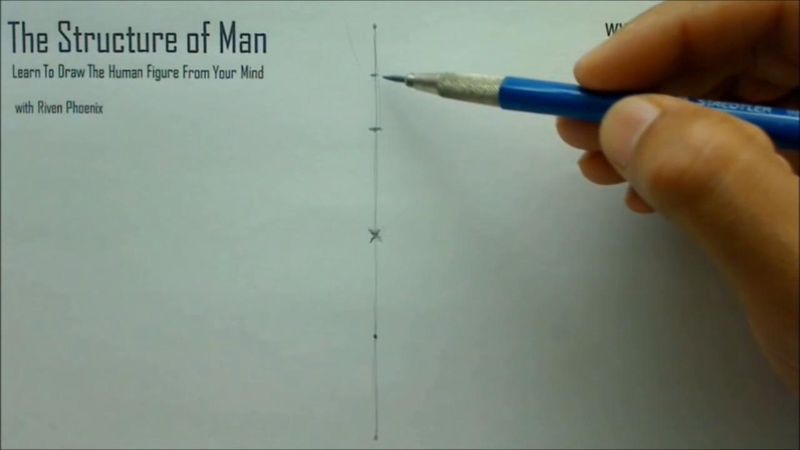
So this gives us the center of the figure.

So as soon as we mark the X over here in this line, this tells us automatically that this

is going to be the crotch area of this invention, right, the middle of the figure.

And this is a very secret formula that we're coming up with that will never change.
Every time, any time we deal with the height of our creation of a figure, regardless of
what type of character design we're doing, if we want it to look human-like, as soon as
we divide it in half with an X, it always marks the area for the crotch.
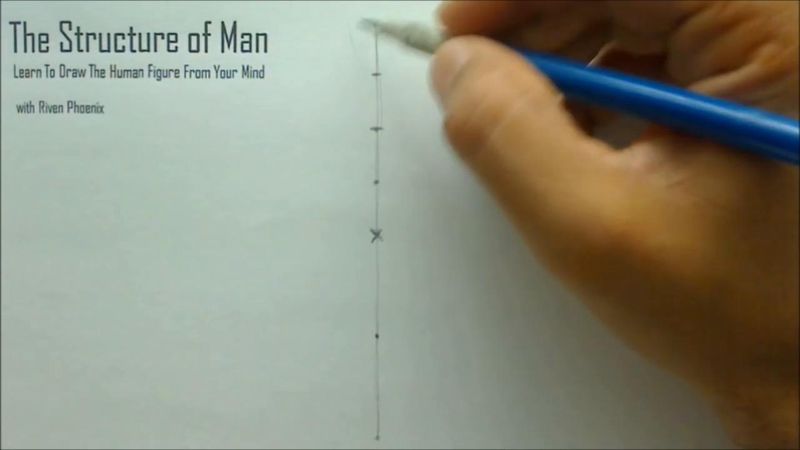
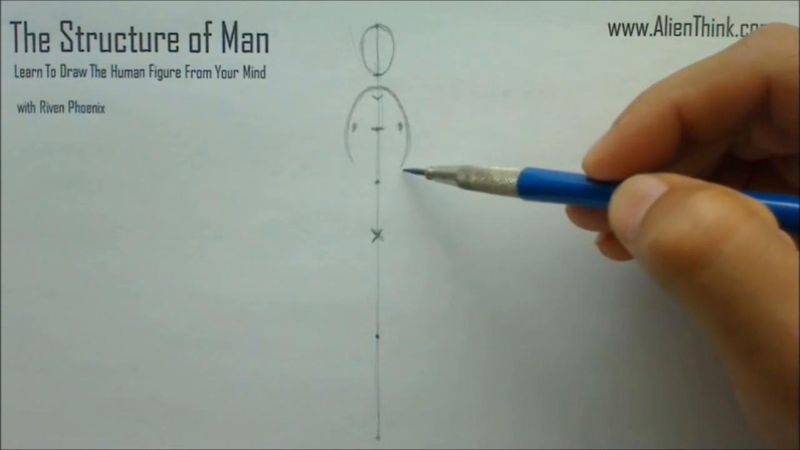
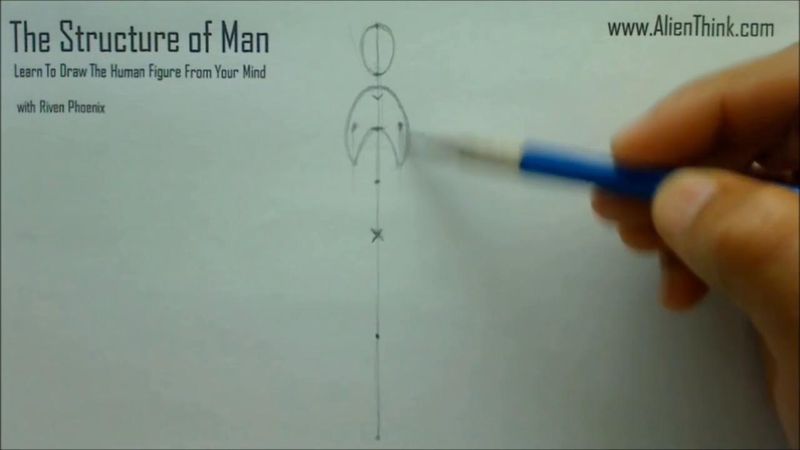
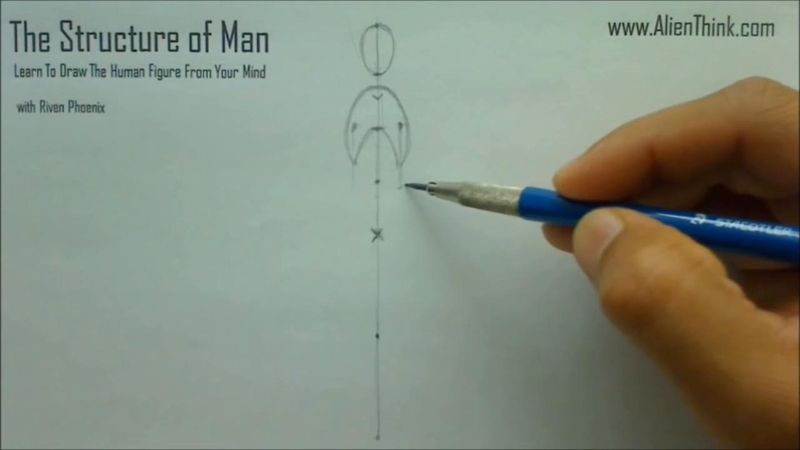
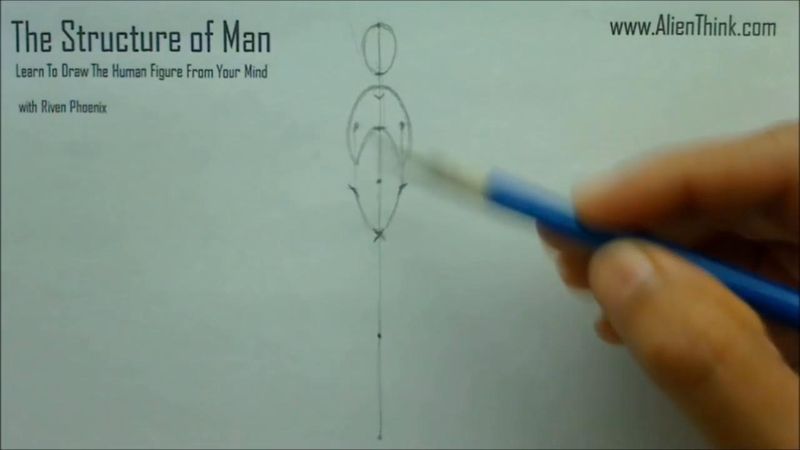
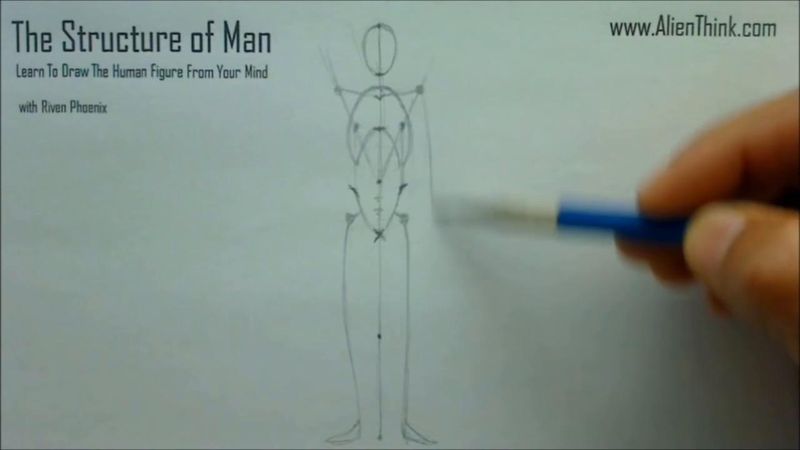
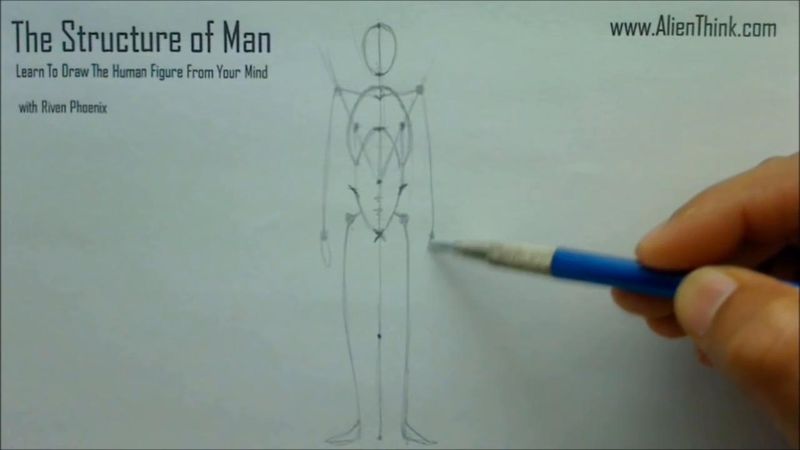
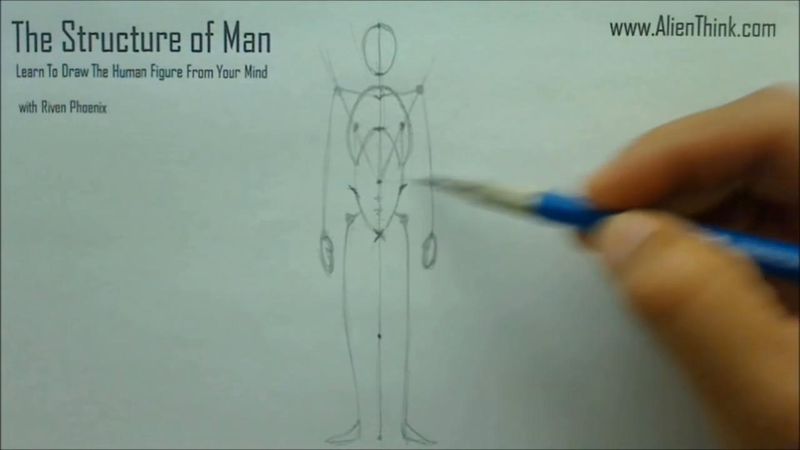
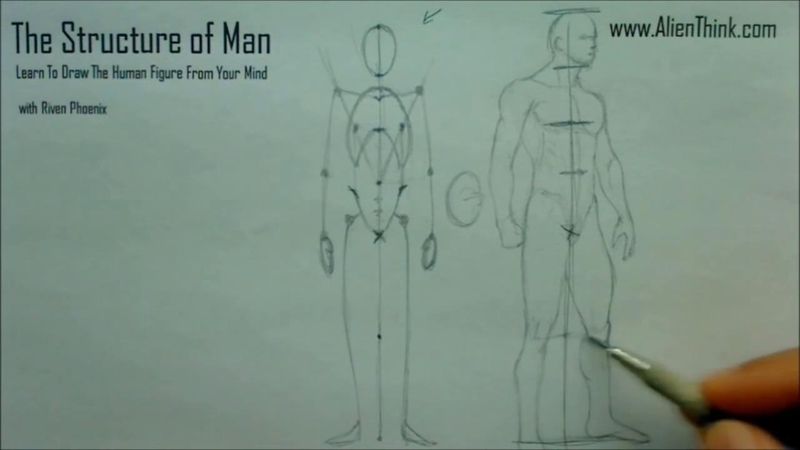
So when we now divide from the middle to the bottom, and we just mark a dot here, this
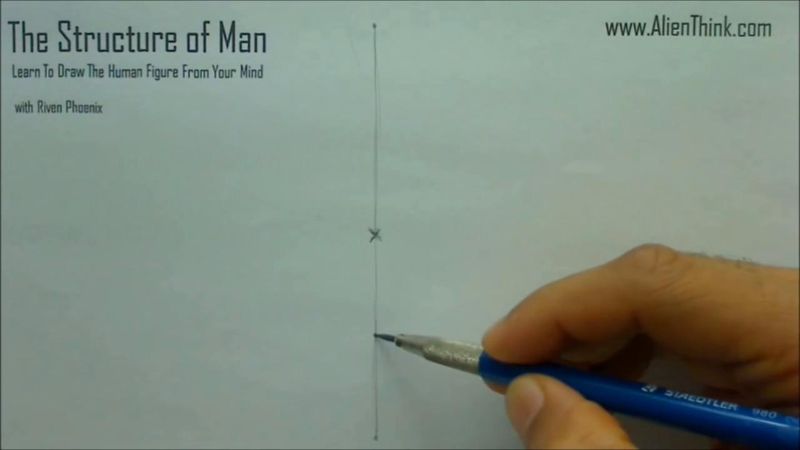
automatically will tell us that the knees will always be above this dot here.
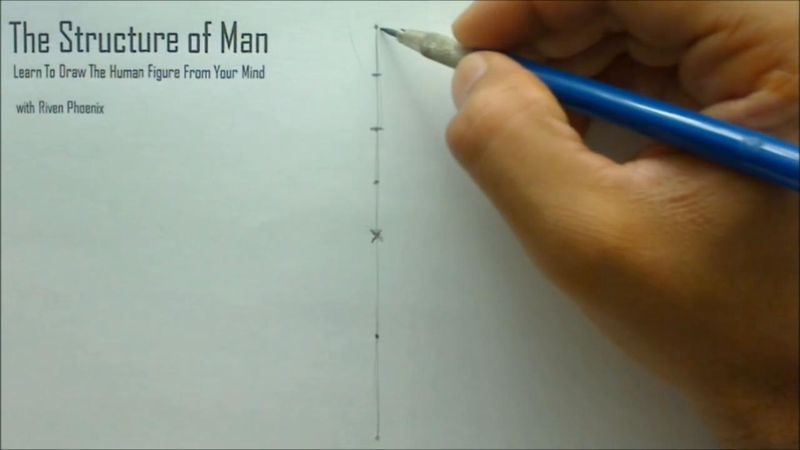
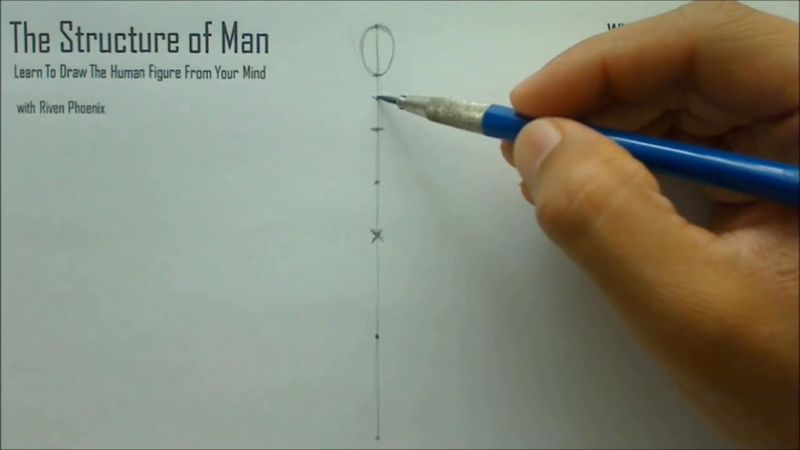
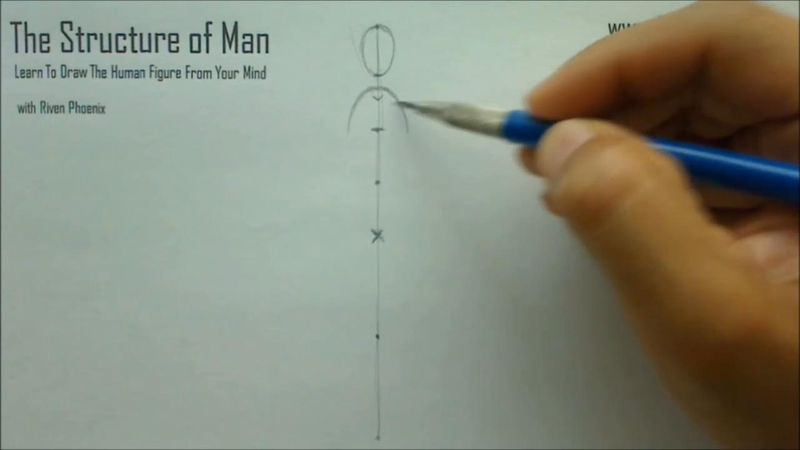
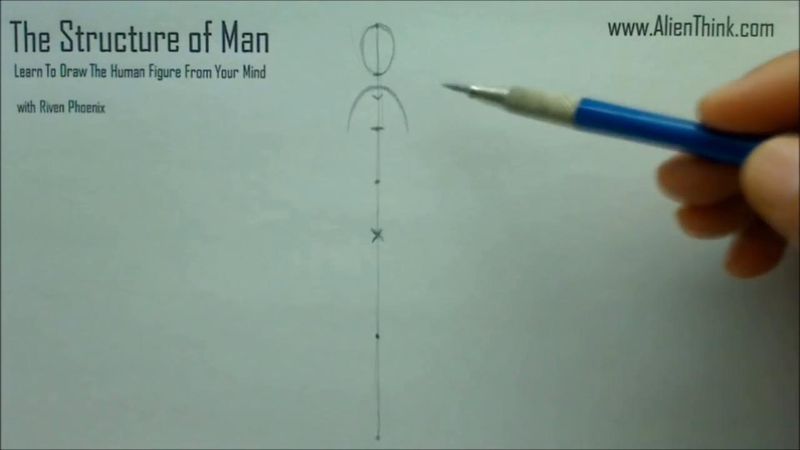
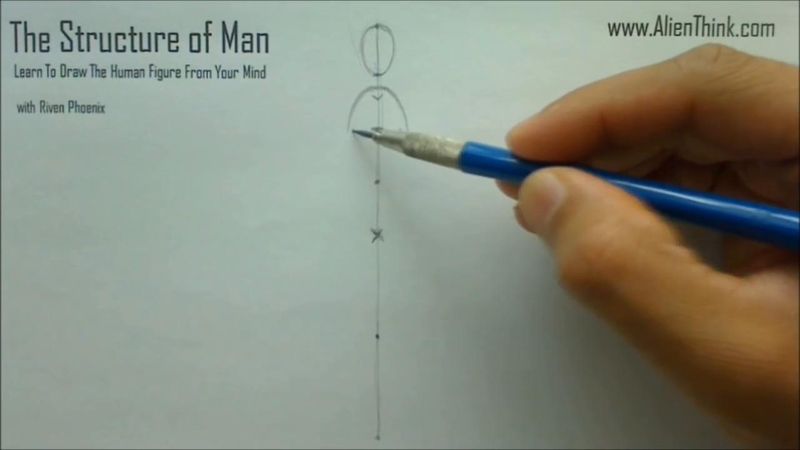
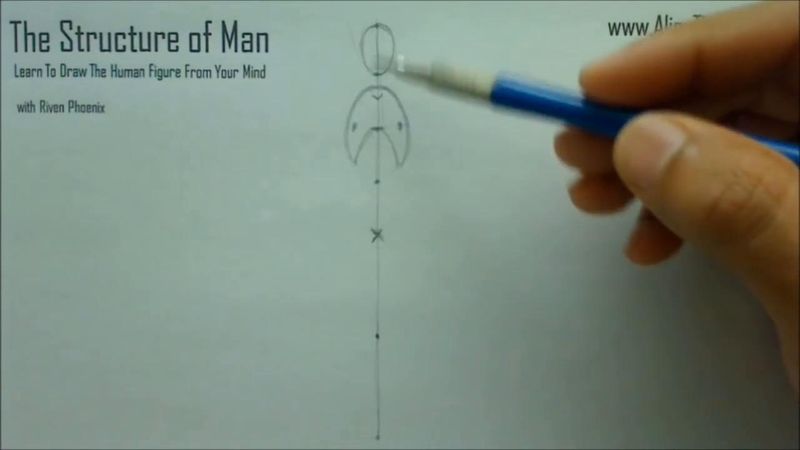
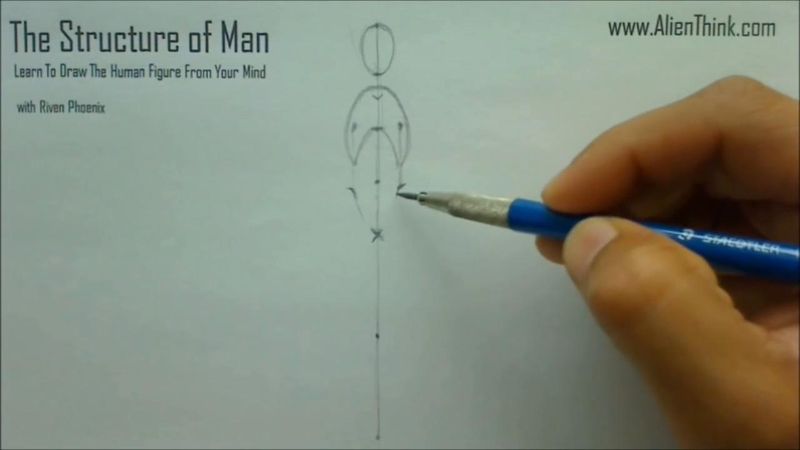
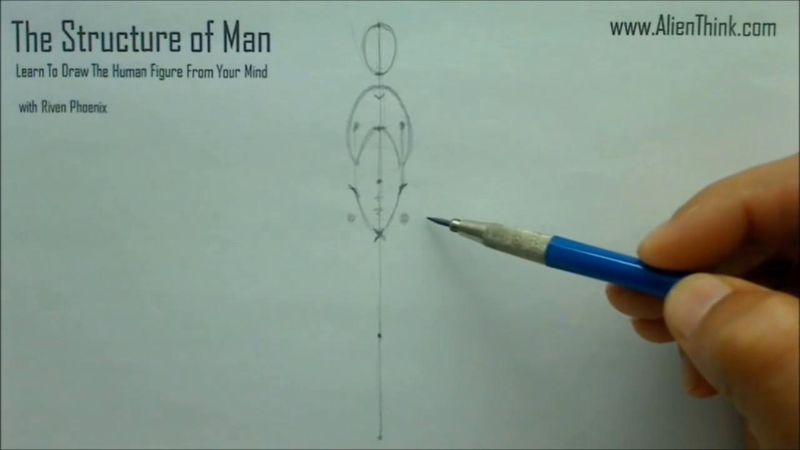
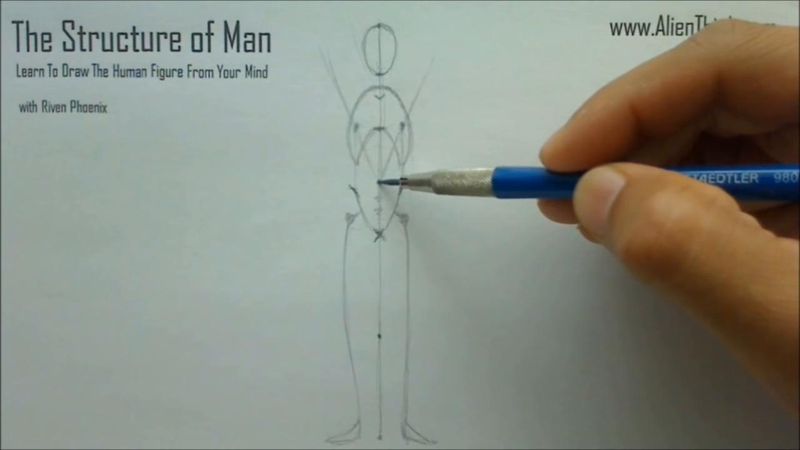
So the next thing that we want to do is now take from the middle, from the top, and
divide this in half.

This line is always going to specify that this is approximately where the line for the
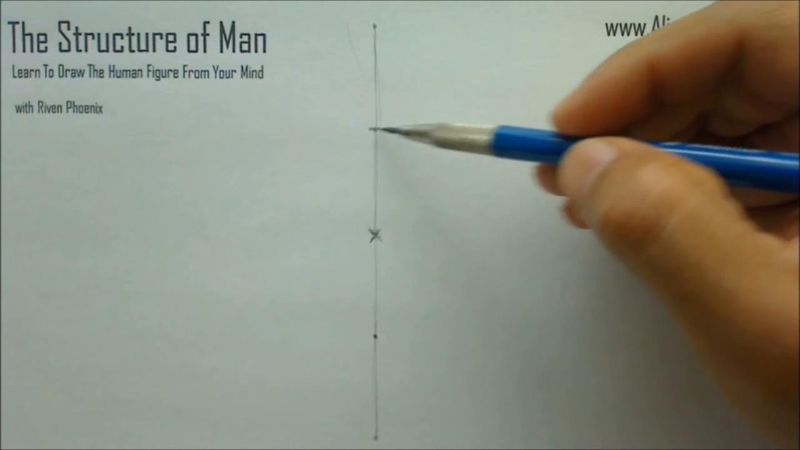
peck muscles is going to be, the bottom of the peck muscles, right, and I'll explain
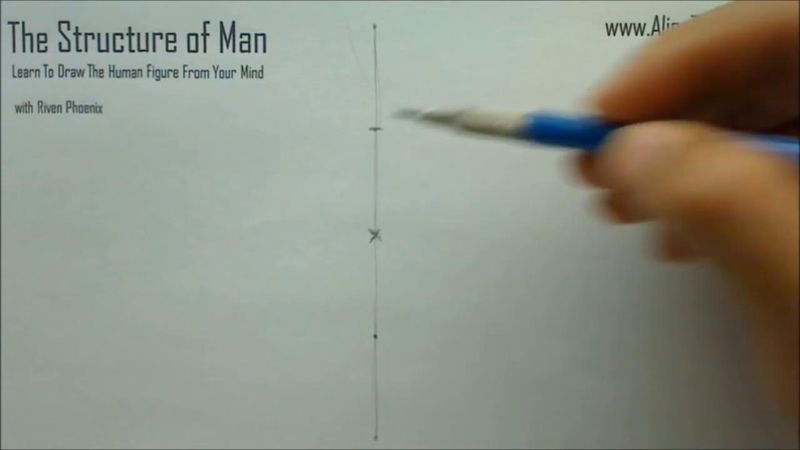
to you in just a little bit as we move through this.
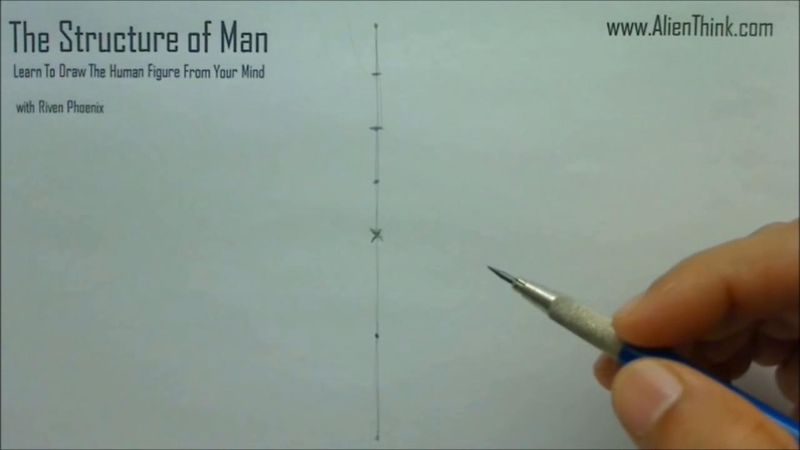
And then above the peck muscles will be divide this here, put another line, this will always
be approximately the bottom of the area for the chin, right, so this is the height of
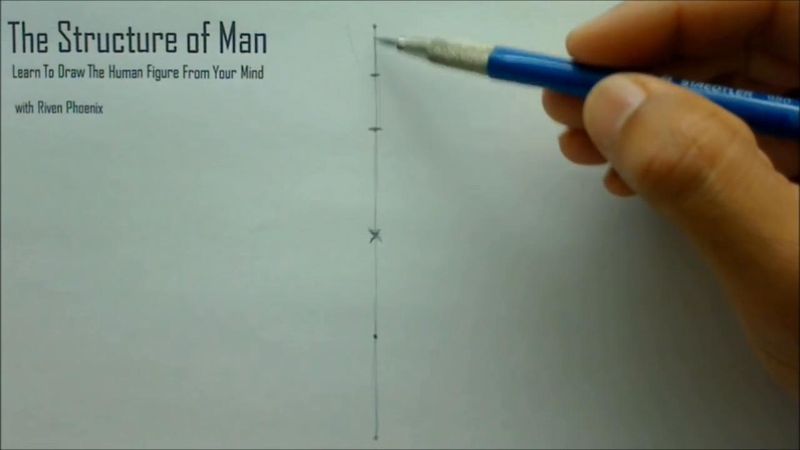
the head, right, and then where the peck muscle is here and the crotch is here, you'll
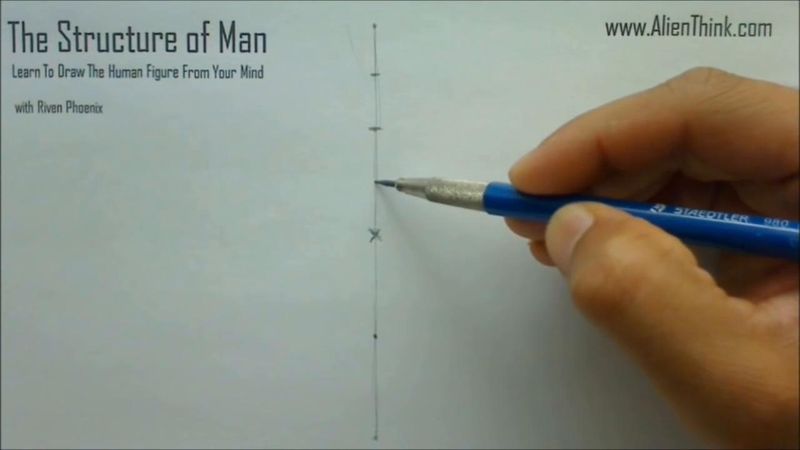
put a dot over here, this is always going to be the naval area over here, right, so just
to review, this is the crotch area, this is the naval, this is the bottom of the peck, this is
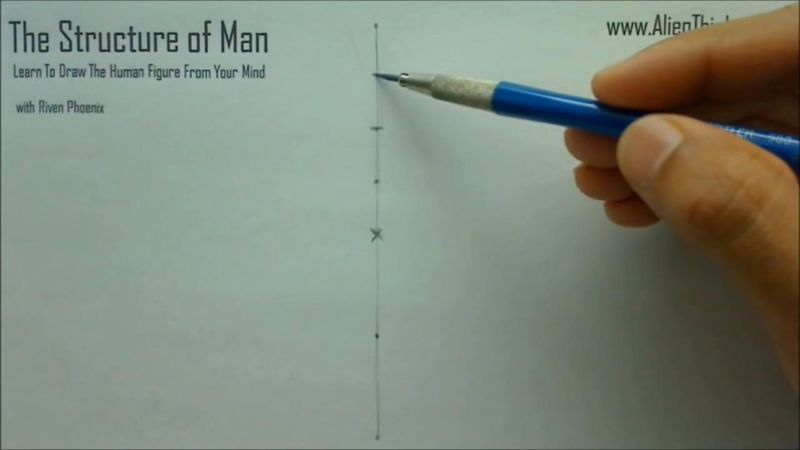
the chin, and this line here is where the knees must always be above in realistic figure drawing
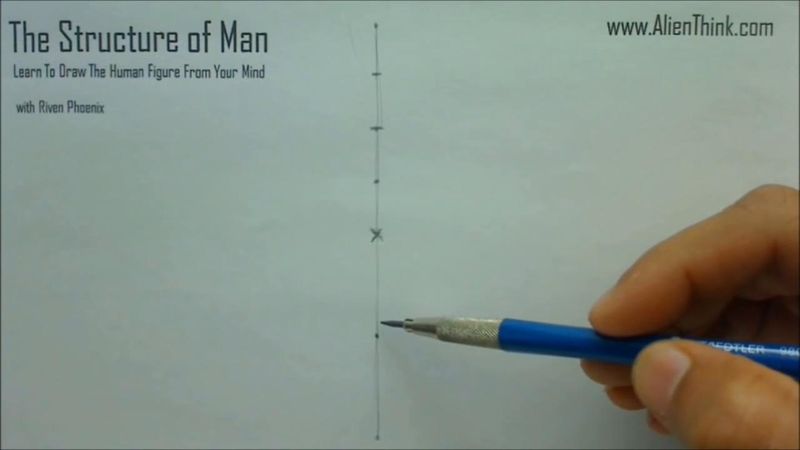
from the mind that we're specifying here as a rule.
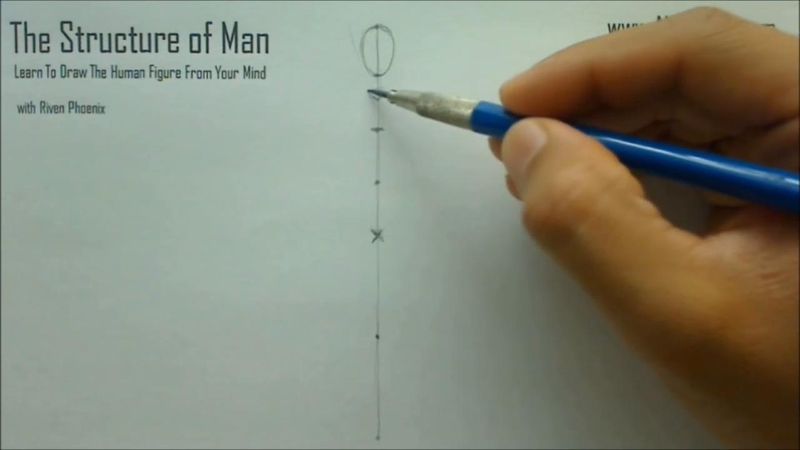
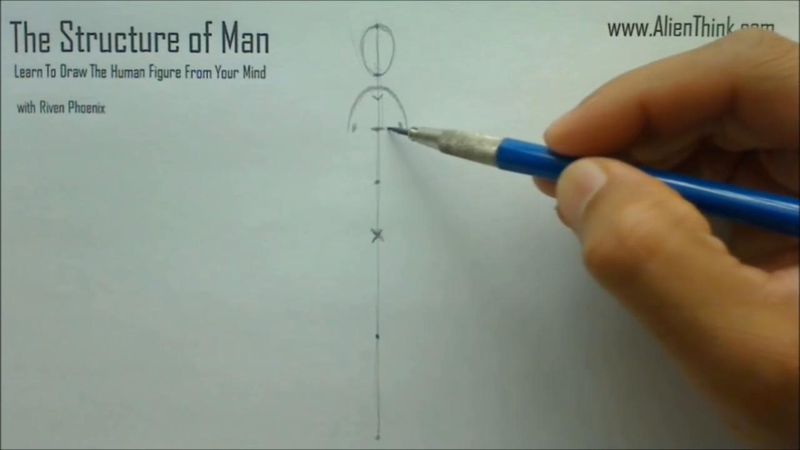
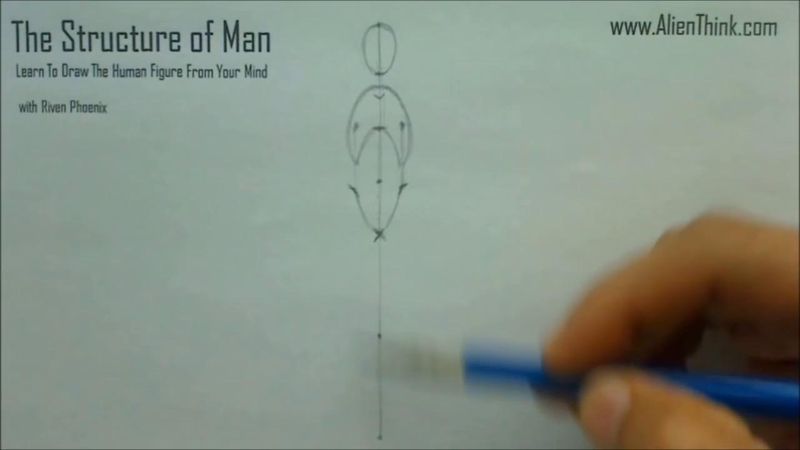
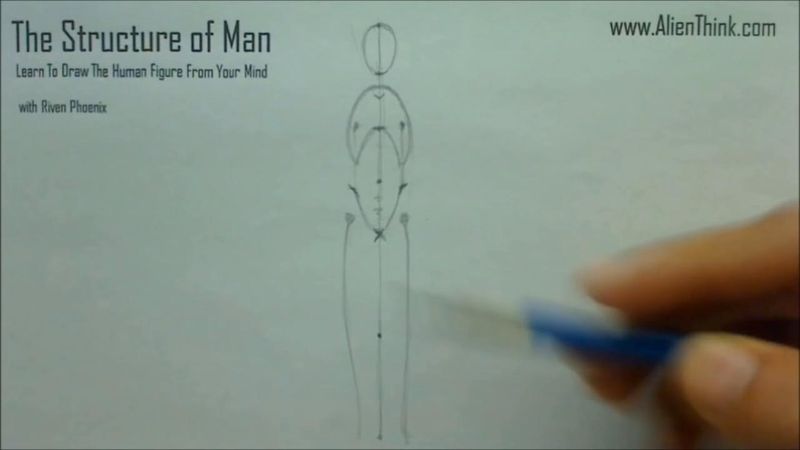
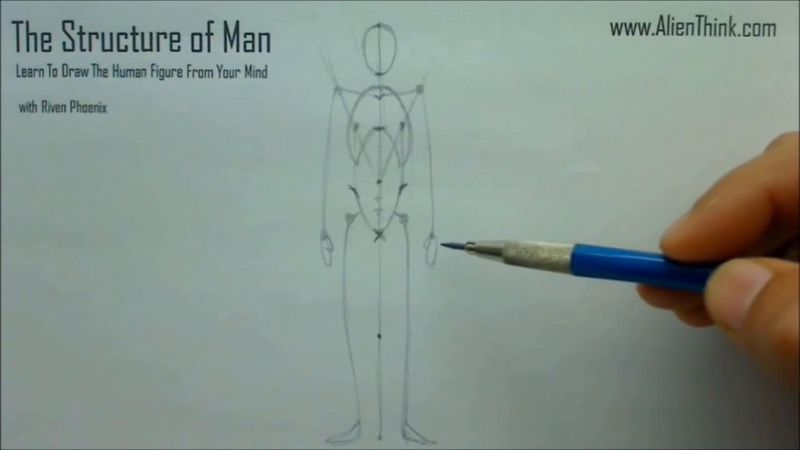
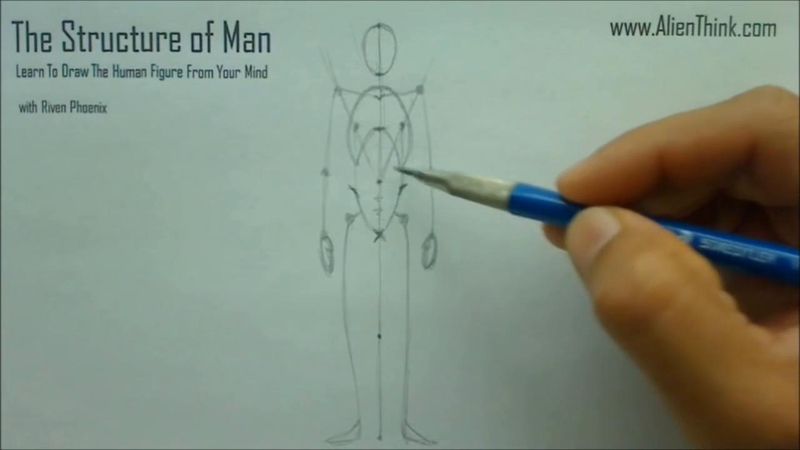
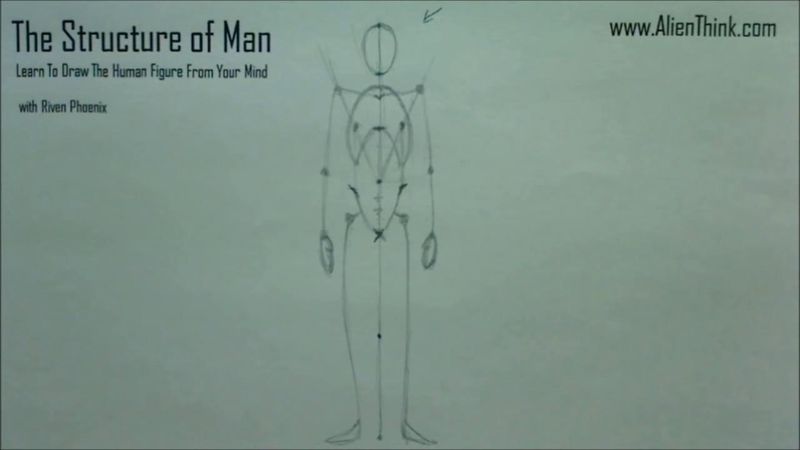
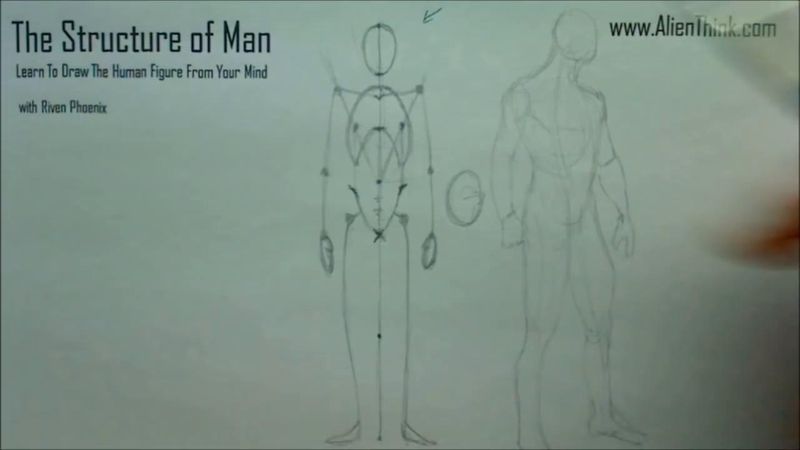
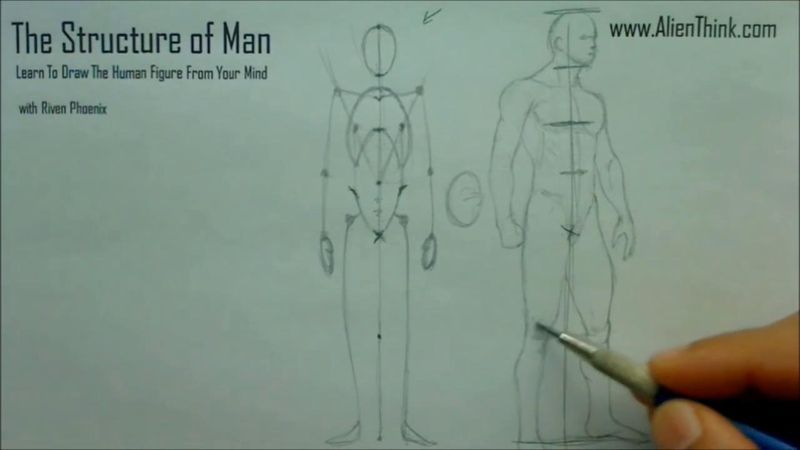
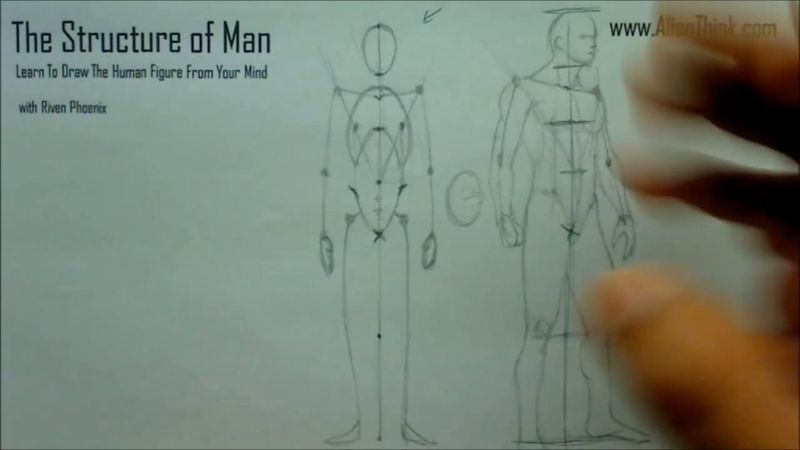
So once we've done this, we now need to create a very simple idea of this invention and
that is going to be our first basic, very simple manic in concept.
So to do this, we're not really interested in any kind of details here, we just want to
train the mind to understand very basic concepts of this.
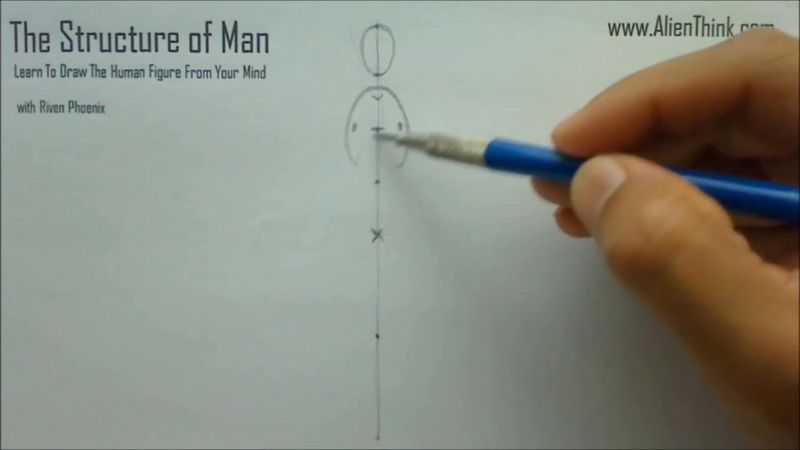
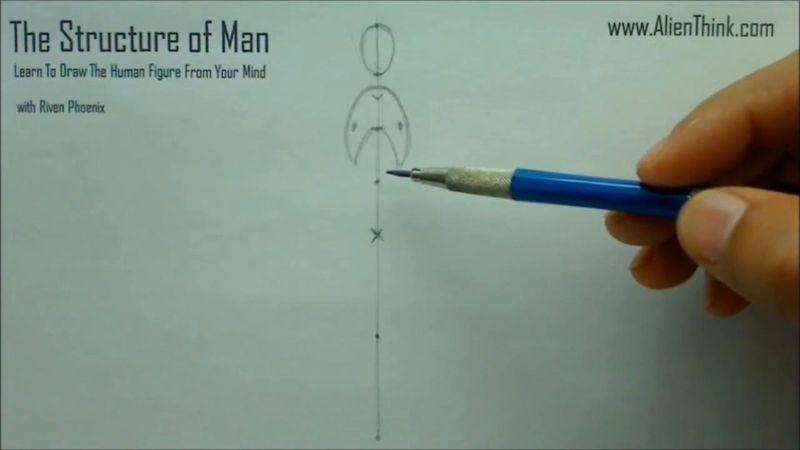
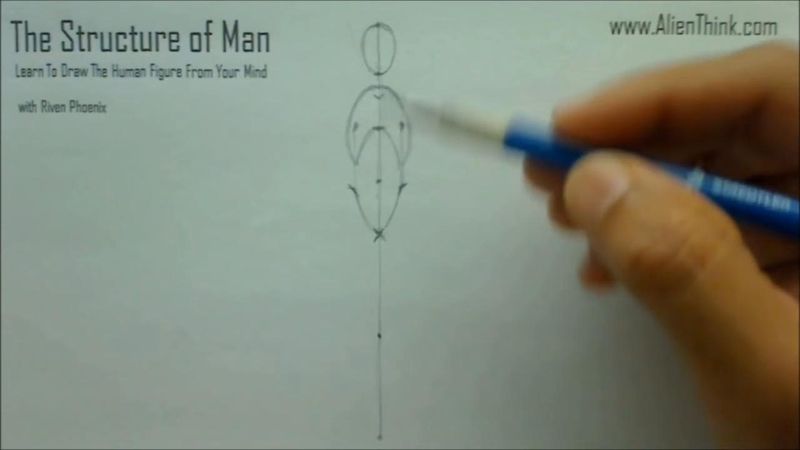
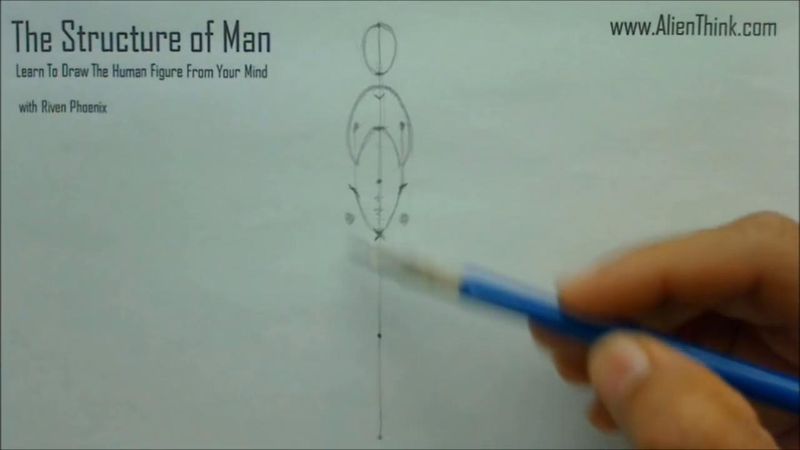
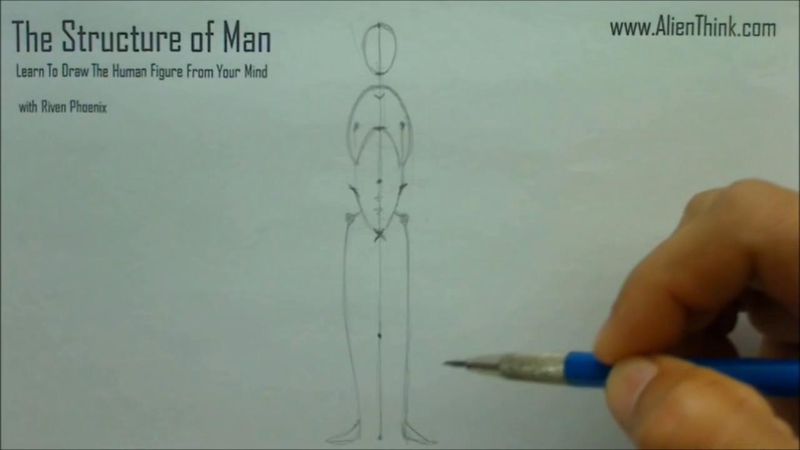
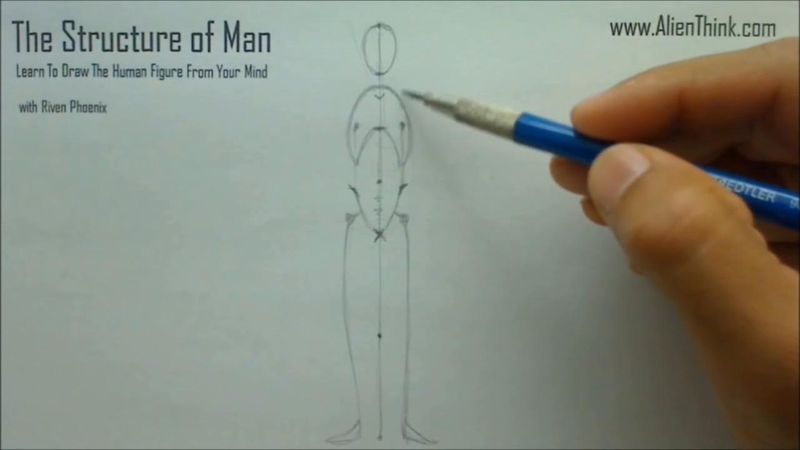
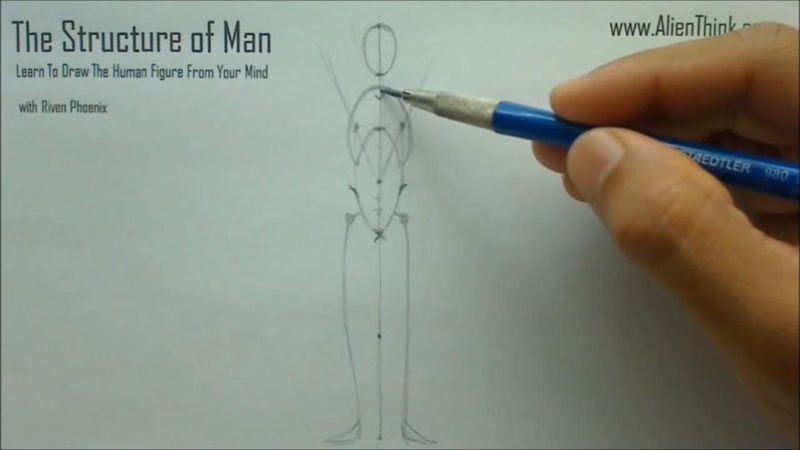
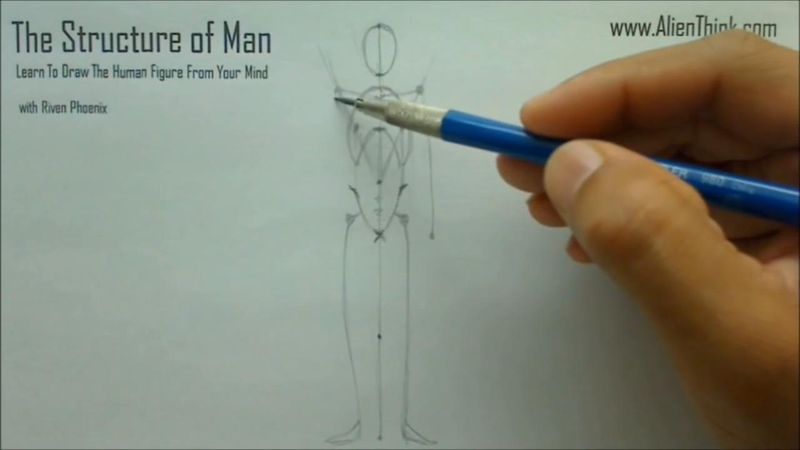
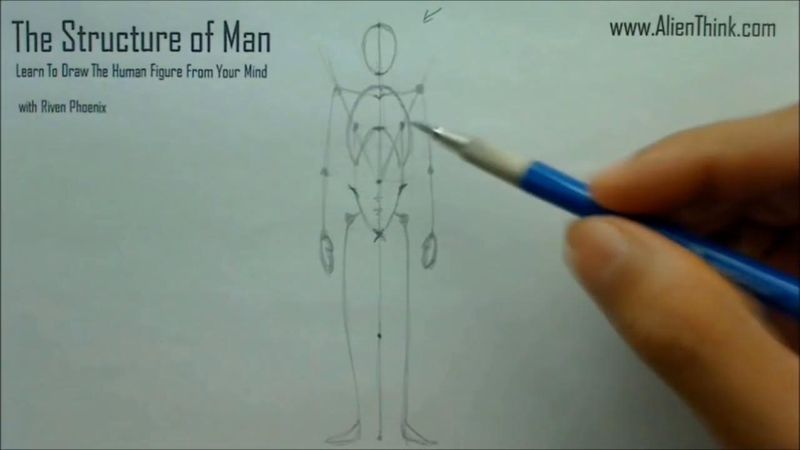
So to do that, here I'm just going to draw out the head.
So to draw out the head, I'm just going to simply draw out like this egg shape over here,
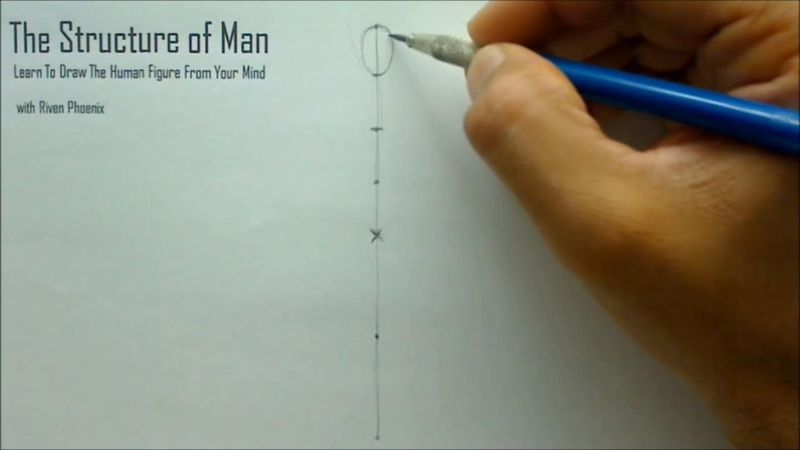
right, very simple, it's just an oval egg shape, there's nothing complicated that I've put in
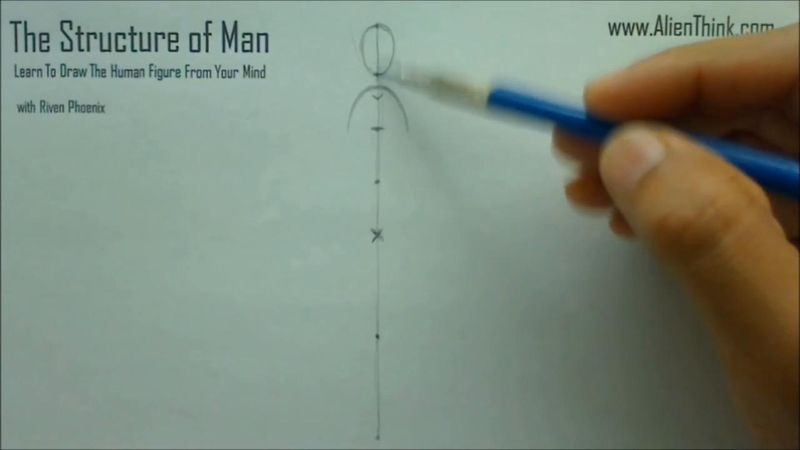
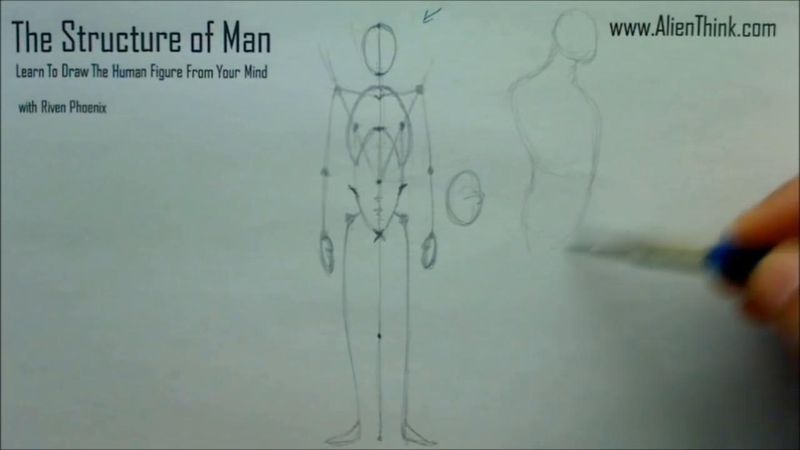
there. Once I have this, what we need to understand is, okay, now since our invention of the figure

as a head, it's going to need a neck and then it's going to need a chest area. So to determine
this, whenever we're here at the line for the pec muscles and this is the chin, all we have
to really do is just divide this in half over here and put a V shape, meaning this is where the
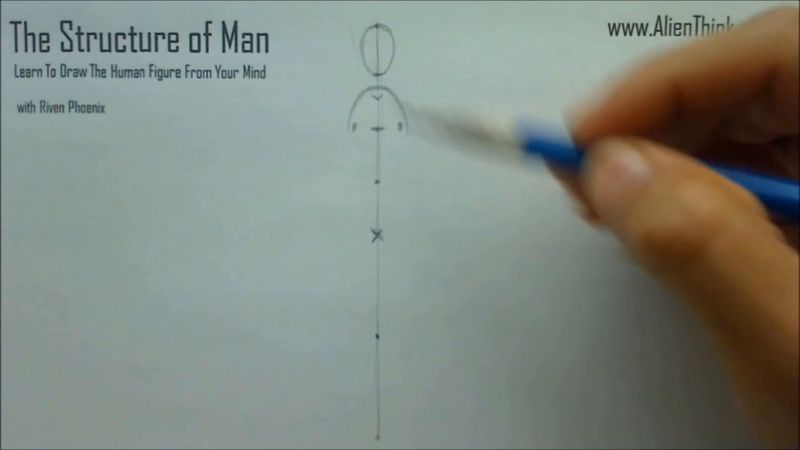
clavicle is going to be. And just about this, right, from here to here, if I divide this in F,
we're going to get this thing that we're going to call the chest cavity.
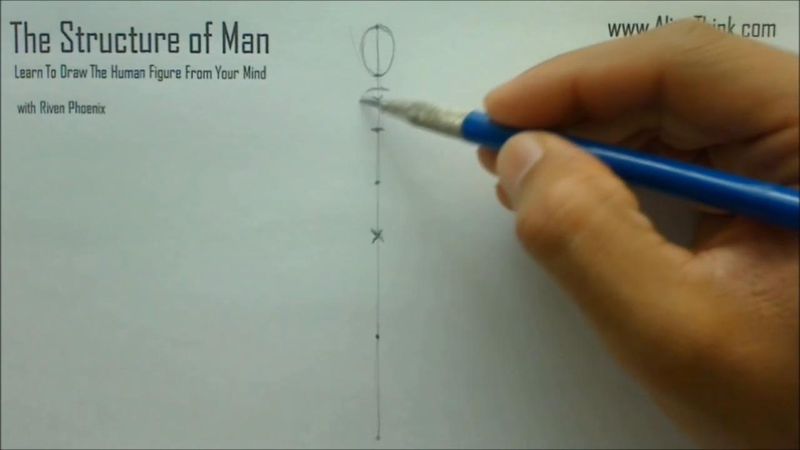
So here, we're going to get the kind of like another egg shape for this chest cavity over here.
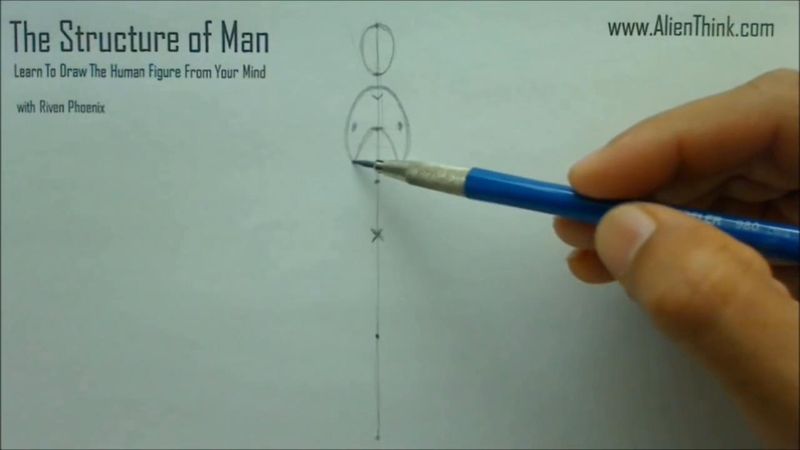
So here for now, I just want you to draw it out like this and don't go beyond this right now.
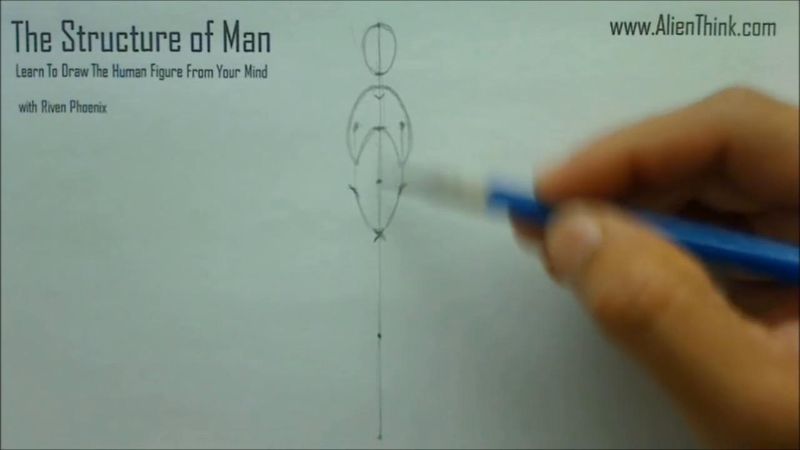
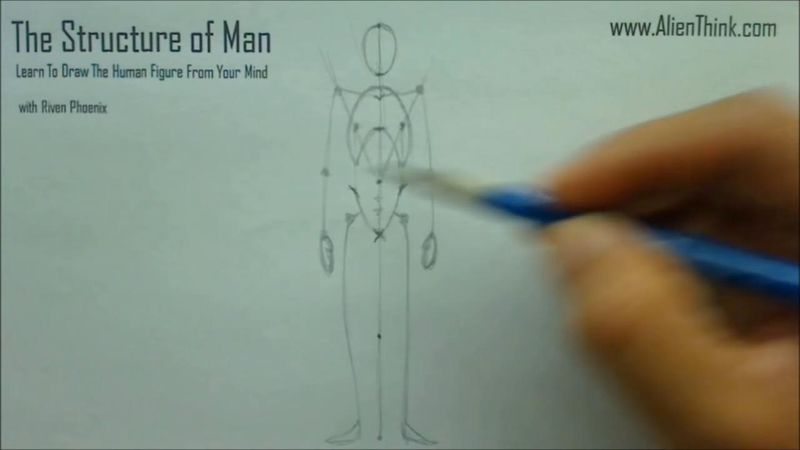
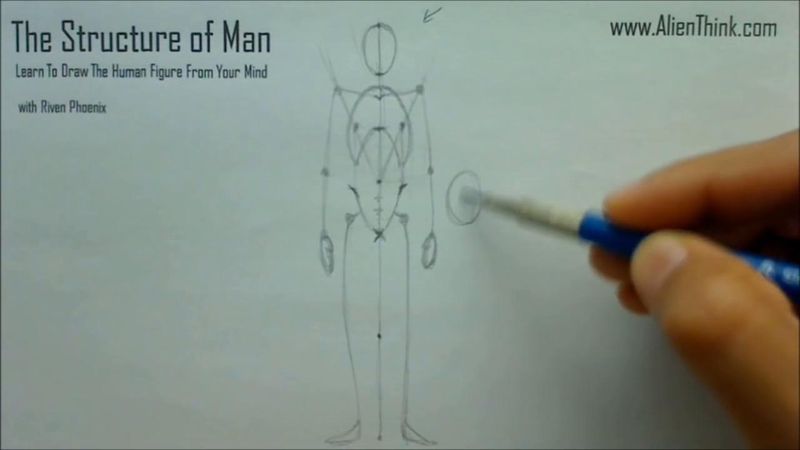
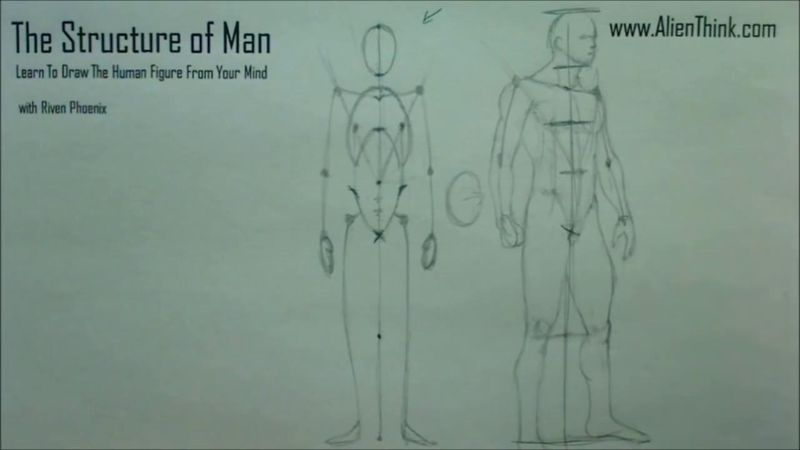
And the reason for this is that here we want to understand, okay, well, how wide should this
egg shape really be here, right? This is the height of the head where we had determined it,
how wide should it be? Well, we can determine that very easily by looking at the height of the head.
So you can see that what I'm showing you in this entire course, we're going to be looking at how
to use this toolkit to be able to draw figures in eight head formulas, meaning that regardless
of what head you draw, if you draw a figure in nine heads or ten heads, it doesn't matter,

we will always follow this same formula, the only thing that will change is the height of the head.

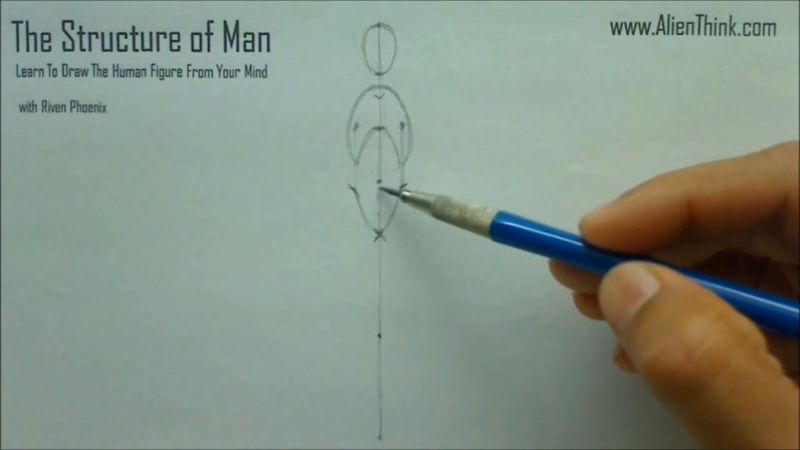
Right, so going back to this to determine, okay, well, how wide should this be? We all
have to look at the height of the head like this. If I measured it and really just translated
like this, right? So meaning that here you can just eyeball it and say that this here is going to be
where the nipples are going to be, right? Obviously they're going to be above over here,
this line here, just above your head. I'm just specifying to where these dots will be.
Right, so once we determine this, we know that, okay, it just needs to be a little

to the right of this and to the left of this. This will give us the chance cavity over here.
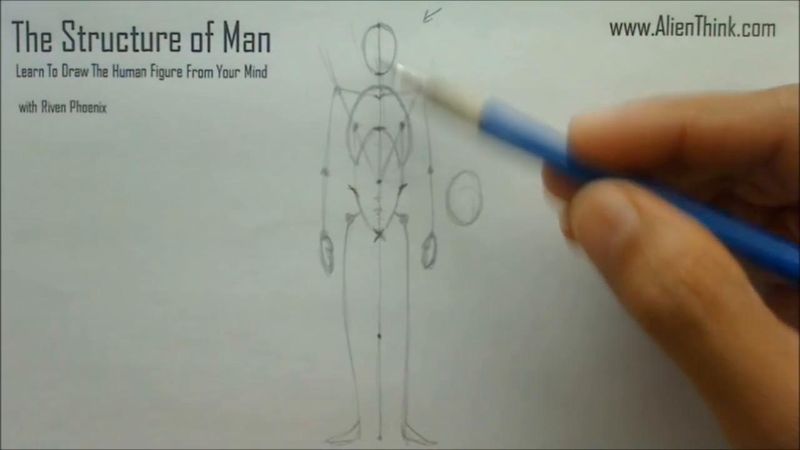
So once we start creating this oval shape over here, we're going to come start to curve in and

basically where the navel is, we just need to be just a little above, meaning that we're never
going to come down all the way over here, we just need to be a little above this, over here and
then from here we're just going to specify that this is going to be the chest cavity. Look at the
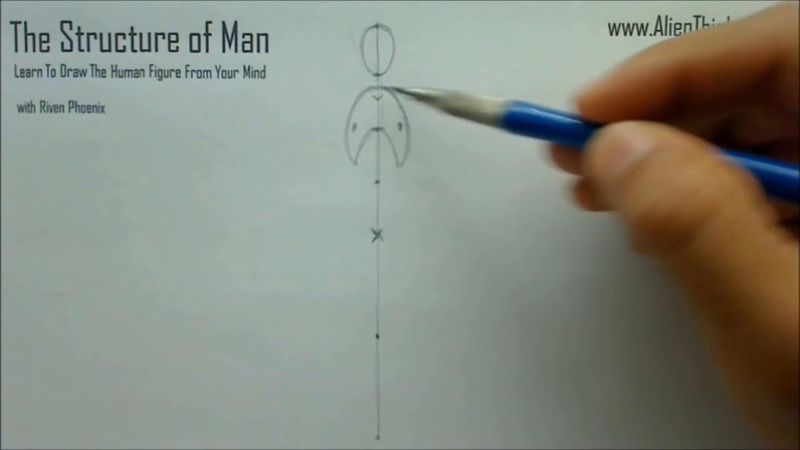
simplicity of the design here. We're not going to get it into anything complicated right now
because as we move through these stages, we will train the mind to understand this in three
dimension. This will be the most important, very powerful toolkit that will exist in the mind,
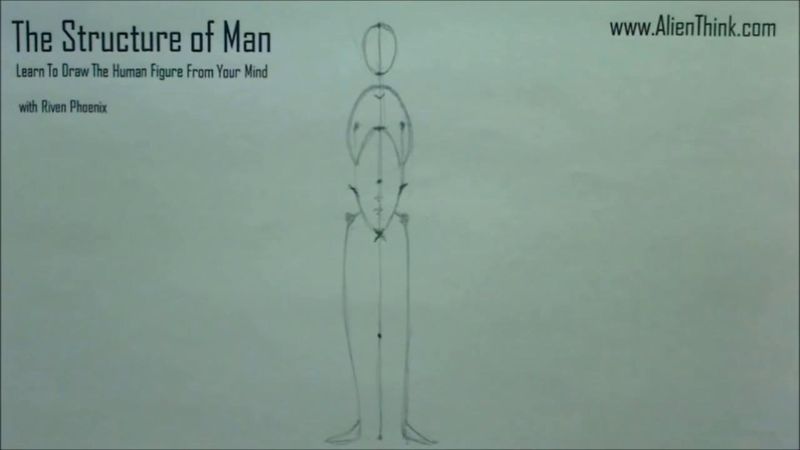
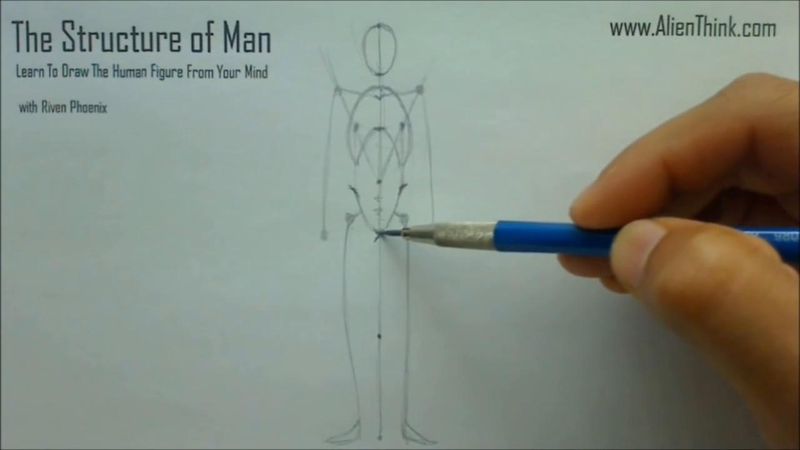
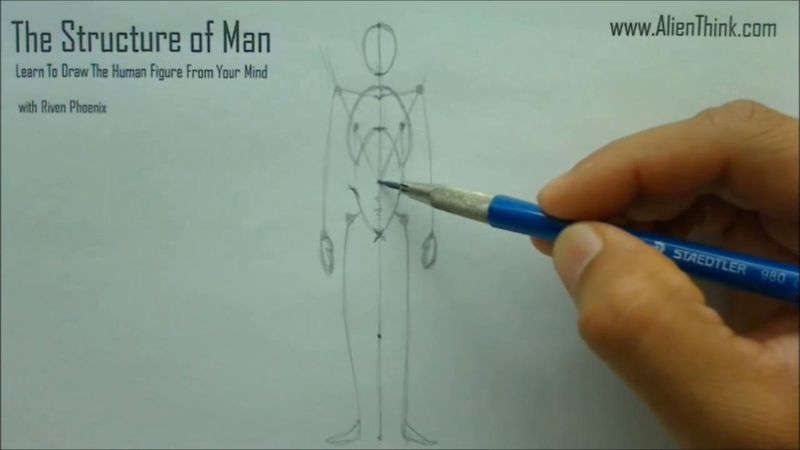
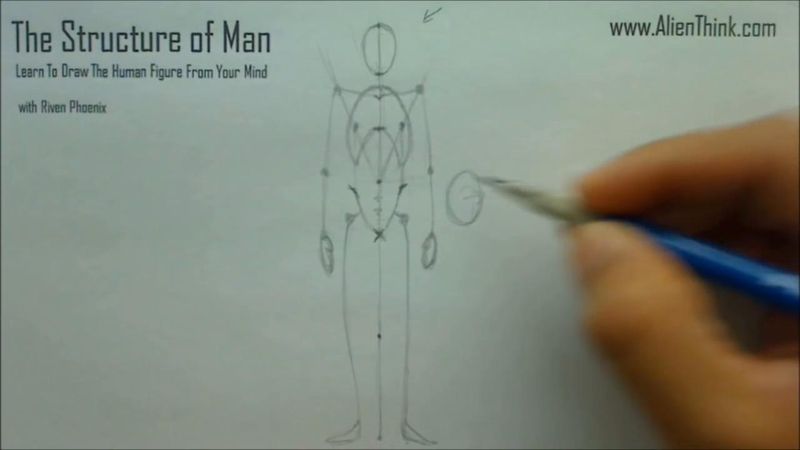
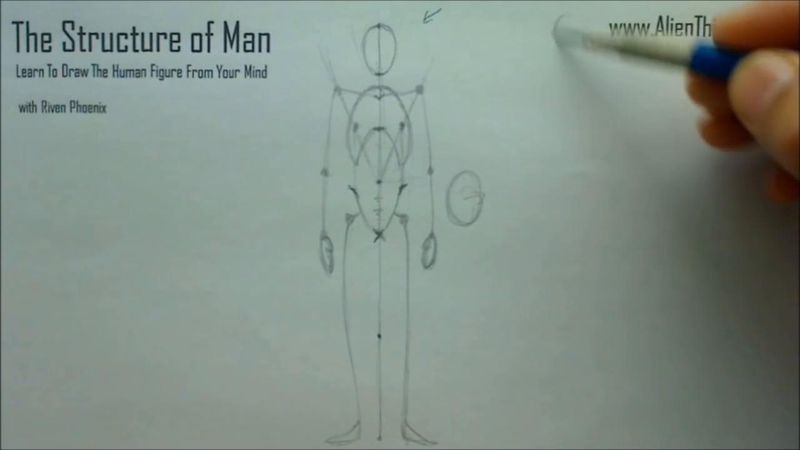
which will allow us to draw very cool looking figures. So once we've determined this, what we need to
do now is understand this pelvis area here over our invention, right, because we know that it's

obviously going to stand on two feet. So how do we understand this concept here?
So all we have to do is where we determine where the nipples are going to be, we really just need

to visually look down. So here I'm just going to draw a line for you here so you can see. When I
go straight down, this is basically where the love handles area is supposed to be, meaning that
this is the navel, this is the crotch, and if I had divided this really in three parts over here,
this is where the love handle would be, just like this, right. So I did a line here where this was
going, it's in intersection of these two lines going like this, meaning that for now we're just
going to specify that this is where the, this is how the pelvis will come together, right. Again,
when I'm drawing this, I'm drawing this very artistically, right, just freehand and I'm being very
accurate, meaning that I'm being very approximate with my ideas here. This is what's allowing the
invention to look like this idea that we have of this thing we're calling the human being. So once
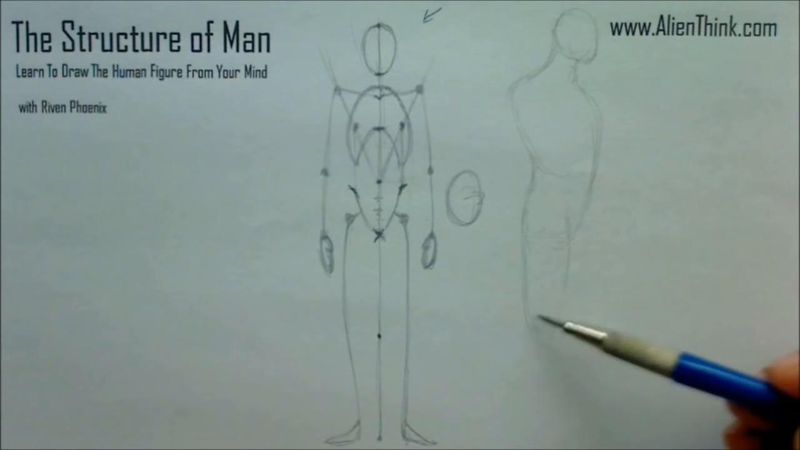
we've determined this, all we have to do is really now understand, okay, now this invention needs to
stand on two legs, how do we determine this. So since we divided this in three different parts,
these areas here, right, from here to here, we really just divided this in three parts, one, two,

three, we're just going to specify over here that this is where this line is, right. I just,
just a little bit under, I just made two circles here, meaning that when I made them here, I didn't
go here. I made them where, where this area here is here and this, these are the two ball joints
that will really just give us like the legs here. So here I'm just going to draw out the legs
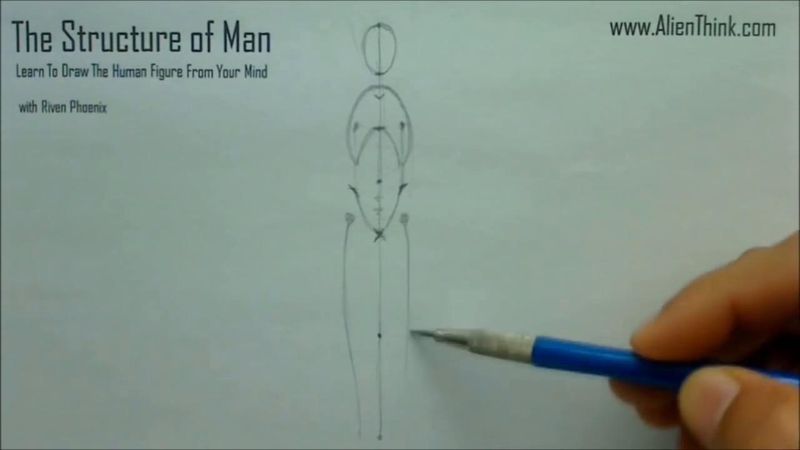
like this. Notice that I'm not being very schematic here. I want it to be very fluid looking
over here and when I come to the feet for now, I'm just going to do this. I just make
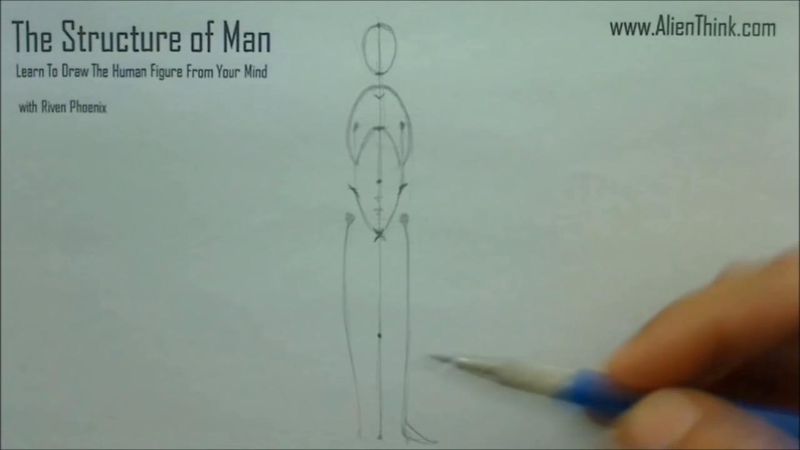
two simple ideas here of these flabby feet over here and that's all we need to understand about
this for now. As we go through this process, we will be adjusting this invention and making
and adding to this toolkit more ideas that will help us understand things that we should know.
So basically when I put this, I can just really just put two lines here that this is how it
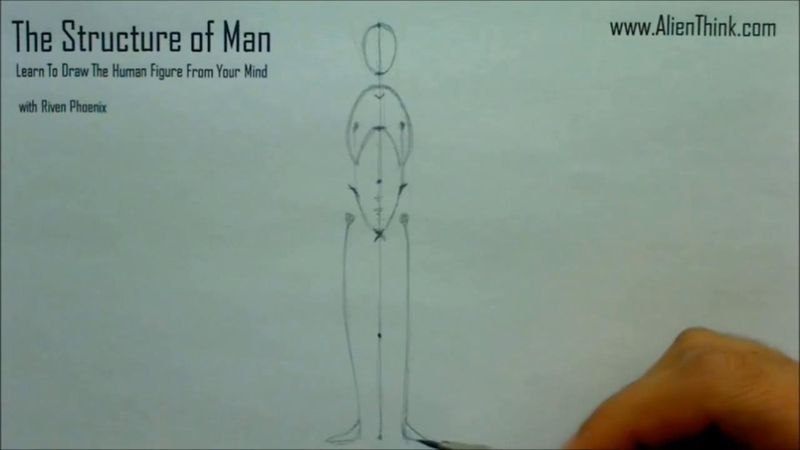
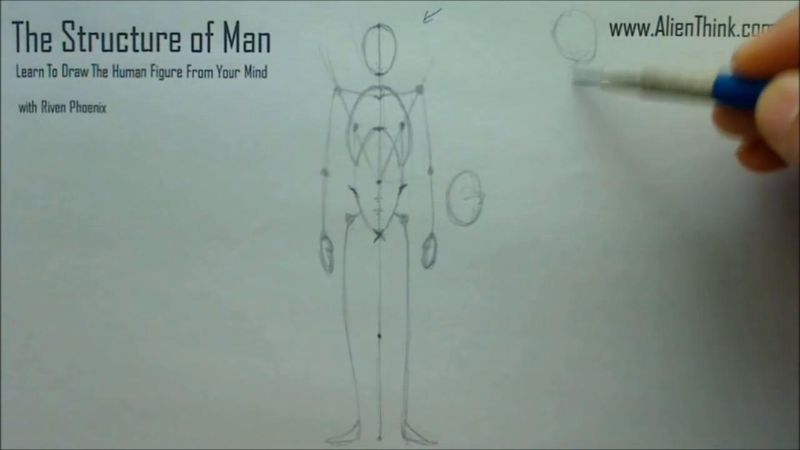
stands on two feet. So now we need to determine that this invention that we have, it's going to have
two arms with hands, right. So and it's obviously in order for them to be on this
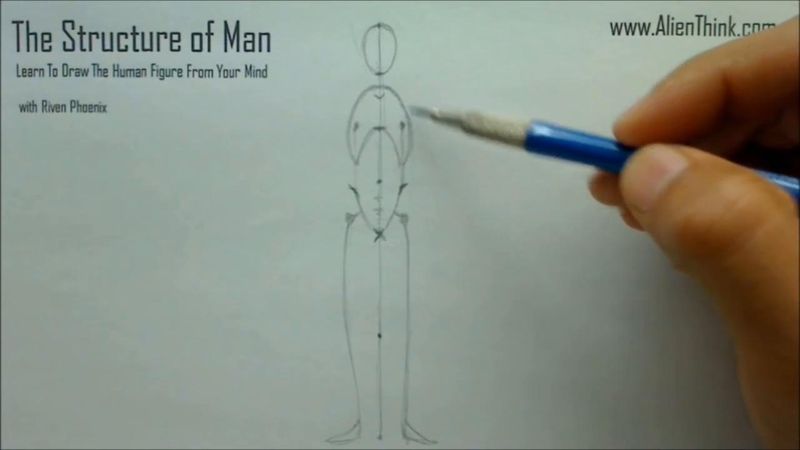
invention, they need to join together somehow. So we need to give it this thing that we're going
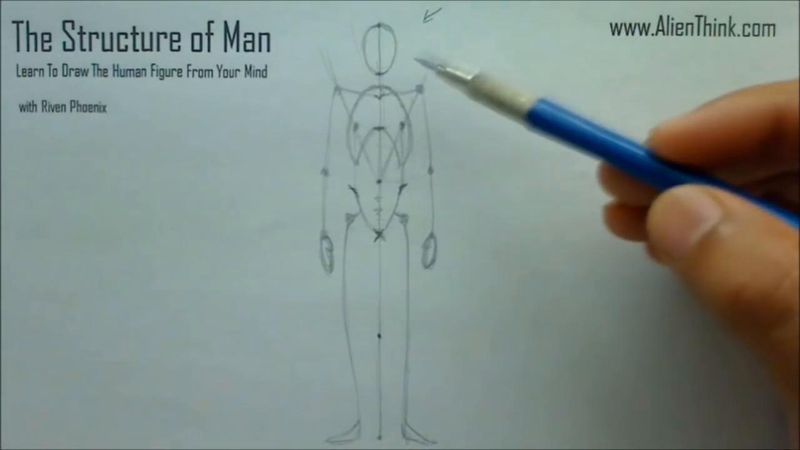
to call the clavicle. So to do that, we need to understand where exactly should the clavicle go.
So here the obvious thing. So we know that the ball joint cannot go here because it will collide
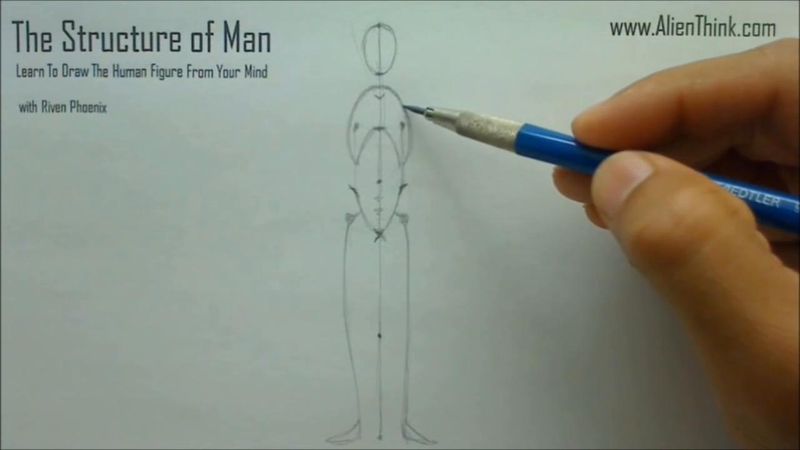
with this. It has to be somewhere out here so the arm can hang off and it needs to be somewhere
above here. So to do that, it's very easy. All we have to do is in the mind to train it to understand
that if we drew out two lines like this, right, this V shape here, this V shape from the
naval touching the nipple area over here. And here's where the clavicle is just above a little
bit above this clavicle is the point where the clavicle will stop and automatically give us
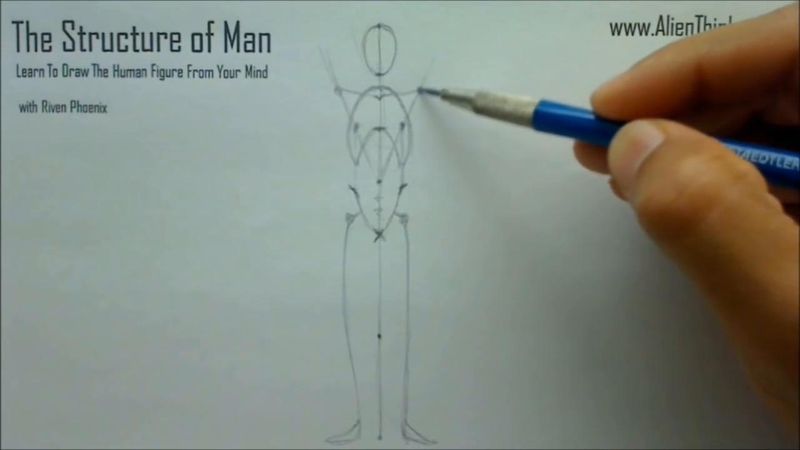
the understanding of where the two sockets are going to be for the shoulder joint. So once we
have this, we really can just draw out a line here for the hand. So here I'm just going to draw it out
like this and where the crotch is, I'm going to stop it here. This is where the wrist is.
And do the same thing here. Just I'm just going to draw it like this. This is where the
crotch is. The wrist is going to be here and here I'm just going to give it
all two hands. Just draw like an oval shape over here. Don't get complicated and any of these
ideas is just to simplify these ideas here. And you can draw the hands like this, like these

oval shapes here. Usually I just try to keep this very simple like this. Right, so here where the
navel is, we can state here. In our invention, the rule is that where the navel is, this is
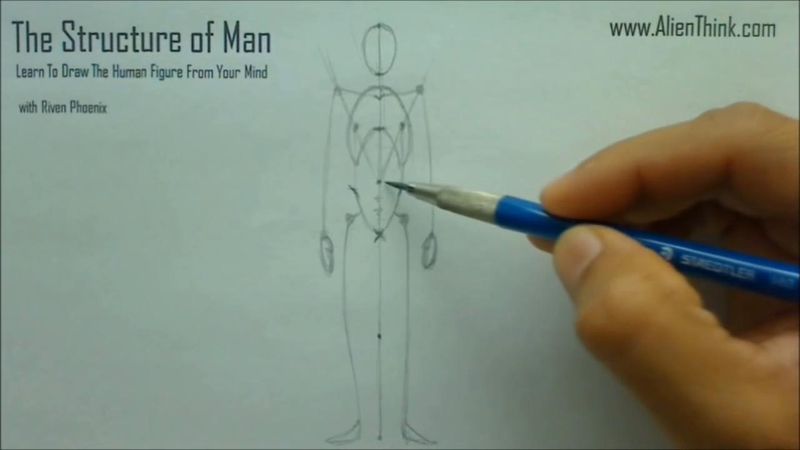
basically if this, this is over here, it's going a little bit on the angle. It's really all
concept of the pendulum. This is where the elbow joint is going to be. So in our ideas,
where we know where the navel is, we know that okay, the elbow is just going to be where the
navel is when the arm is like this. Right, so here you can see how automatically we were able to
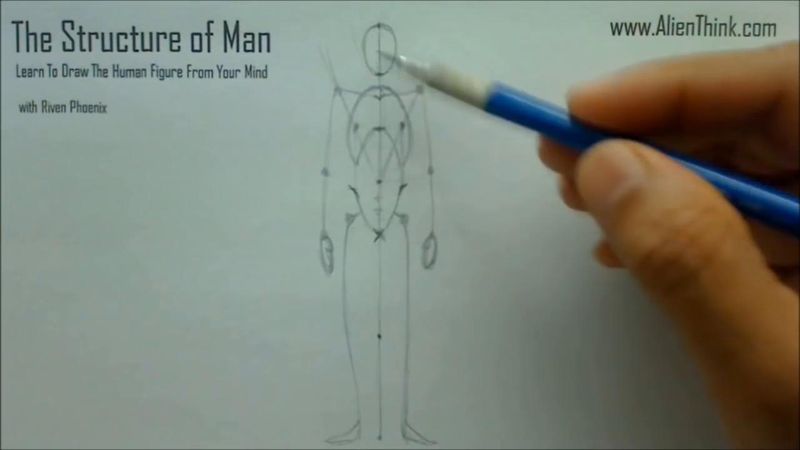
invent this concept very rapidly. Right, this thing that I just showed you here is the same thing
as the basic shape that I drew just like this. Right, we invented our own very simple concept
of this invention. So this is the beginning of our journey to understand, comprehend the concept
of the human figure using this very powerful toolkit or formulas of rules that we came out with.
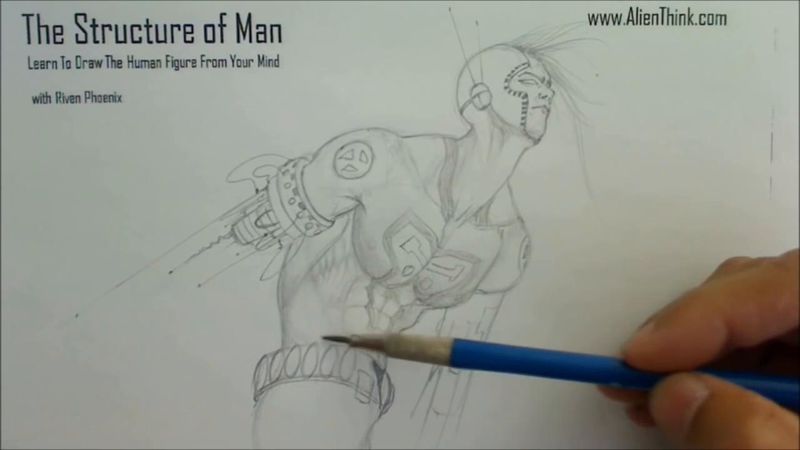
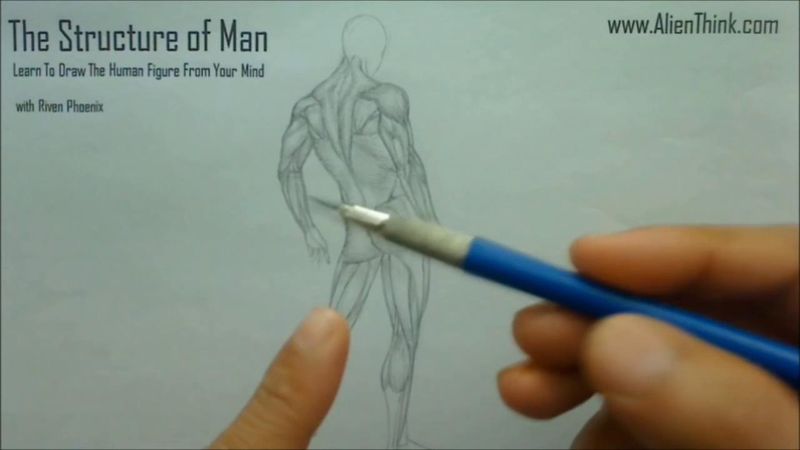
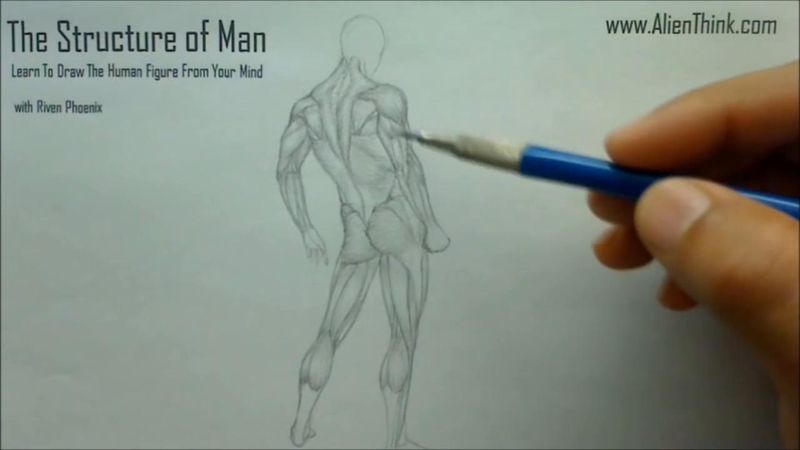
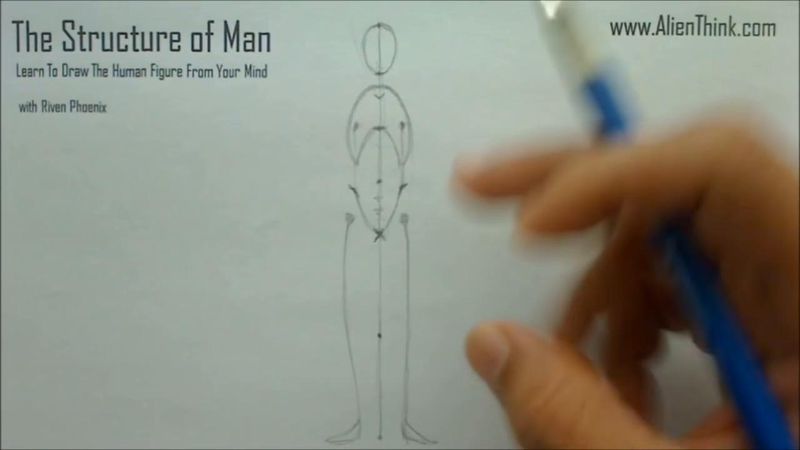
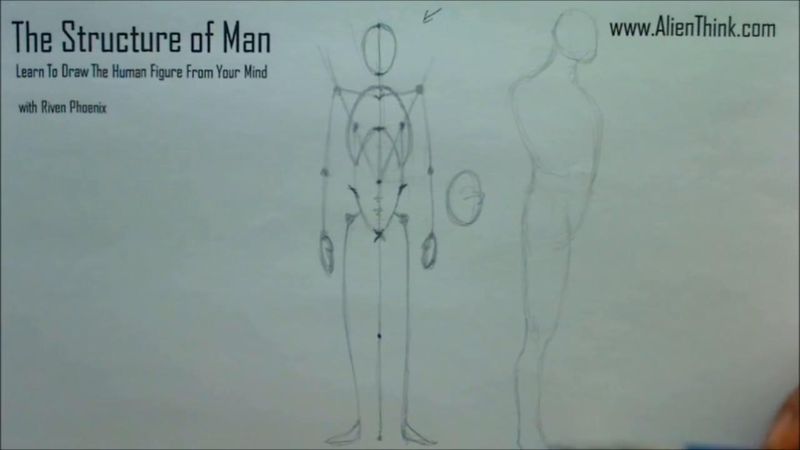
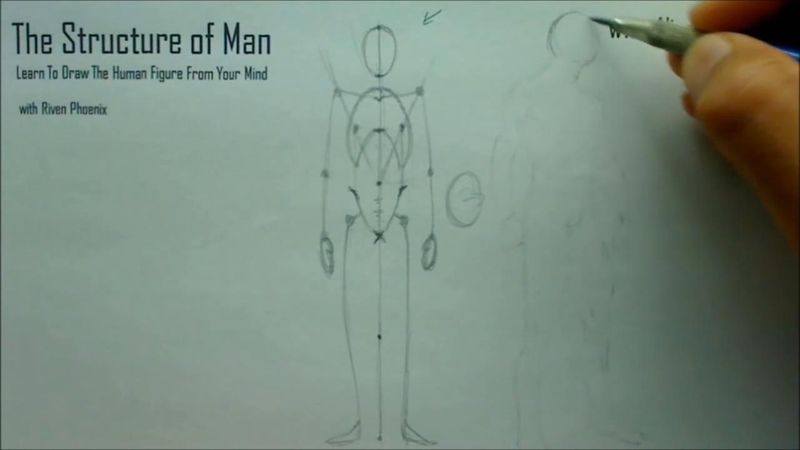
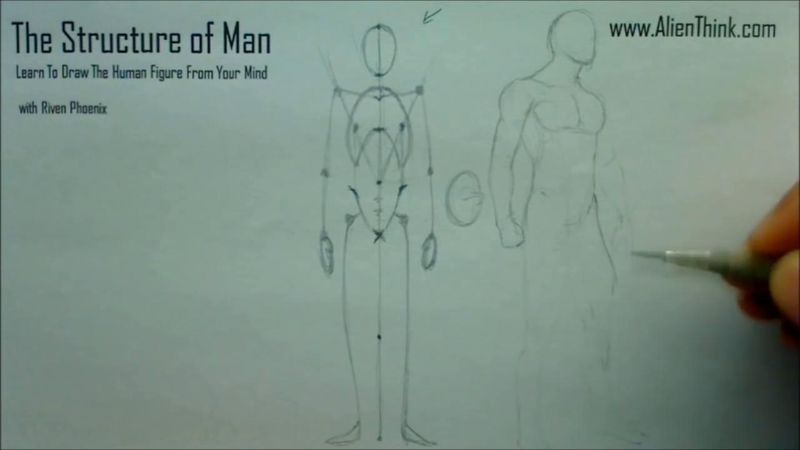
So what I want to show you is, and something else here is what is the end journey supposed to

even look like. Right, this is the start of the journey. Right, so the structure of man, this entire
course is starting here. And then you're going to have this, in this course, we're going to call this
like this missing link here in the mind here. Right, this entire journey of understanding the
complete structure of the skeleton to all the muscles to the forms of the human figure. So we can,
this is the whole missing link that we're going to go through and then to be able to draw out like a
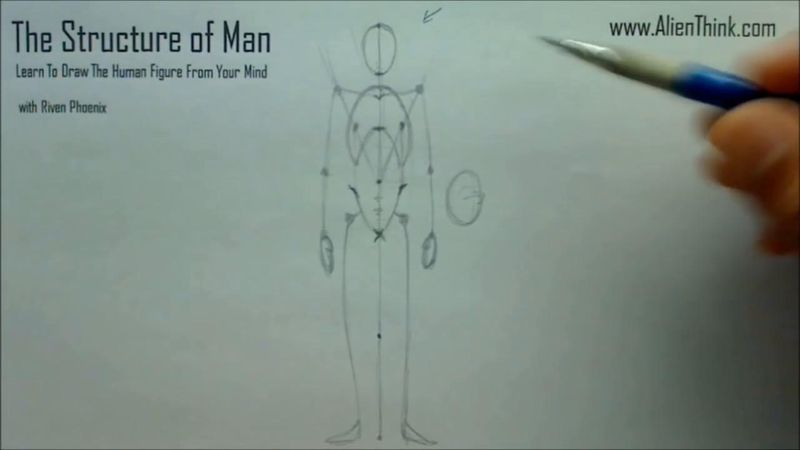
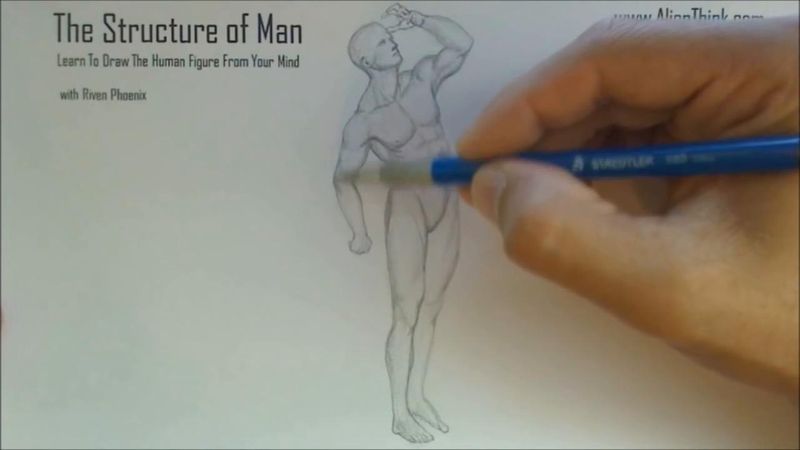
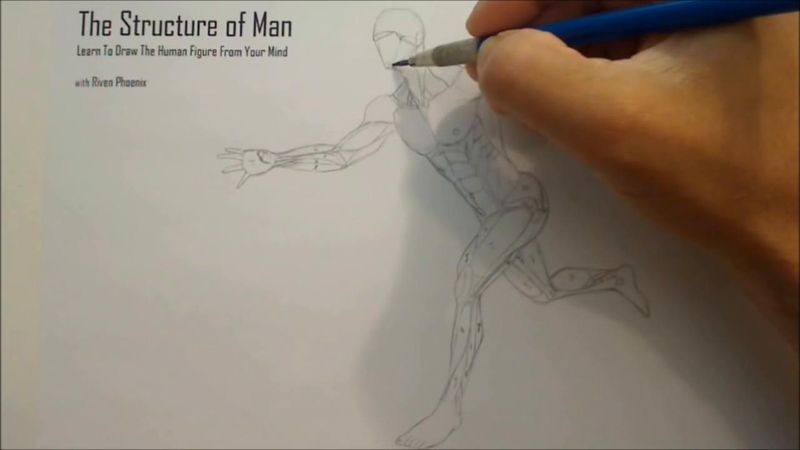
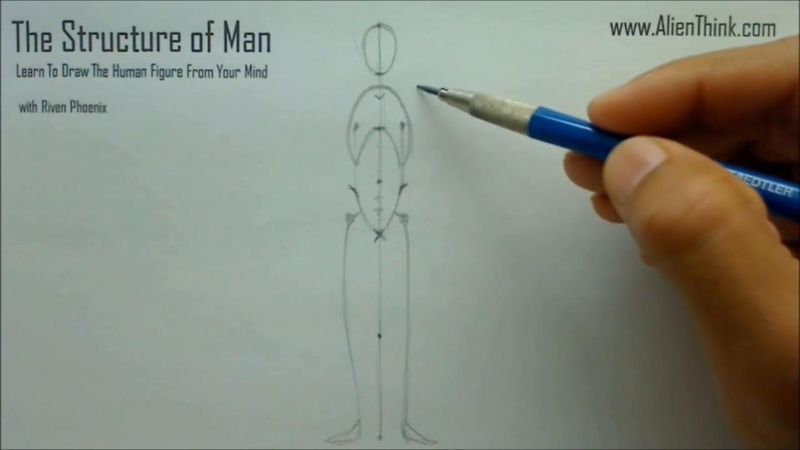
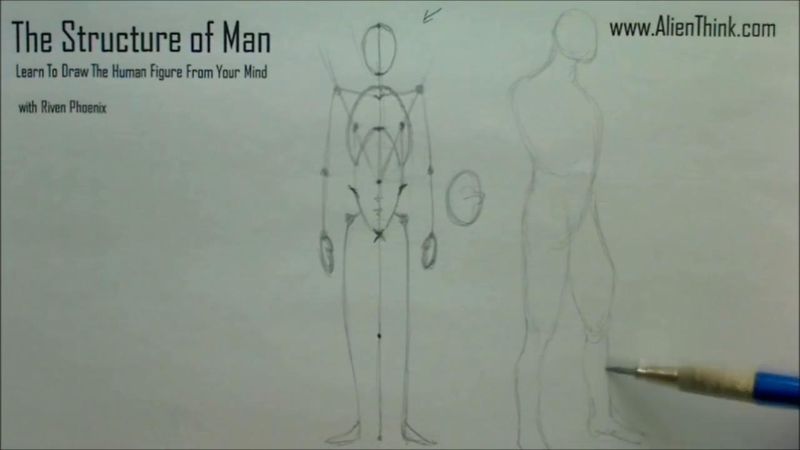
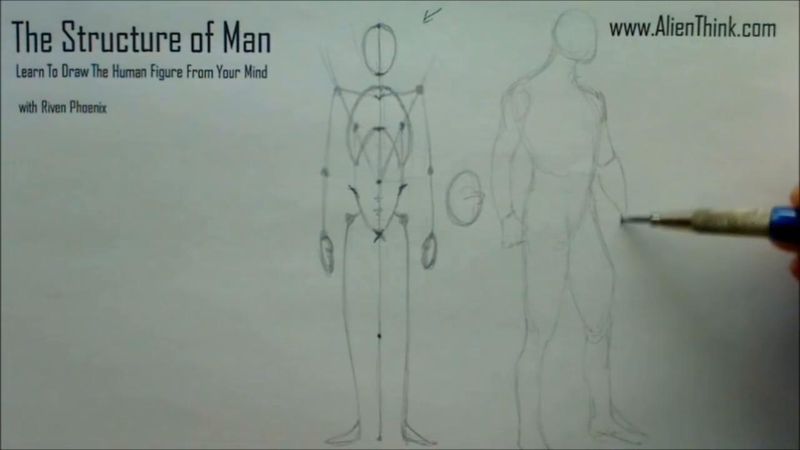
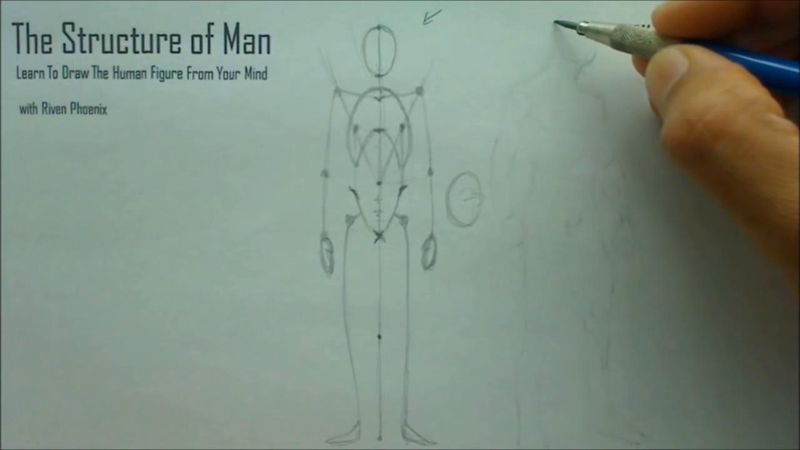
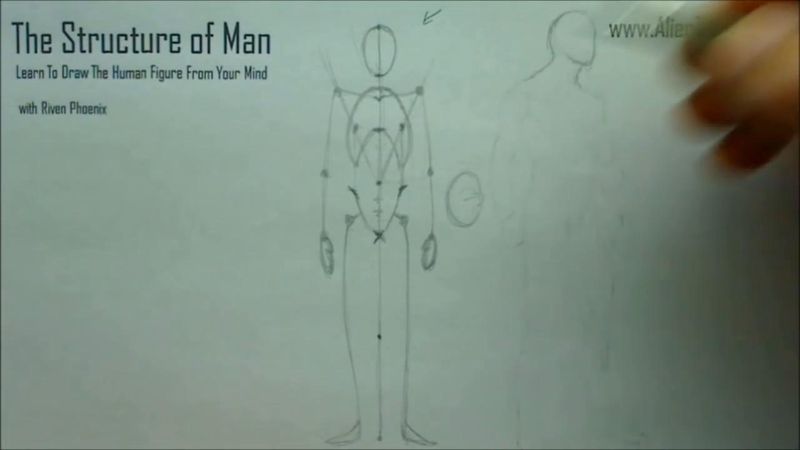
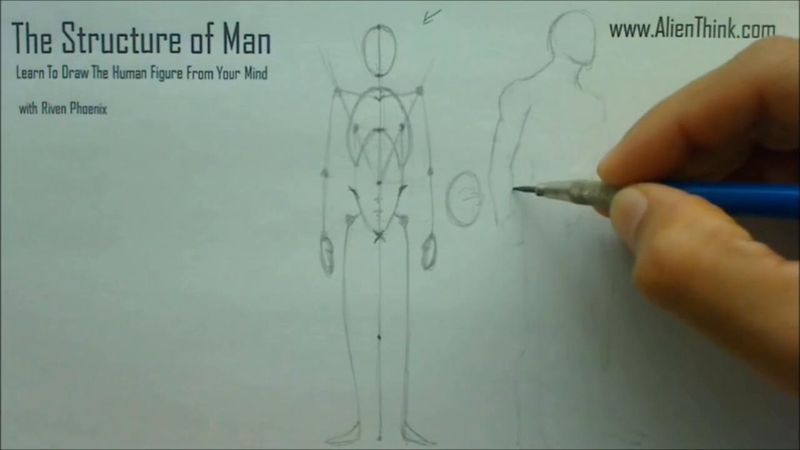
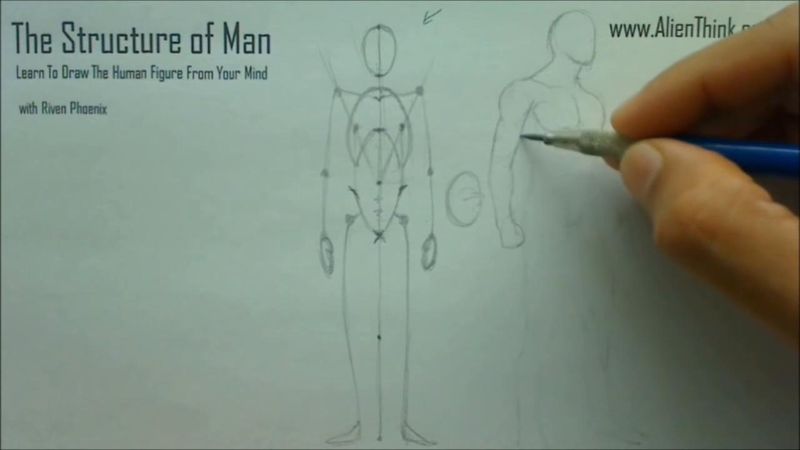
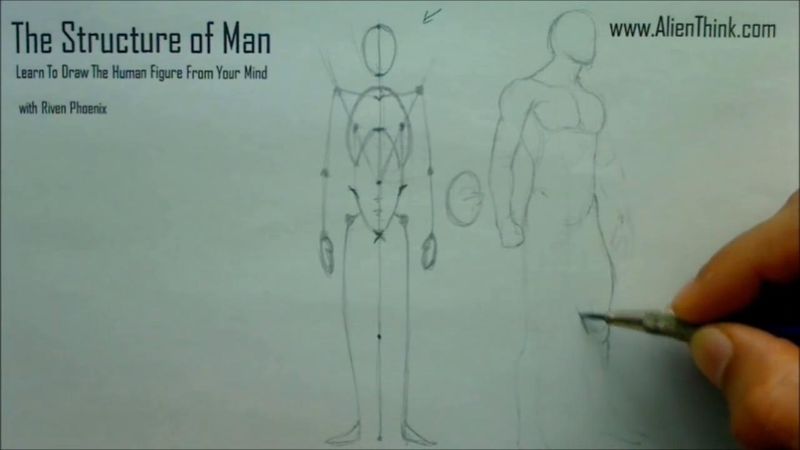
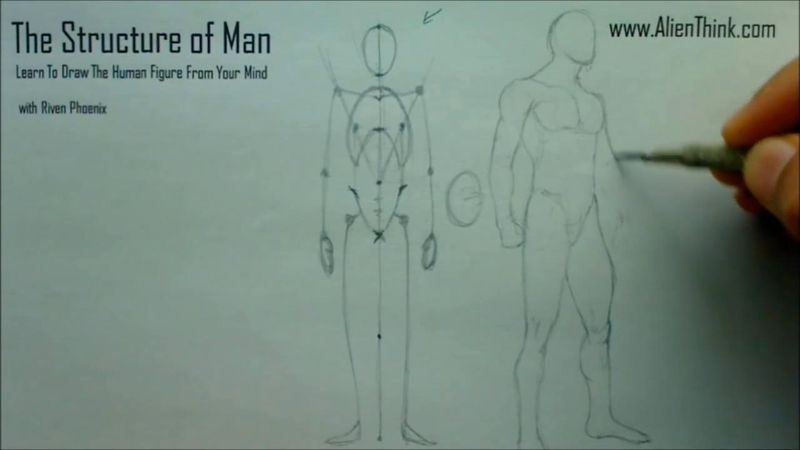
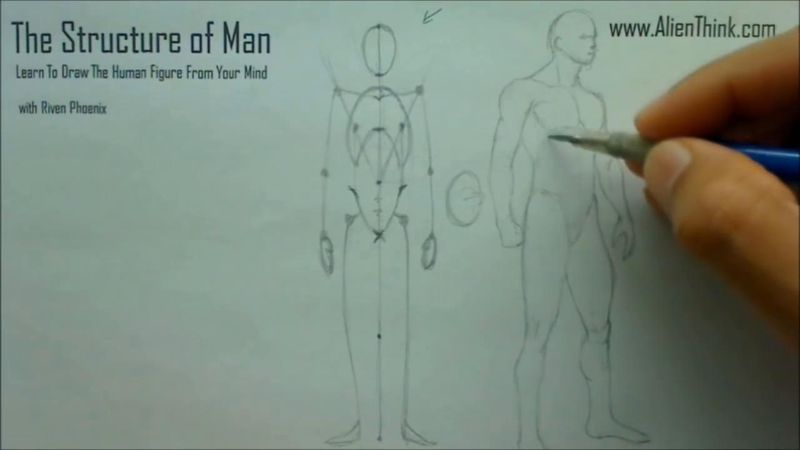
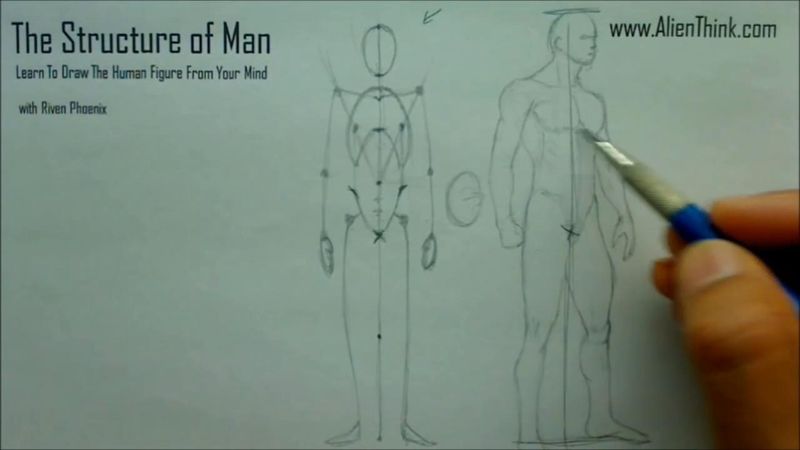
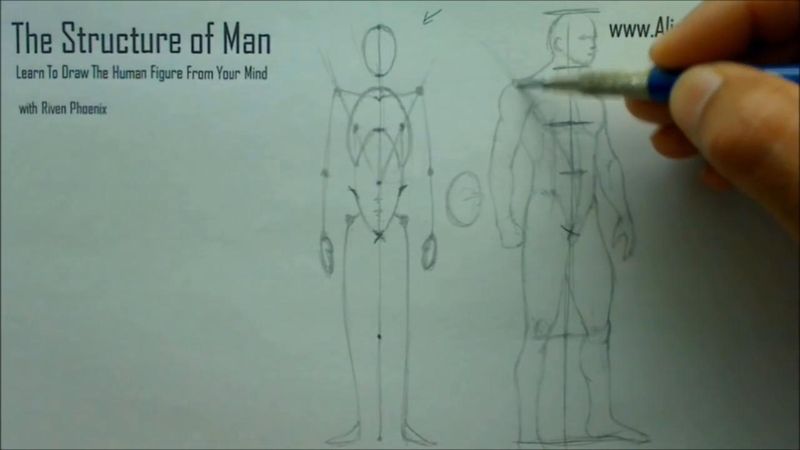
figure. So to demonstrate the concepts here that I just showed you, I'm going to draw out simply a
sketch out a figure so you can see what this is going to look like. Right, so if you've been
wondering, okay, well, how does it, what does it feel like to draw a figure? It really comes down
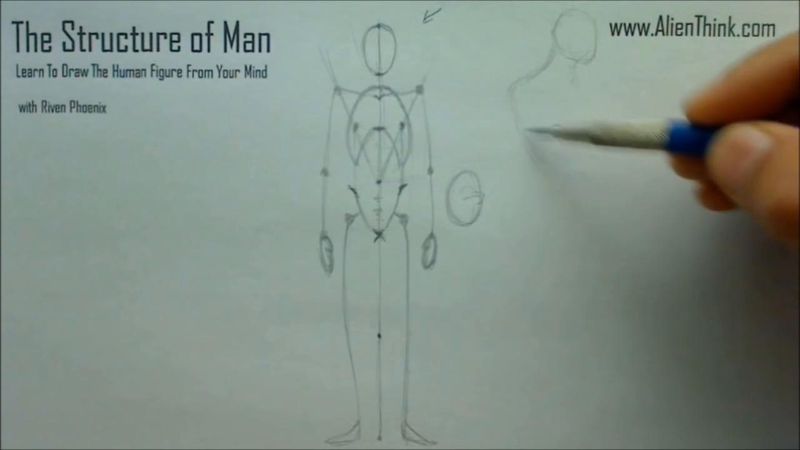
to understanding in the end the, the forms of the figure. So here I'm just going to draw out
very simply like this. And let's say this is going to be the, the pelvis area here here. I'm
just thinking of everything in forms. Now again, you don't want to, I don't really want you to do
this exercise. I think I'm just showing you as to how the, the figure would be constructed.
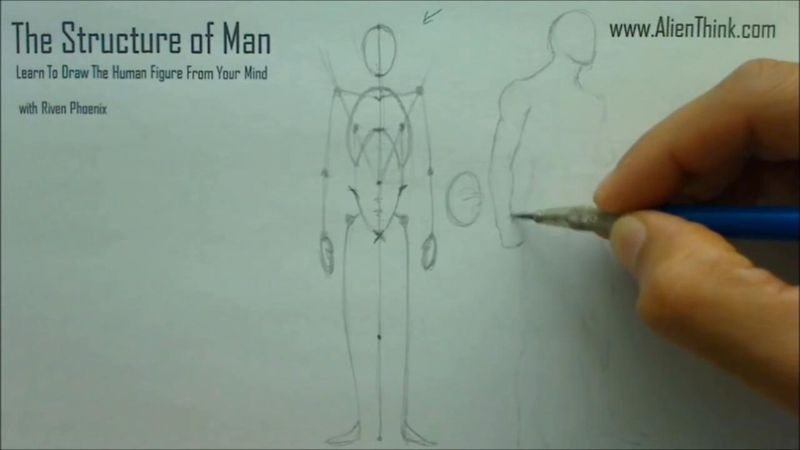
So notice my drawing process that when I jump, put down these ideas for the figure,
a first, I can really just draw it in these very basic shapes here.

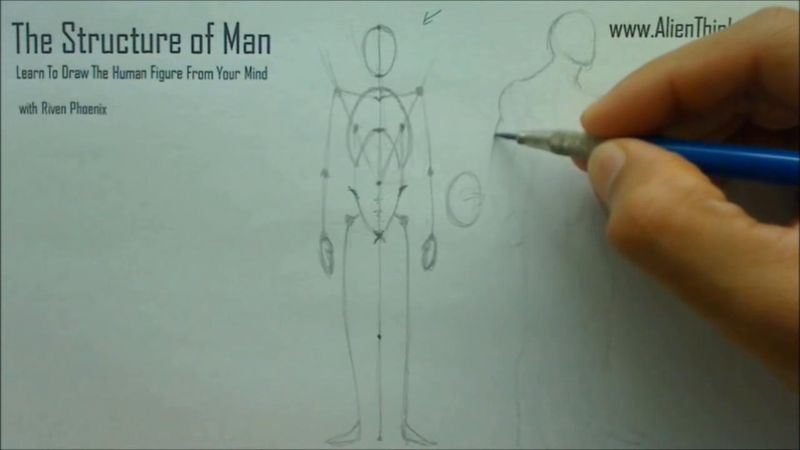
And here I'm just going to make him stand like this or something over here. It's like this.
He's going to be standing like this and then here I'm going to draw out his arms over here.
It's like this over here. It's just understanding some of the simple concepts in
basic shapes over here. So here I'm going to give him his other shoulder over here and this
end over here. And I guess for this hand we can make it like open like this. So you can see I
quickly just sketched out a basic idea here. So once I have this, so what I'm demonstrating to you
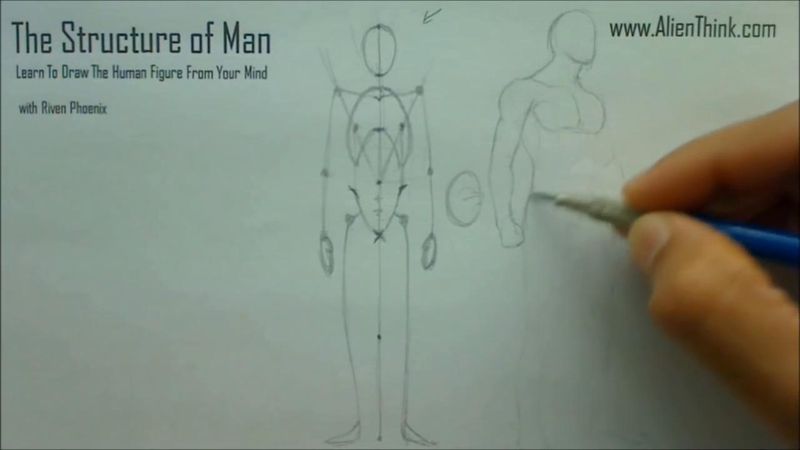
is what the end journey looks like. We get a simple idea here for the figure, right? So I could have
also just drawn out this and draw, or drew out like this skeleton structure, like this,
also, right? Same thing and drawn out the chest cavity if I wanted to. But in the end, what happens
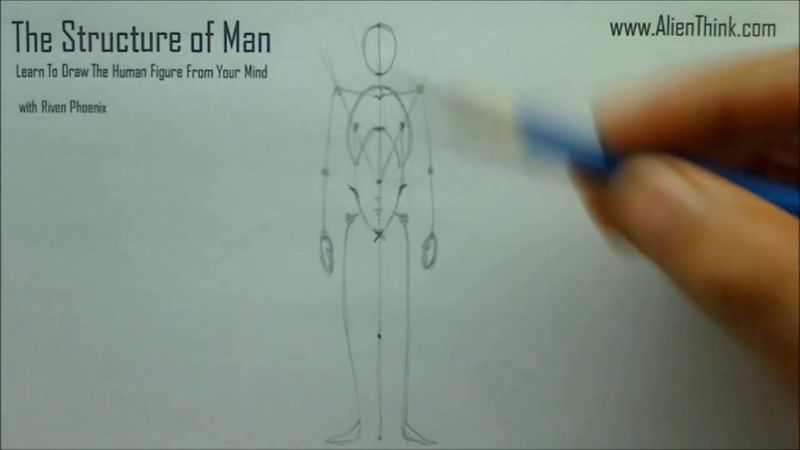
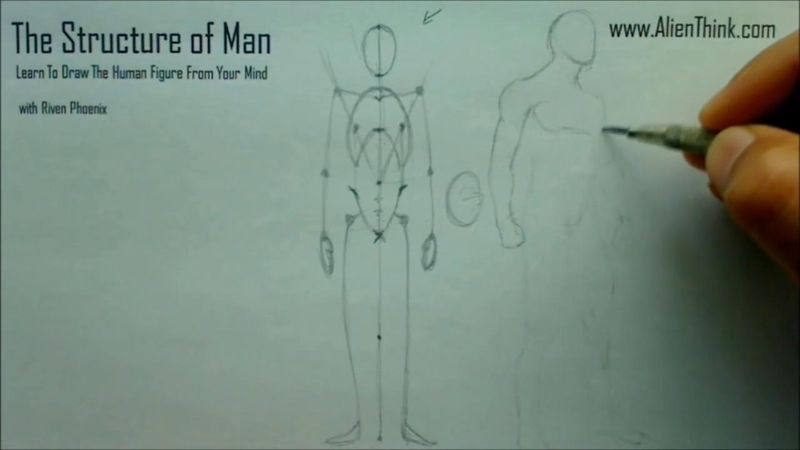
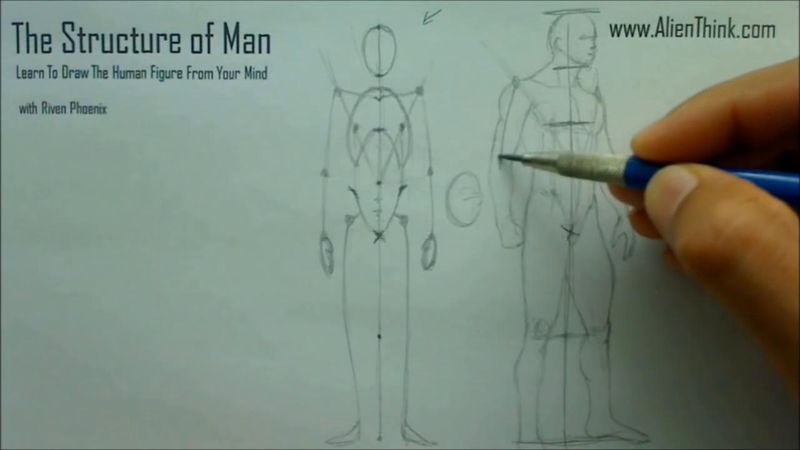
is that you begin to understand the figure as one concept. So once I have this, all I have to do is
really just erase these lines here because now I can just leave the anomalies behind

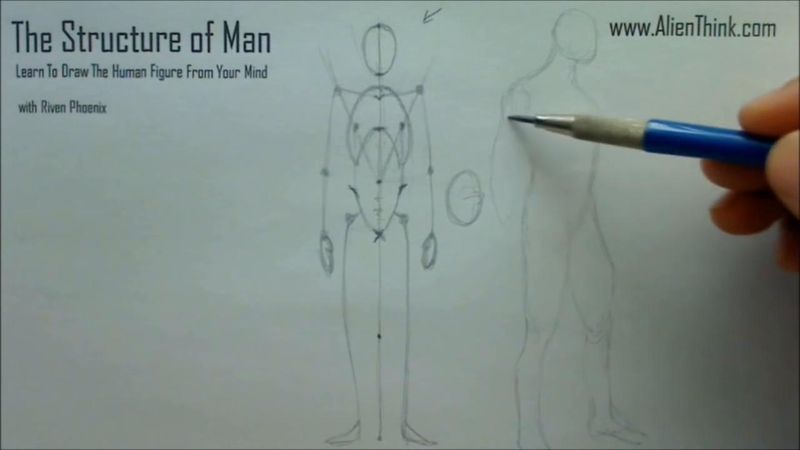
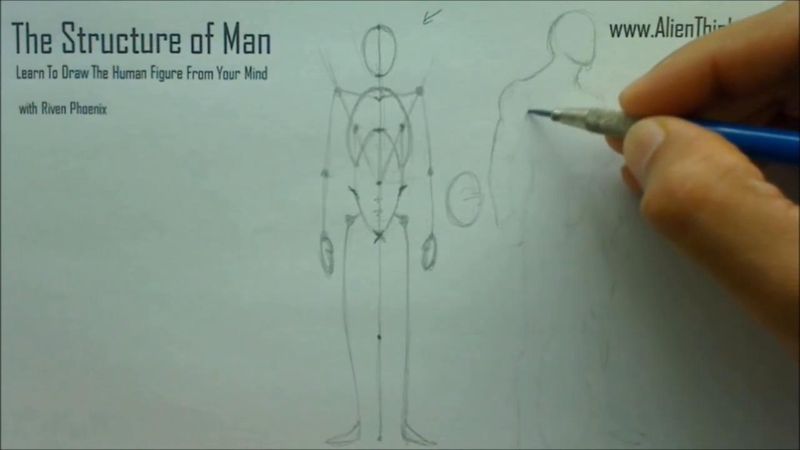
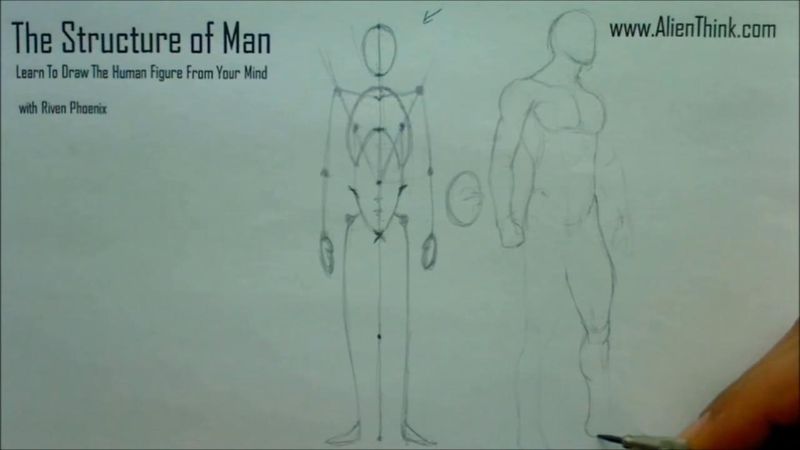
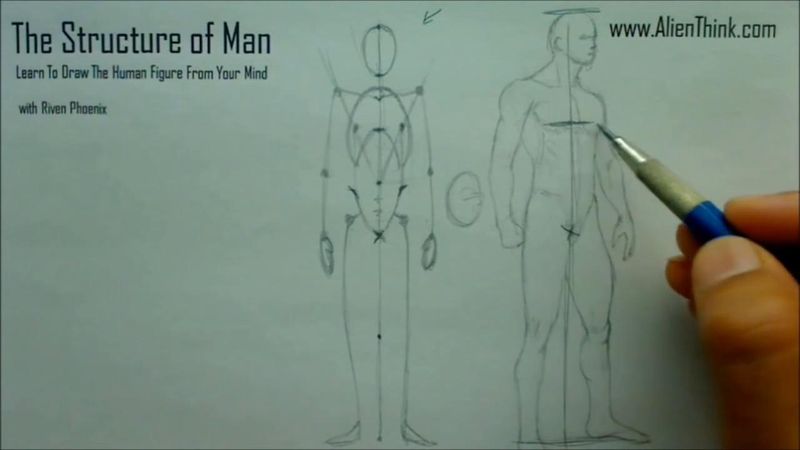
and build on top of my original ideas. So what happens is because now I can see what I had
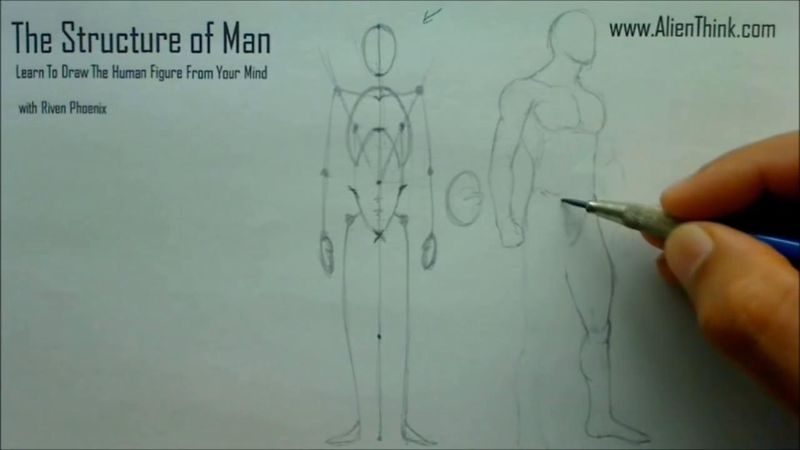
originally put down. So now when I draw out this idea here for this figure, I'm just going to
really think about the figure in more detail here and you'll see us to how this will start to
look more and more realistic, right? This is where the shoulder is going to be and this is where his
fry set is going to be here and then here it's just going to be his forearm, right? So there's
several ways of we'll go into a lot of detail into how to get the mind to get to how to get your
mind to this level of drawing the figure, right? So even if you are taking life drawing classes
and you do this course, you'll see that your ability to draw the figure from life is going to

increase much more rapidly because every time you draw the figure from life, you can just spot
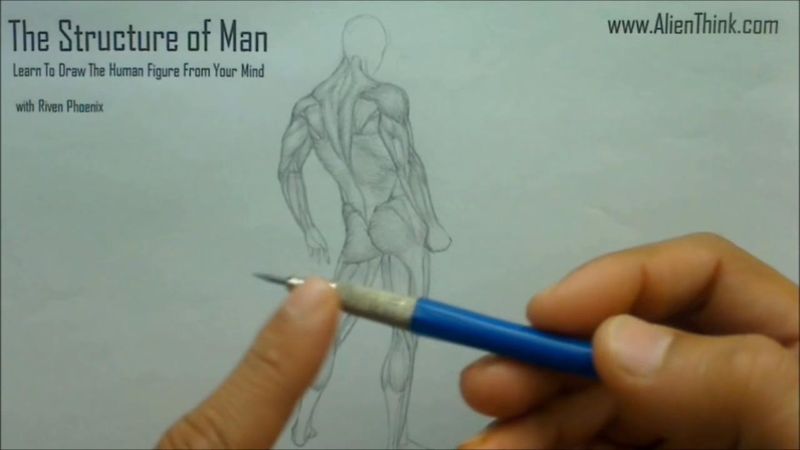
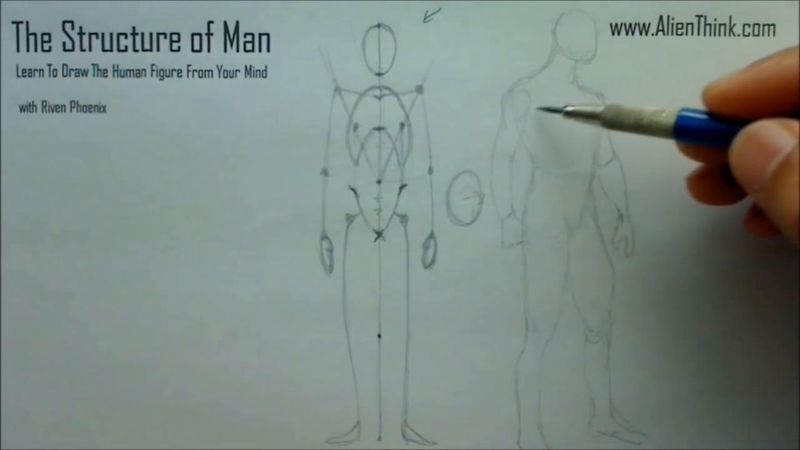
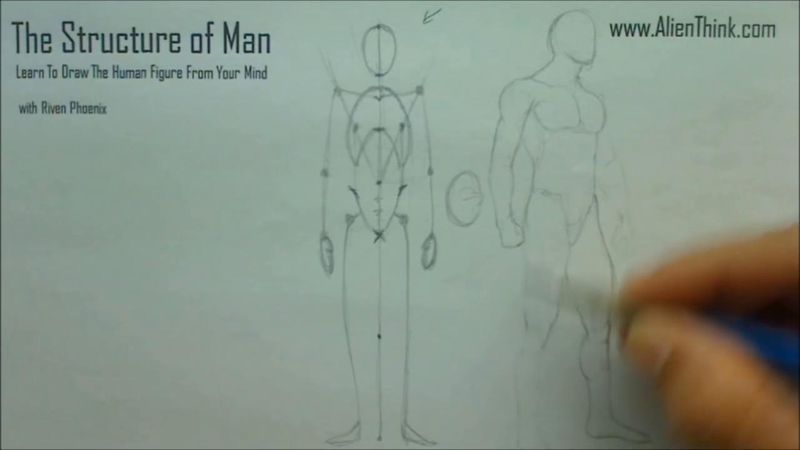
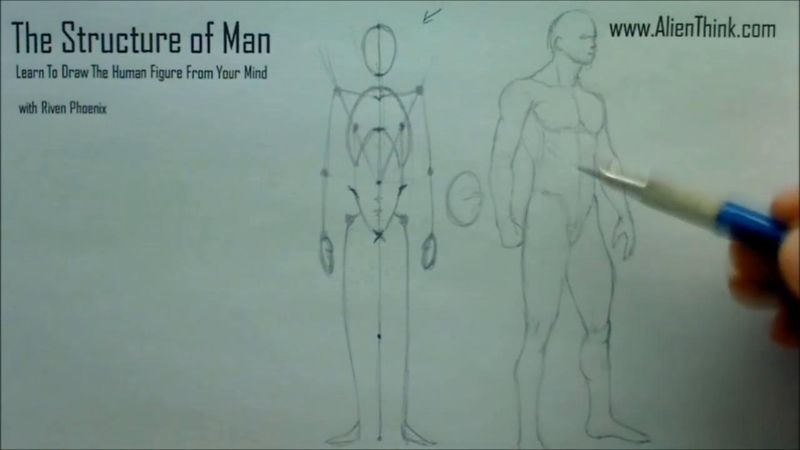
out all the muscles, how they are wrapping around the body. Okay, so this is going to be his
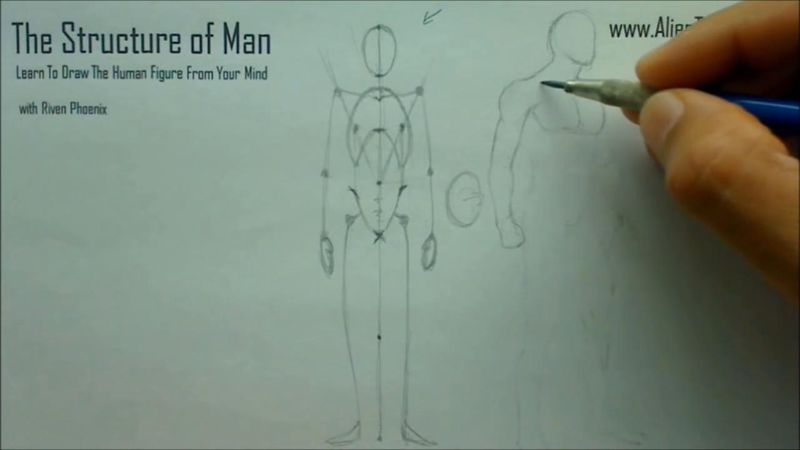
back muscles over here. It's just going to be his shoulder. This is going to just go like this.
This is going to be his back. This is going to be his love handle. You're going to get the muscles
here for the pelvis area over here and then over here and I'm just going to keep everything
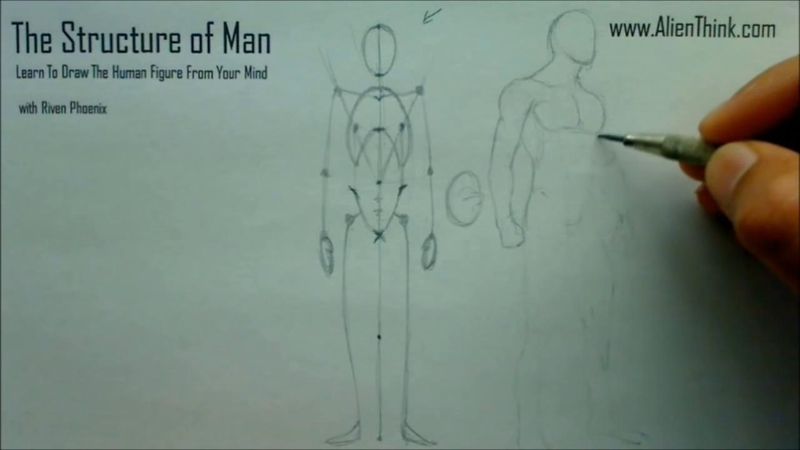
kind of like almost like cartoonish and outline because otherwise we'll just
make this lesson too long. So you're just demonstrating to you, proving to you that what I'm showing
to you all these concepts in these 20 years that I've been drawing that how the mind begins to
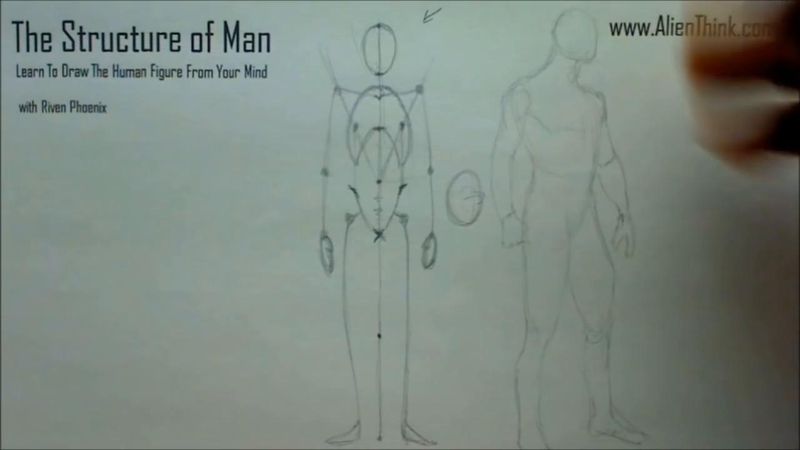
comprehend the design of the figure. So here is your calf muscle here. This is going to be your foot
over here. It's like this and here I'm just going to simply look through this as fast as I can.
So here I'm just going to make this like an outline over here. So over here is going to be his
knee over here. It's going to be his crotch area over here and this is again is the concept that we
just talked about, but it's the love handles. Right, so here I'm just being a sketchy.
Later in the lessons we'll show you when we get to

when we completely understood the whole design of the figure, the all anatomy of it will go through
this process of figure sketching and beginning to understand, okay, how do we draw the figures much
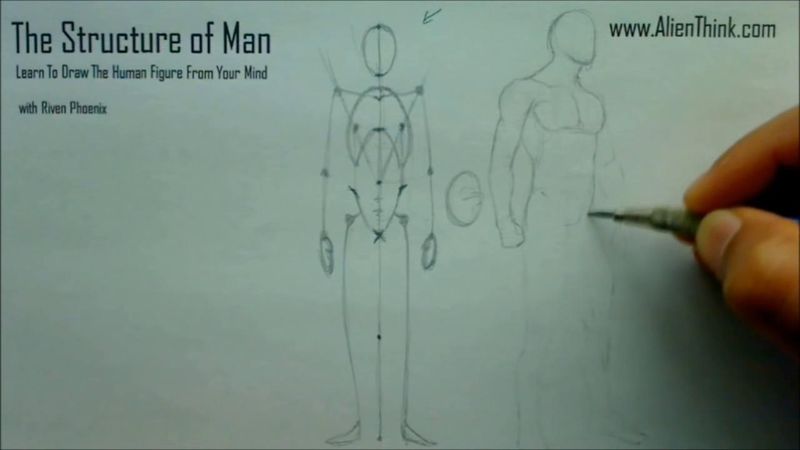
more realistic in shadows and stuff. Okay, so basically I'm just sketching it out, but you can see
I was able to put the figure down very rapidly here without much effort. Right, he's just thinking
about how all the muscles fit together on the human form. Right, so here we come to this hand,
here I'm just going to draw out his hand like this. Right, I'm just going to sketch this out.
So obviously if I spend more time, I'll just make it more and more realistic the more I go through it.

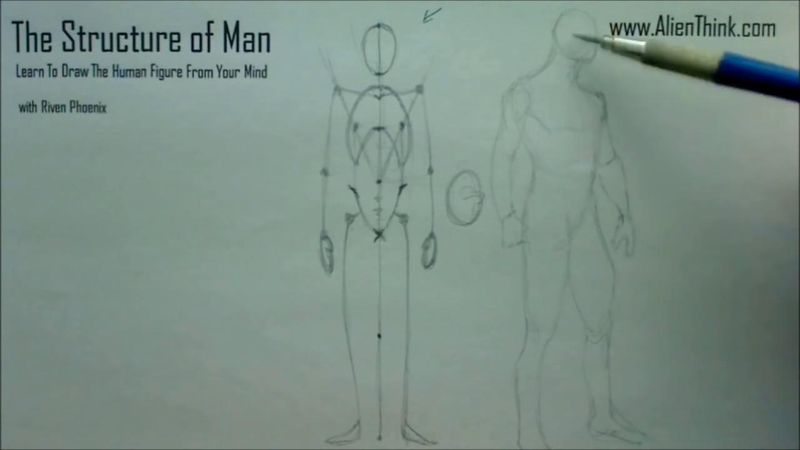
Right, so and here is the the brow area over here. It's just going to be his eyes over here.
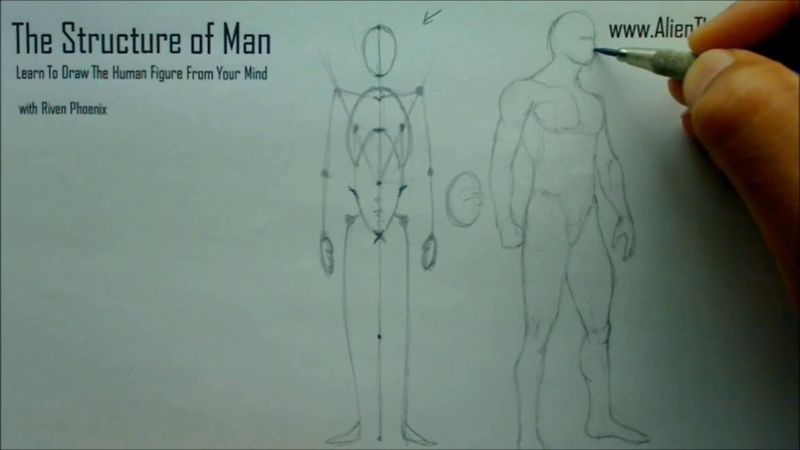
It's going to be his nose right here. So he I'm just going to quickly put down
very simple concepts here. Right, so here's yours going to be here. Right, not much effort.
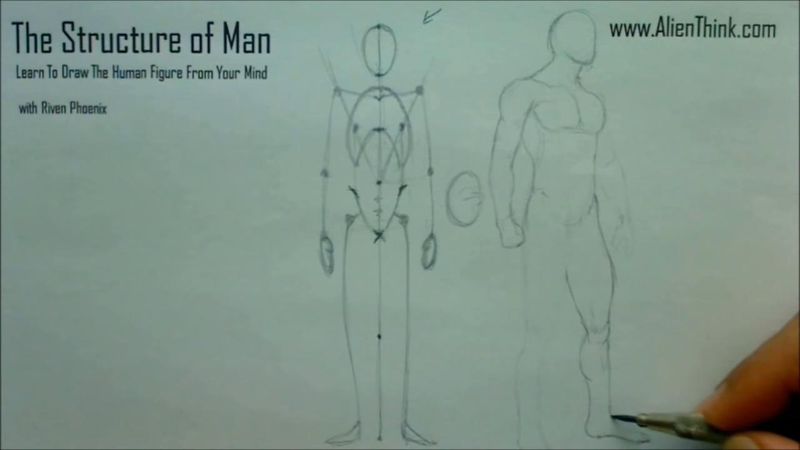
This is like a very simple sketch of a figure from the mind where we can make it more realistic looking.
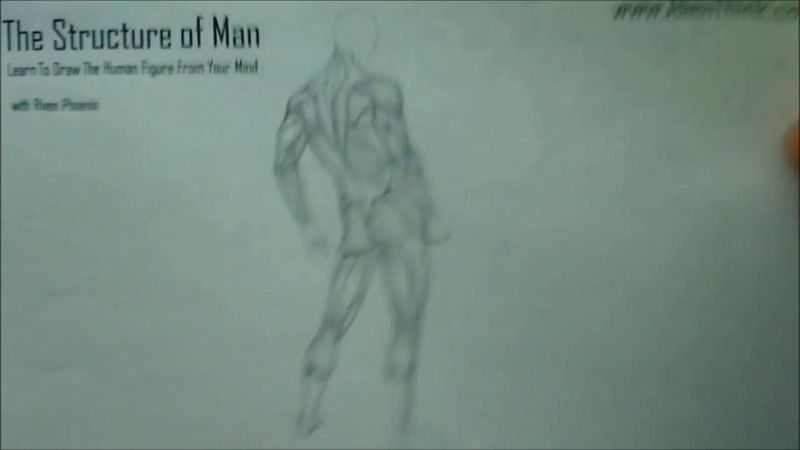
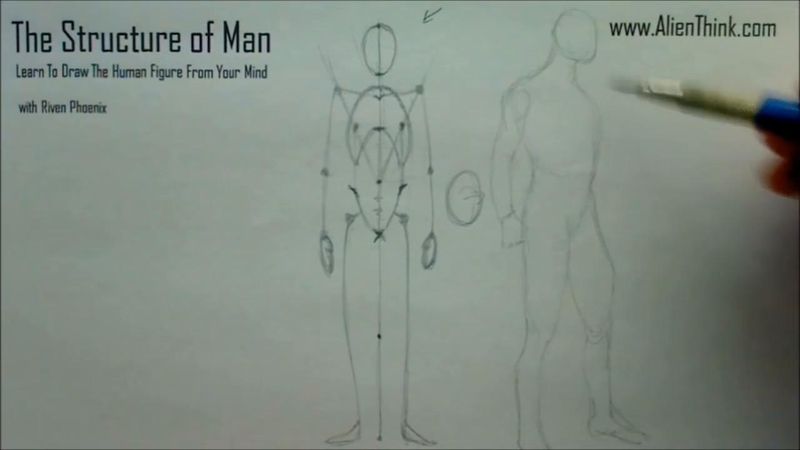
Right, so if you look through the all the lessons, you'll begin to see how realistic we can get
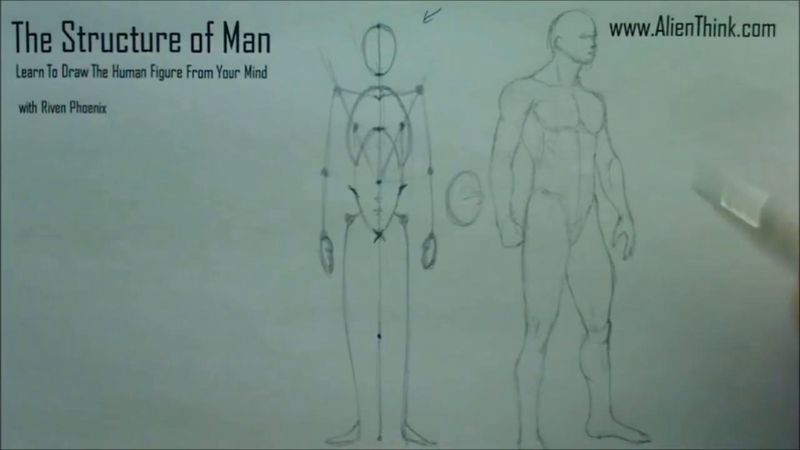
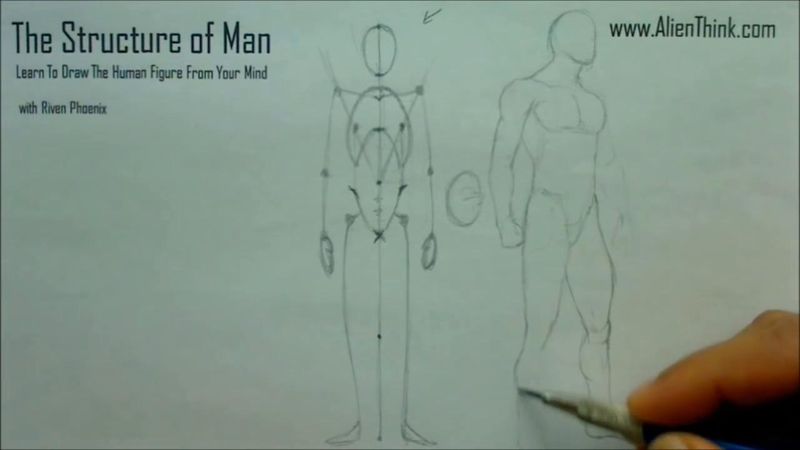
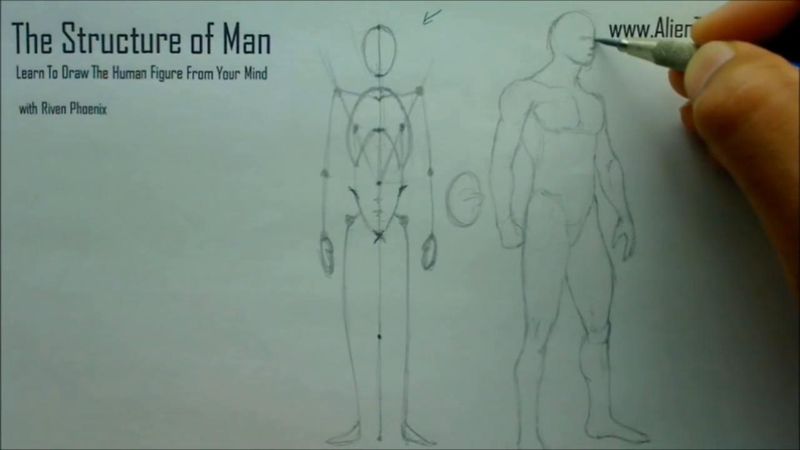
it to. Right, so what I'm showing you here is that these concepts here exactly the same over here.
Right, because if I look at this and say that, okay, let's measure this. This is the height of the
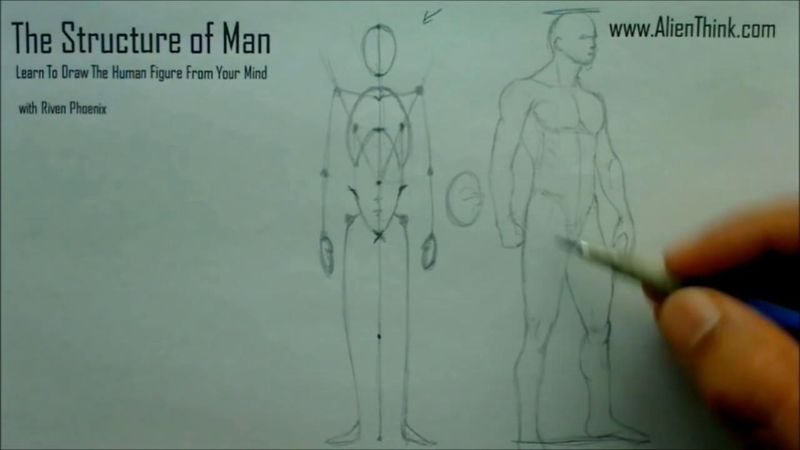
figure. Right, and then this is the area of the crotch. Right, so if I drew this line out just like
it's obviously this is three fours will be in three dimensional. But it's the same concept. Right,
here is the line we did that this is where the where the pack muscles are look at was for you.
Automatically, my mind was able to do that. Right, this is where the line for the chin is.
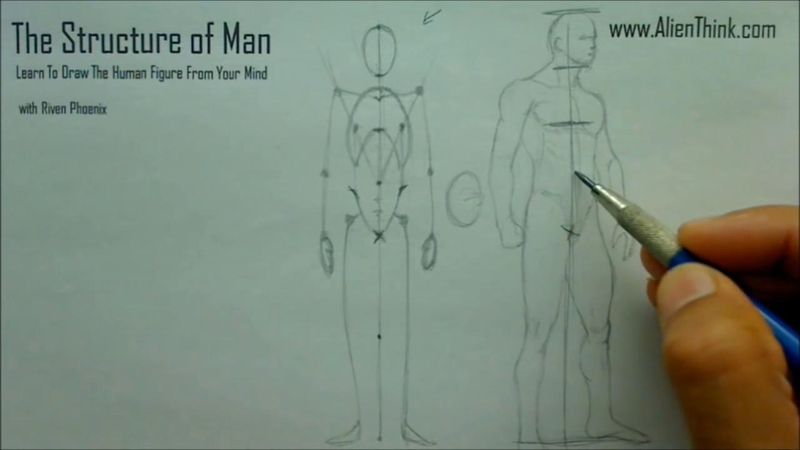
And obviously, this is where the navel is going to be over here. Right, so this is where the line
for the navel was. And over here, when I divide this in half from here to here, this is where
the line for the knees is. Right, so it's above. Obviously, this is in perspective. It's going down,
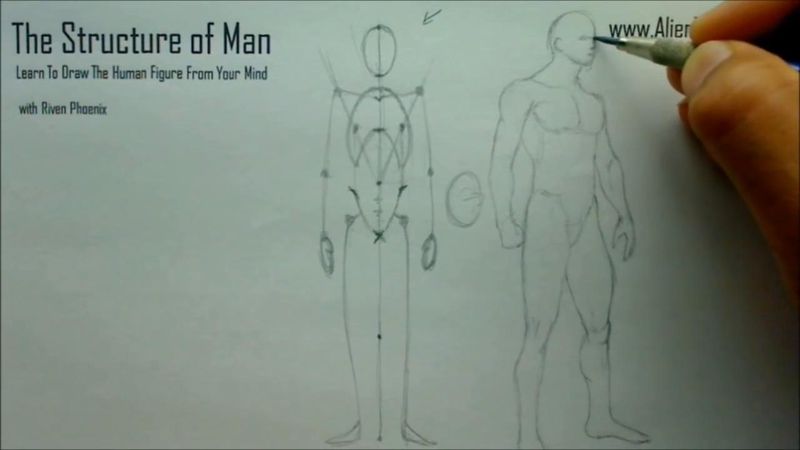
but over here, look, it's above. Right, and same thing here that if we put this in 3D,
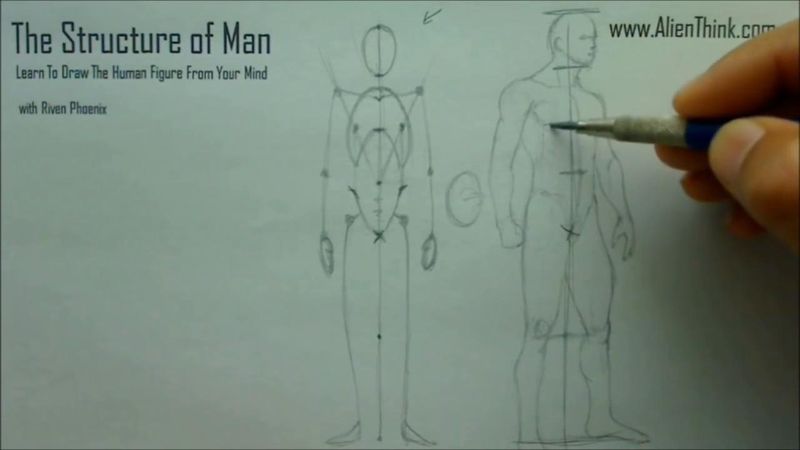
that these are where the naples is. Right, three dimensional. This is where the love handles just
like this over here. They went like this. Right, so from here, if we did that V shape, we know that
this is where this is going to be. This is where this is going to be. And again, this is
the same concept here. I'm just drawing out the mannequin. So you can see what I'm showing you
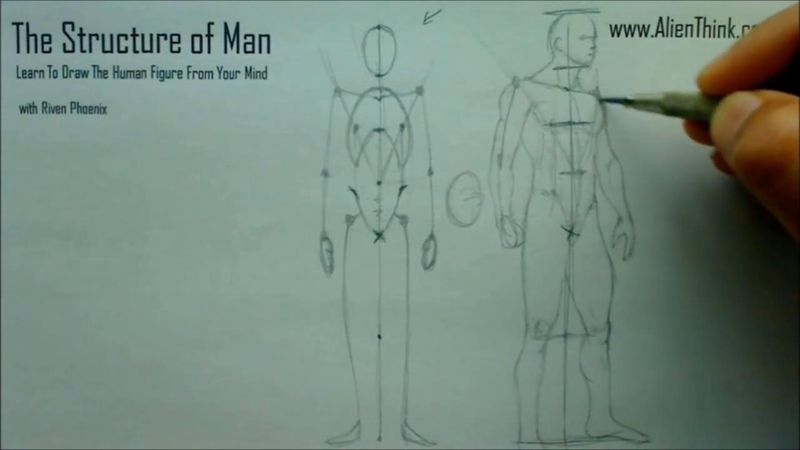
proving to you that how the mind understands much more rapidly figure drawing. Right, so here,
this is where basically the engine you would look like. Obviously, the figure would go through
that process of making much more realistic figures, but this is what it feels like. It's just like
drawing from bliss without much effort. So I'll see you in the next lesson. Thanks.