Hey guys, my name is Riven Phoenix and welcome to the Structure of Man, Learn to Draw
the Humanity Figure from your Mind Training course.
Okay, so in the previous lesson, we went through the concept of invention where we were going
through the process of proving to the mind itself as to how it could create its own rules
of understanding the concept of figure drawing, right?
So I showed you the beginning of the journey of your figure drawing course and then this
circle really signified the training that's involved in the Structure of Man and I also

showed you the end journey proving to you that what I'm showing you here is obviously
going to manifest into the figure drawing skill, right?
So everything that I show you in these lessons, it has to be proven onto paper that what
it is, what it is that I am saying that you should be able to reproduce it and say that
yes, it is completely true.
So in the previous lesson, we went through the concept of invention, right?
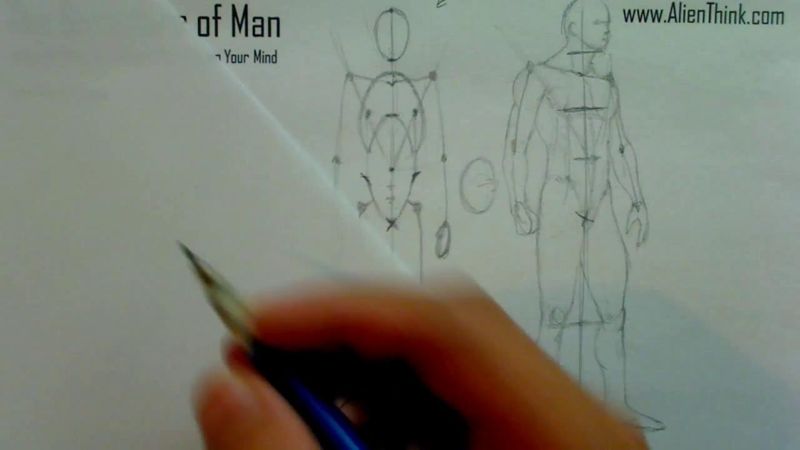
And that concept involved a very simple exfoliation of this that I could just draw out, let's
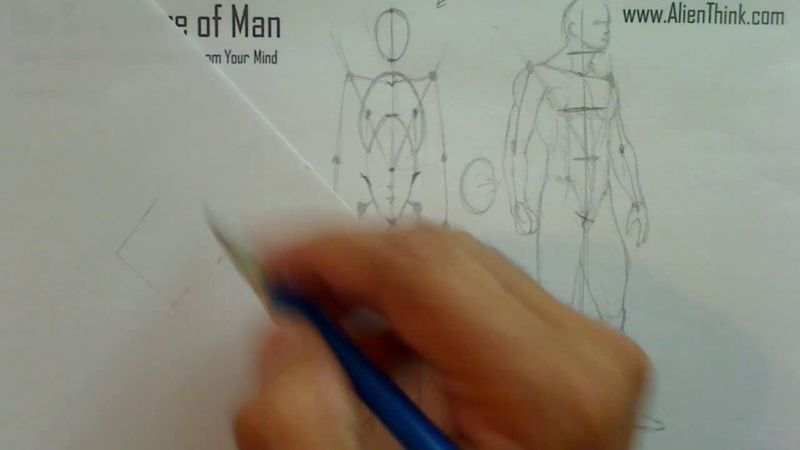
say it is a shape over here, put two circles here, put a circle mark an X in it, right?
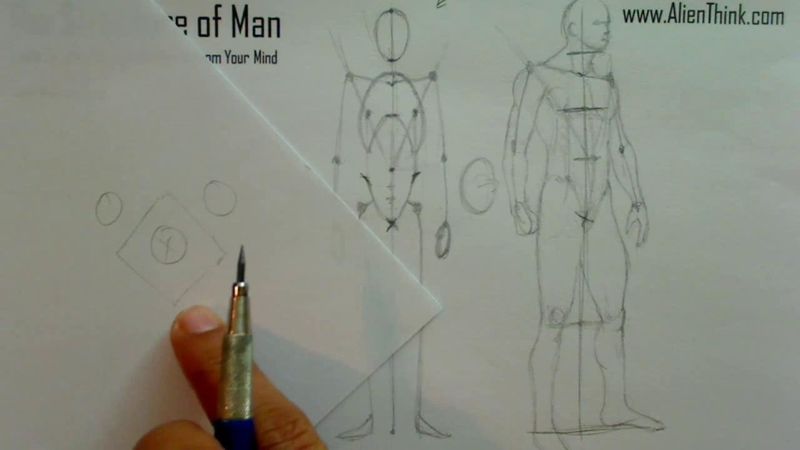
Because I was its creator of this concept, I knew all the rules and I can artistically
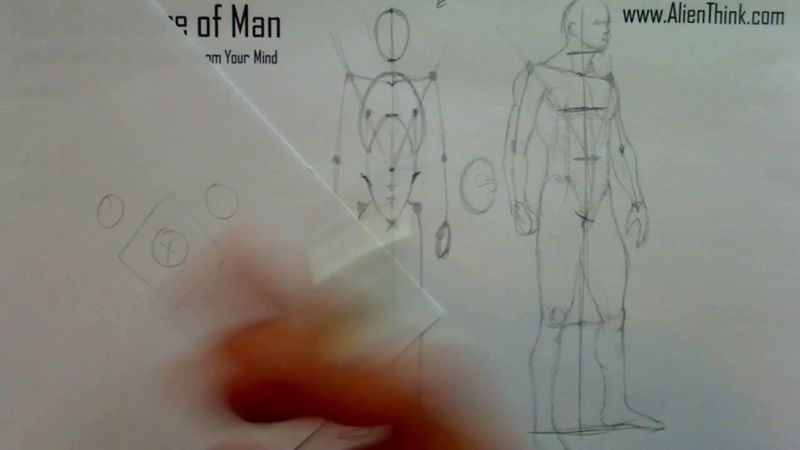
in any style keep drawing this over and over because I'm into master.
So in the same way, when we went through this training process, through this figure, we
can do the same exact thing, right?

So to do that, we're going to now create the core structure of the figure, meaning that

we're just going to do the same exact thing, but we're going to do it without looking at
it, we're going to prove that yes, it has really imprinted in the mind.
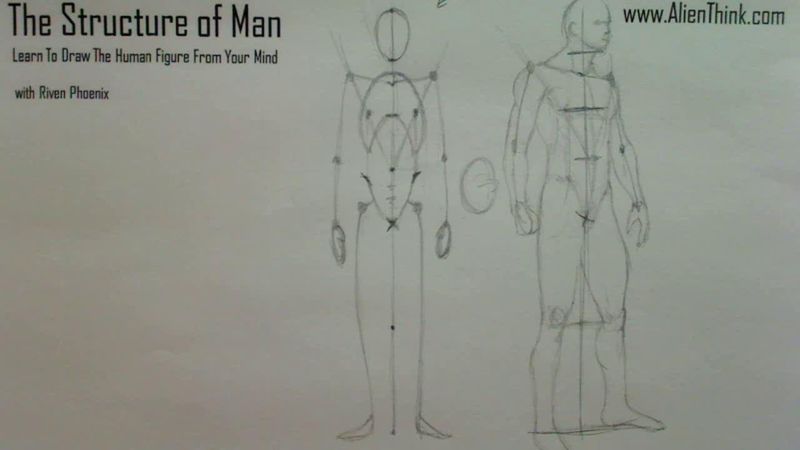
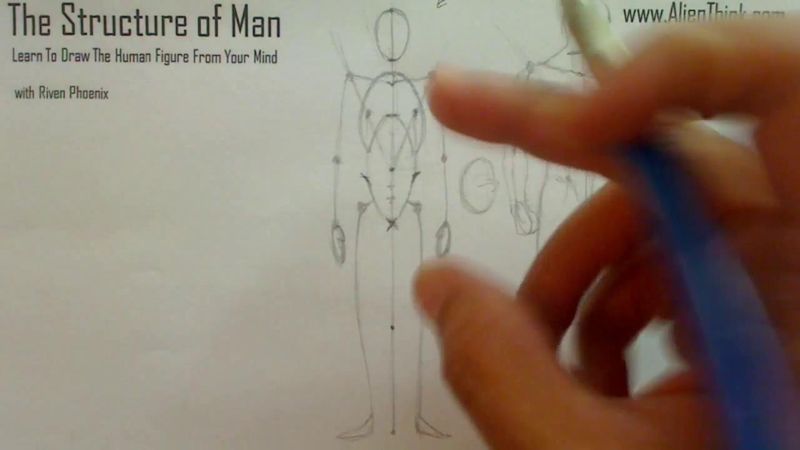
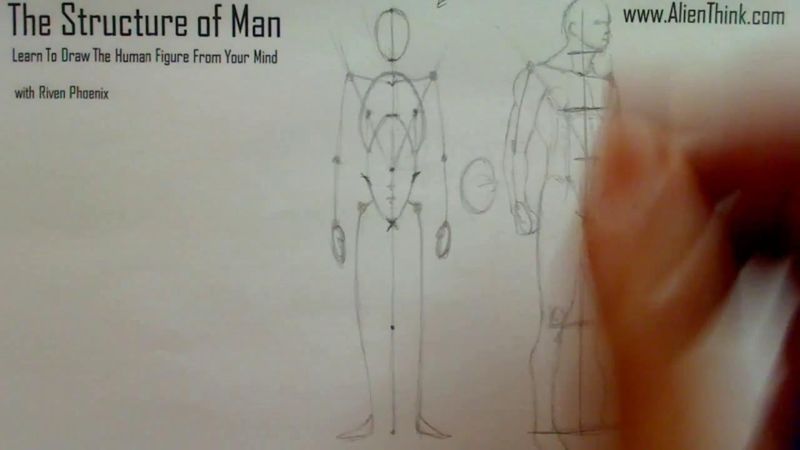
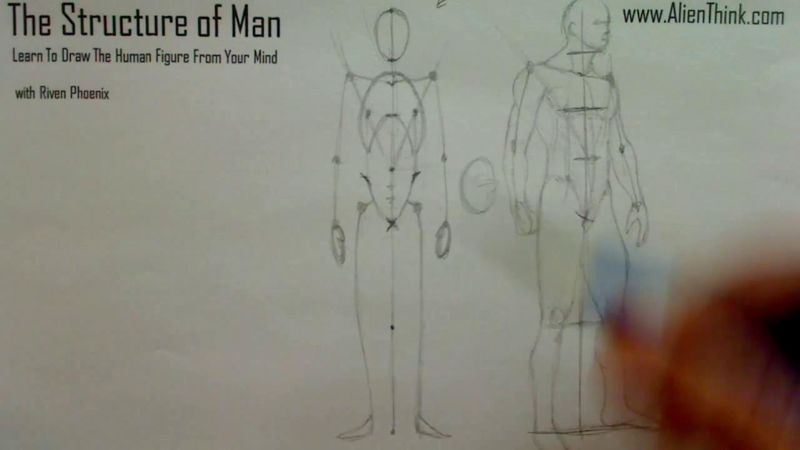
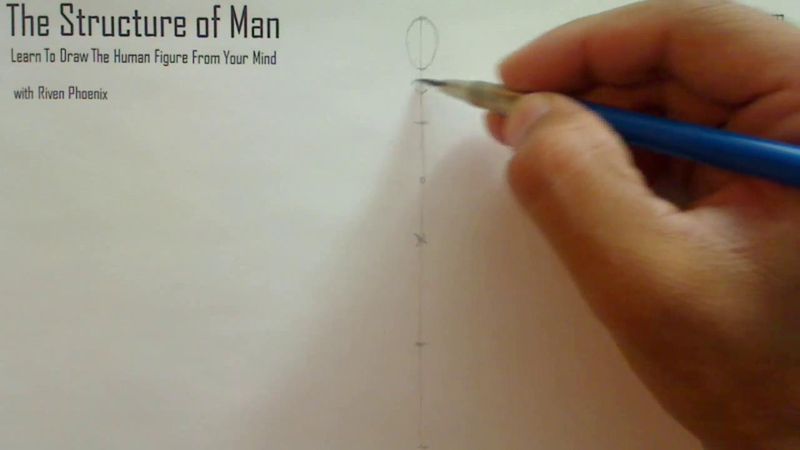
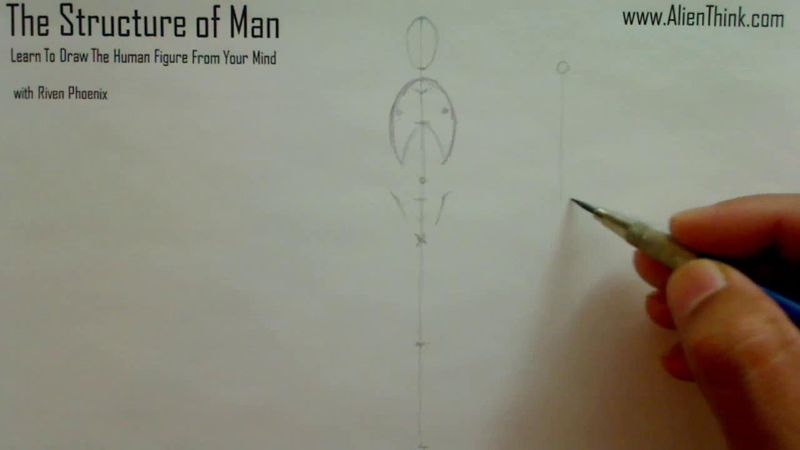
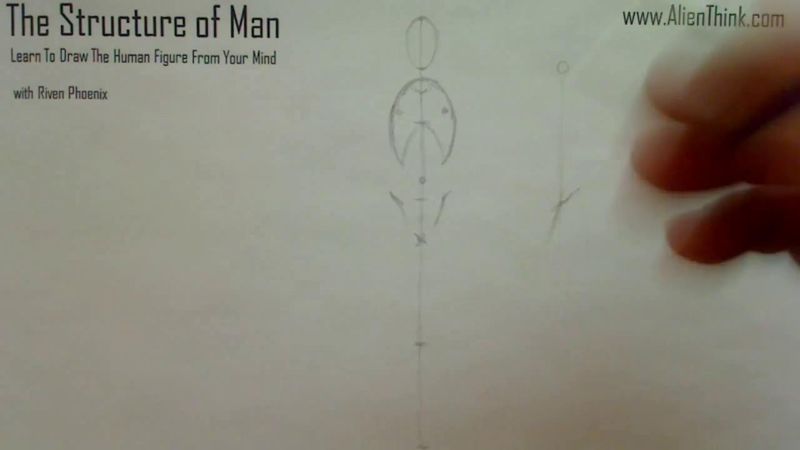
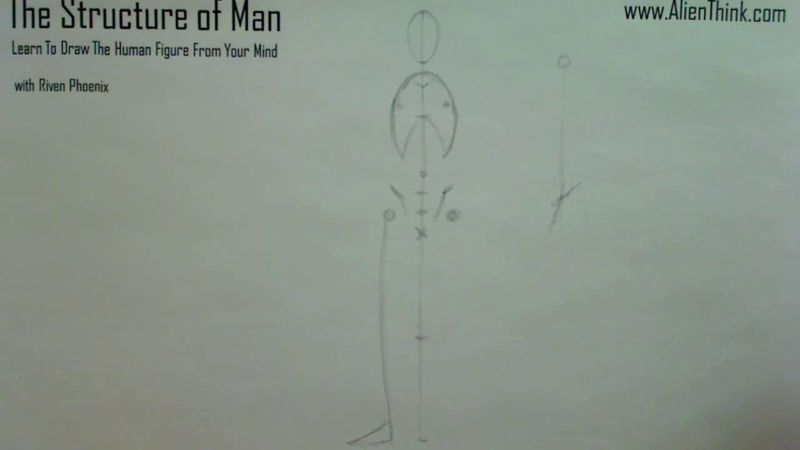
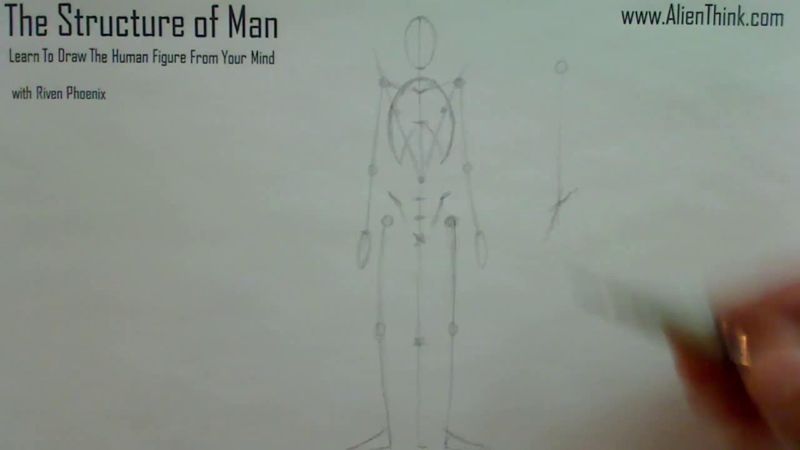
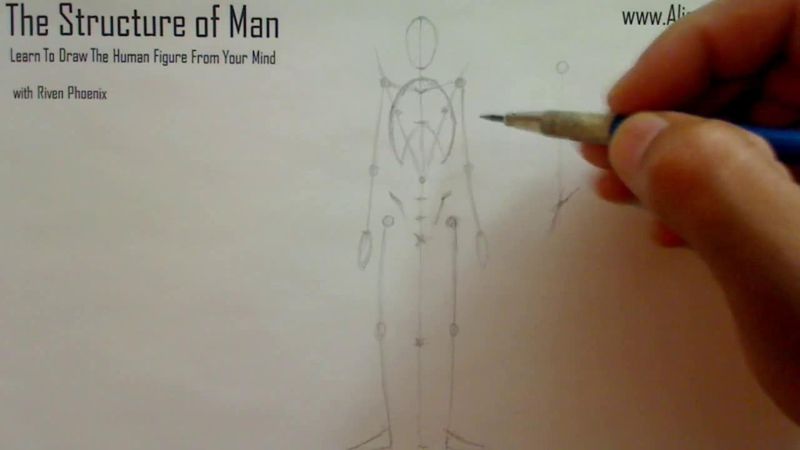
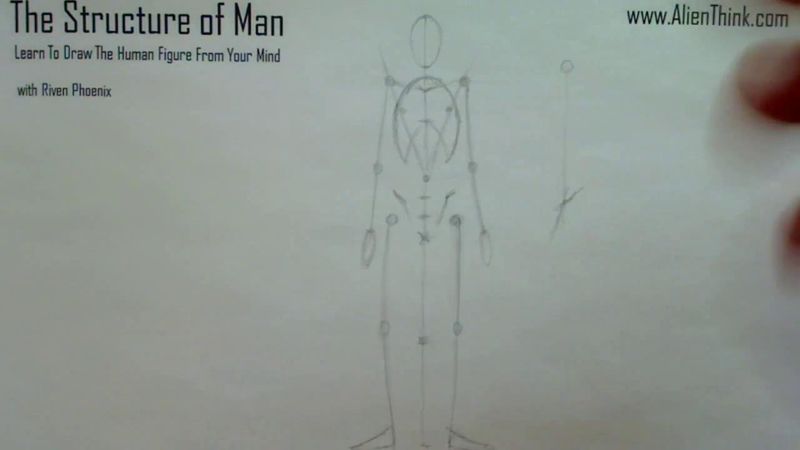
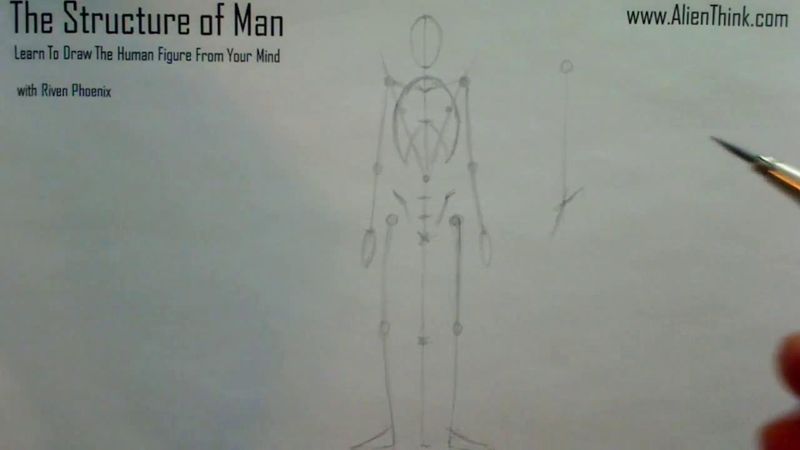
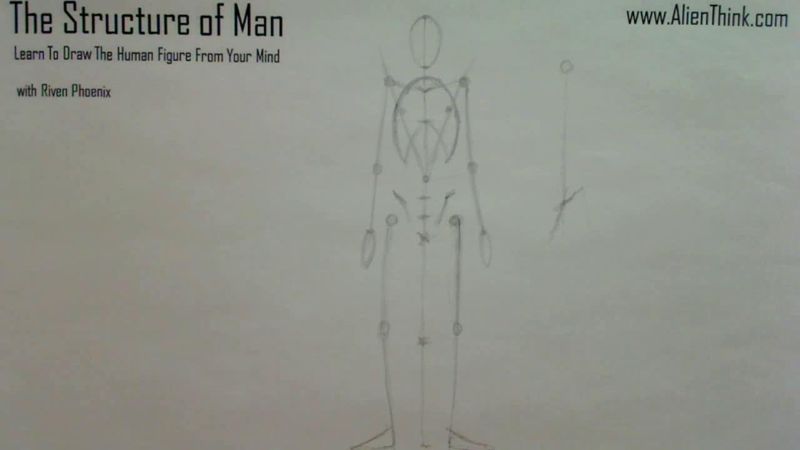
So to start out, we're going to draw out the front of our invention of the human figure.
So our first basic idea was in this concept of invention.
Remember, we know that in the end, we will be able to draw the figure very fluid and
very artistically, but right now, we need to train the mind to understand.
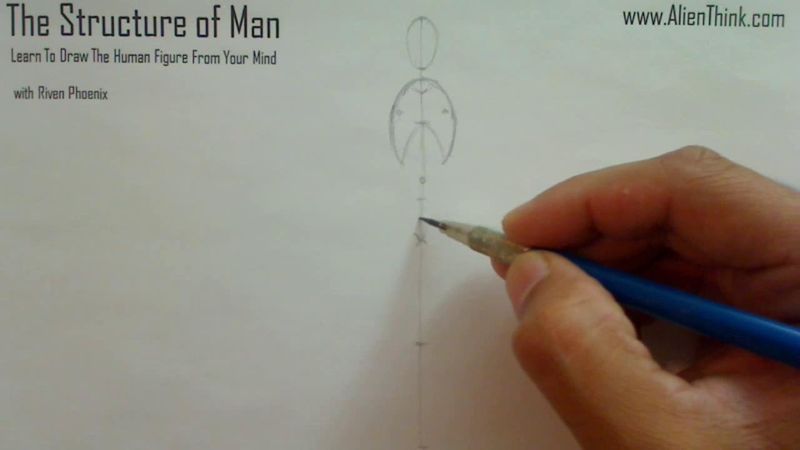
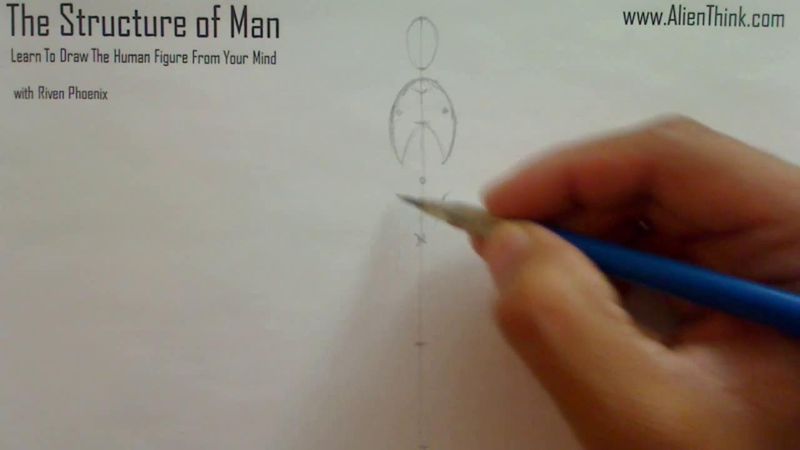
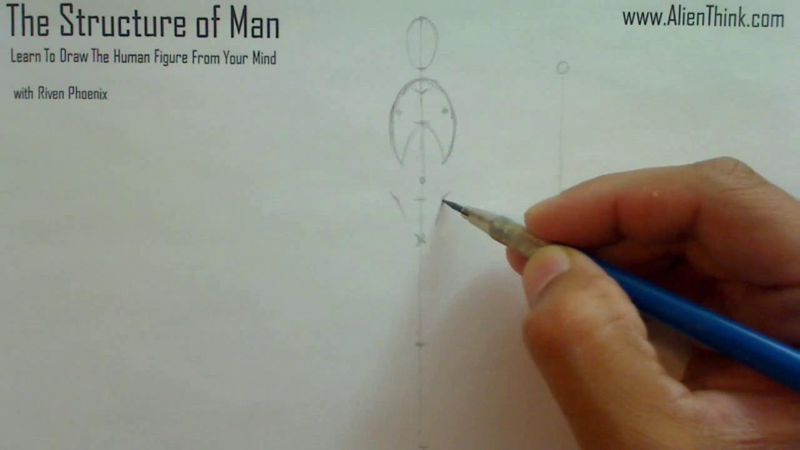
So to do that, we drew out here, I want you to draw out a simple line here, right?
So this one is the first initial idea that we had said, right?
All you have to do is to really just draw it online.
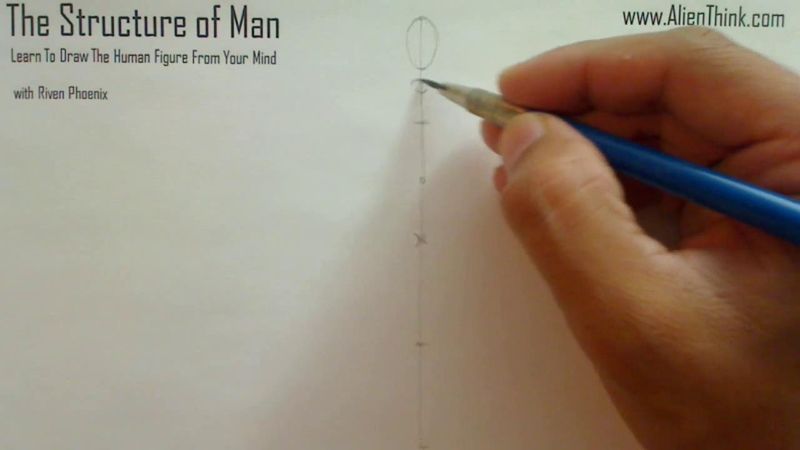
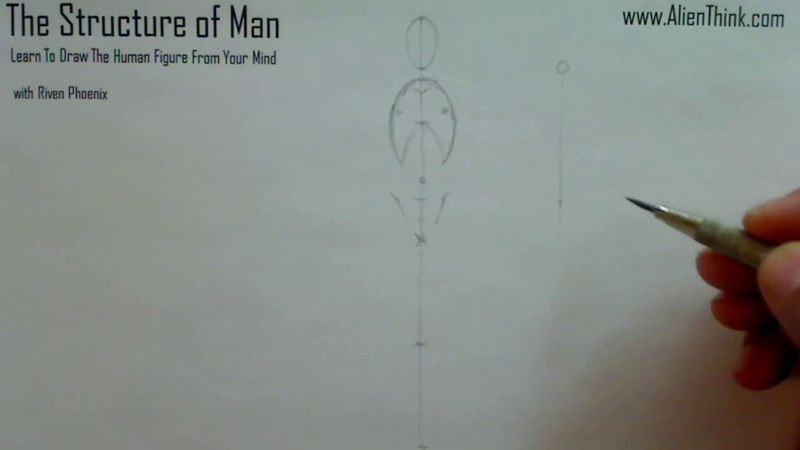
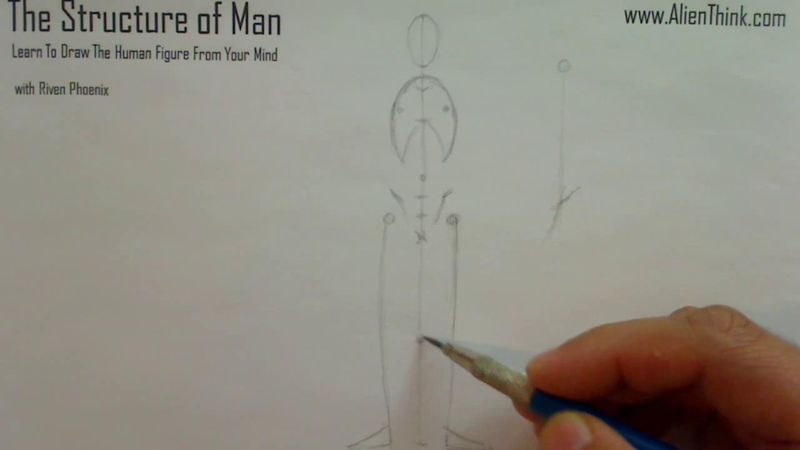
You divide this guy in half, basically, you can just eyeball it.
This gives you the area for the crotch.
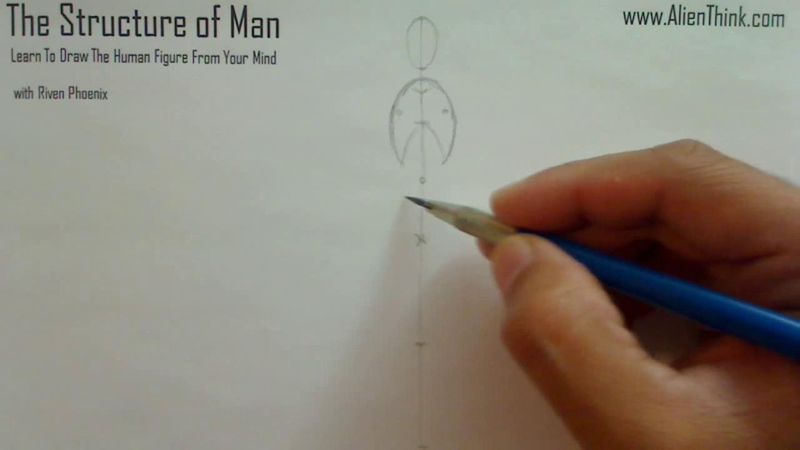
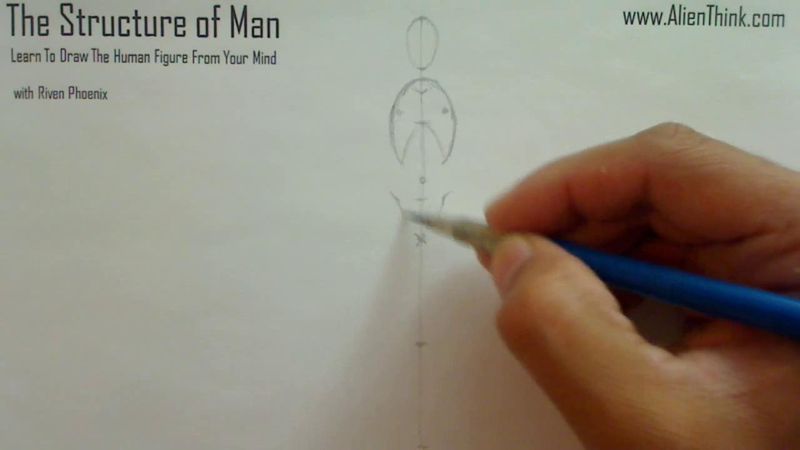
And if you go from here to here, divide in half, approximately here, you will get that
the knees should be above this line.
When you divide from here to here in half, you're going to get the bottom of the pack muscles
from here, from the crotch here, you'll get the navel, and from the bottom of the pack
from the top, you'll get the area of the chin is.
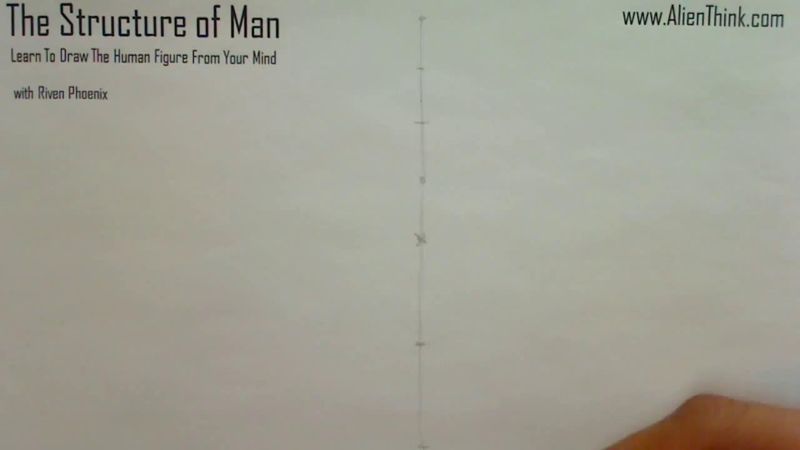
That's all we need.
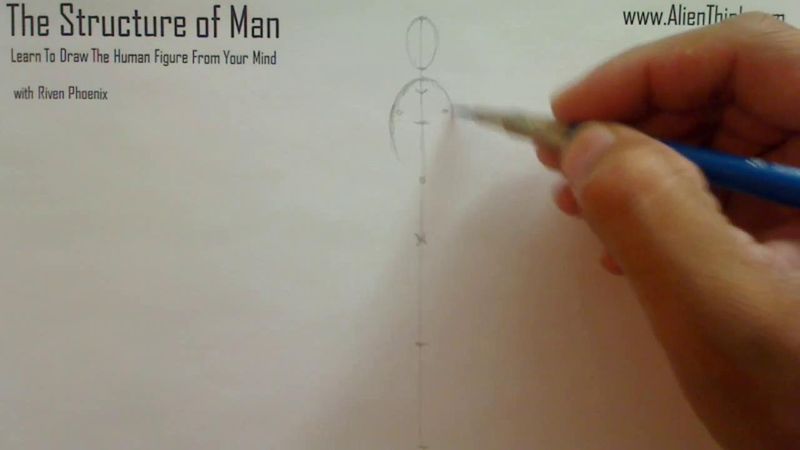
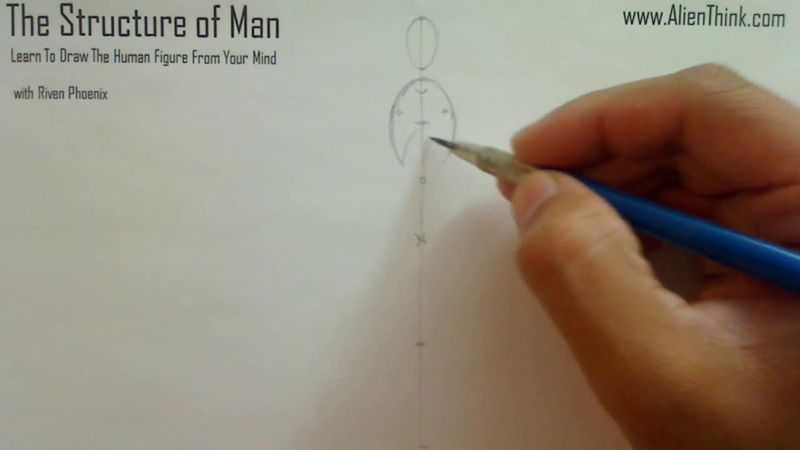
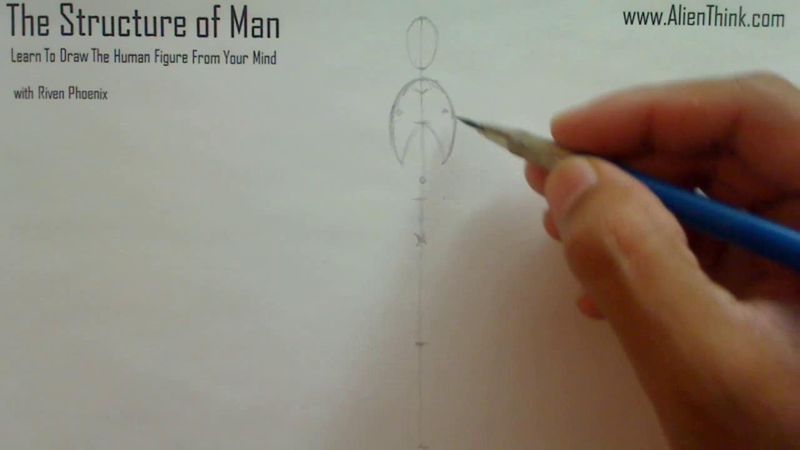
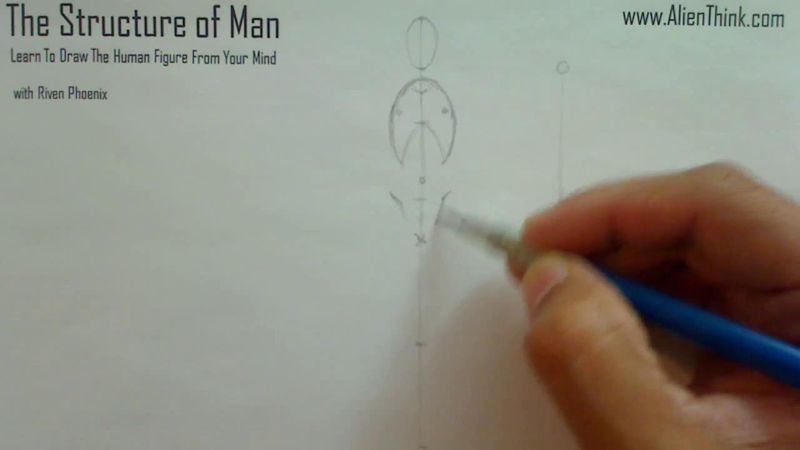
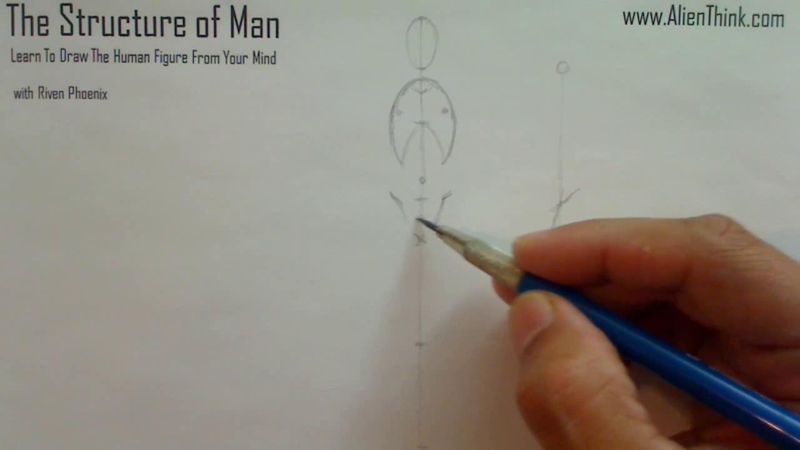
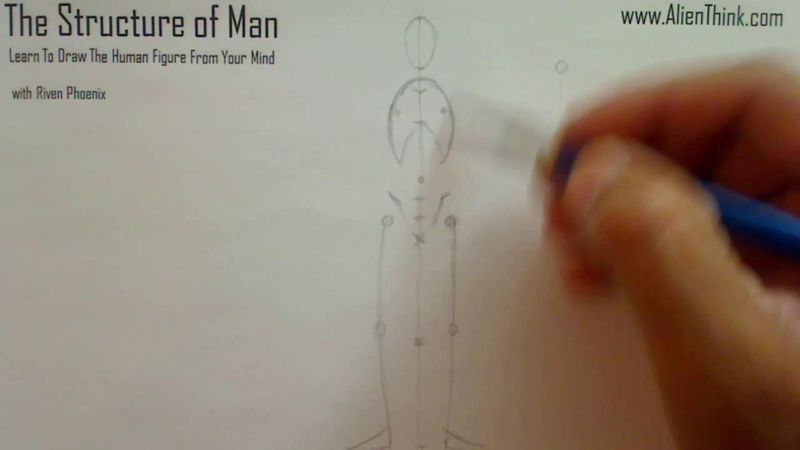
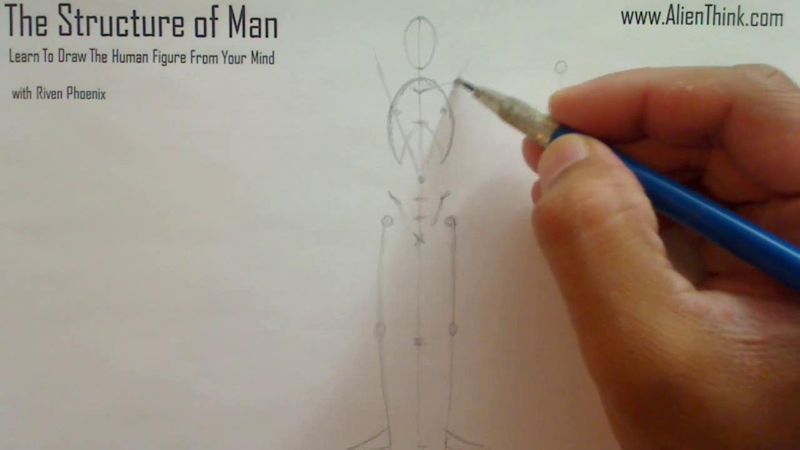
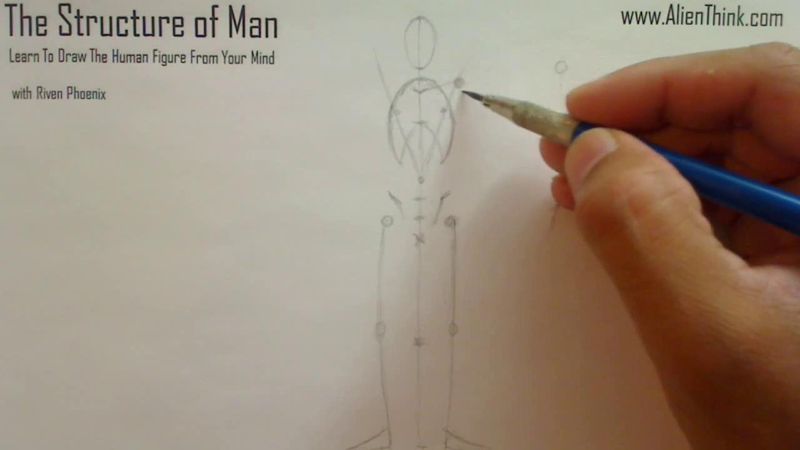
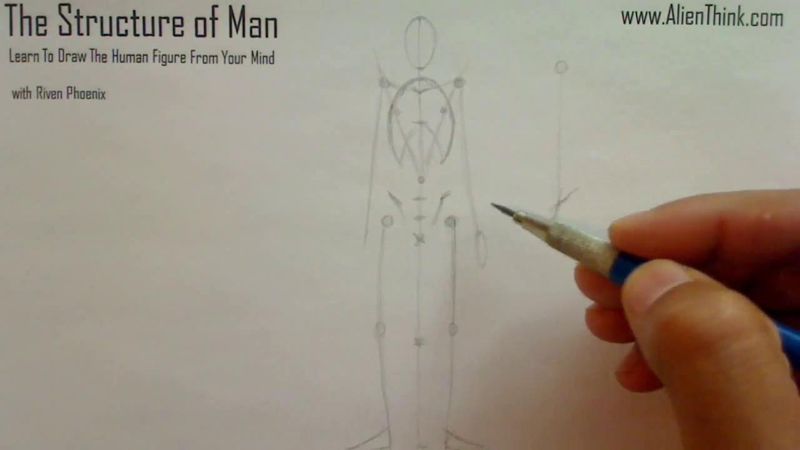
And then all we did was draw out a very simple bowl shape here for the head.
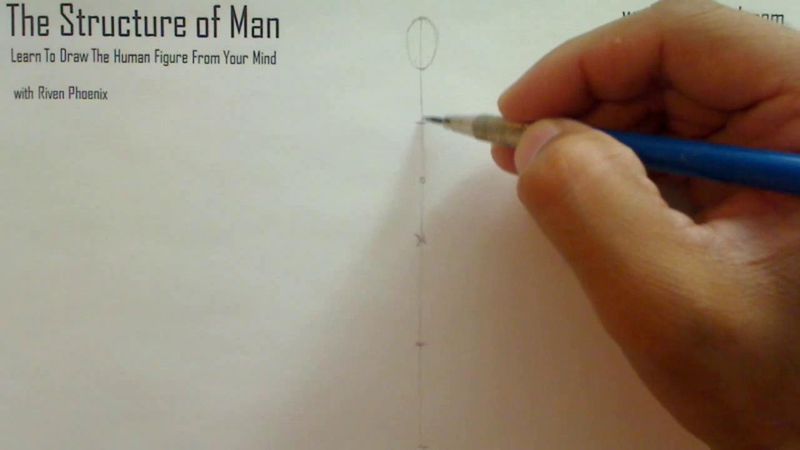
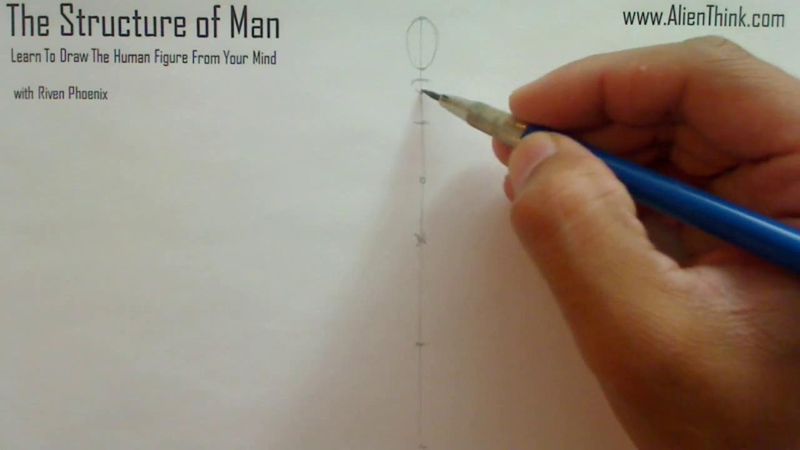
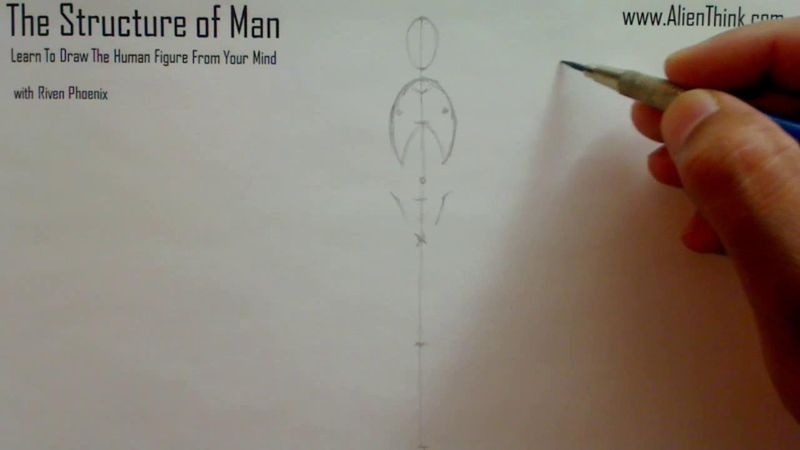
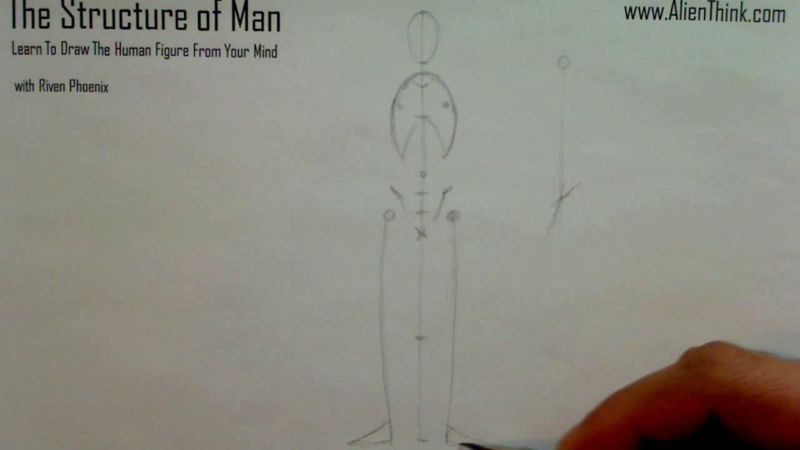
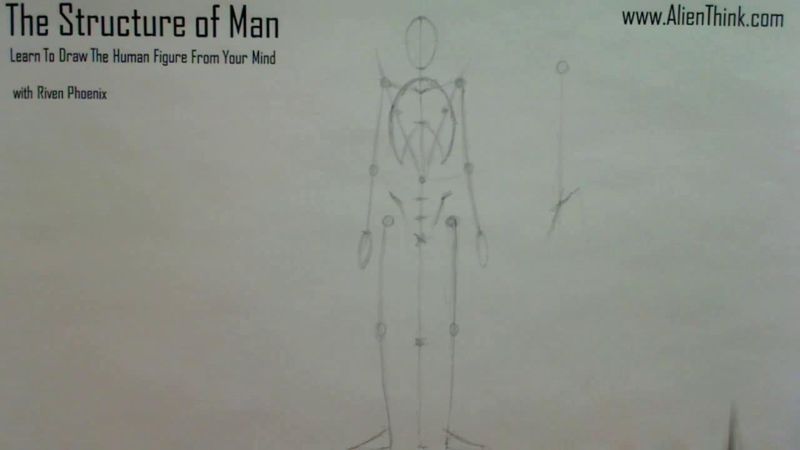
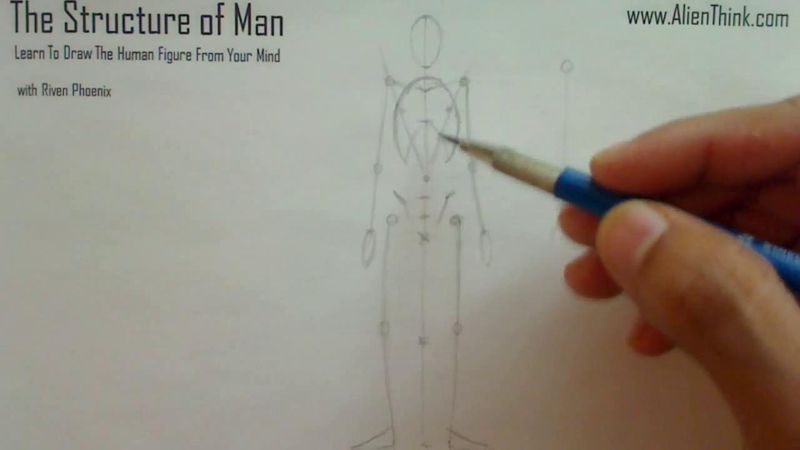
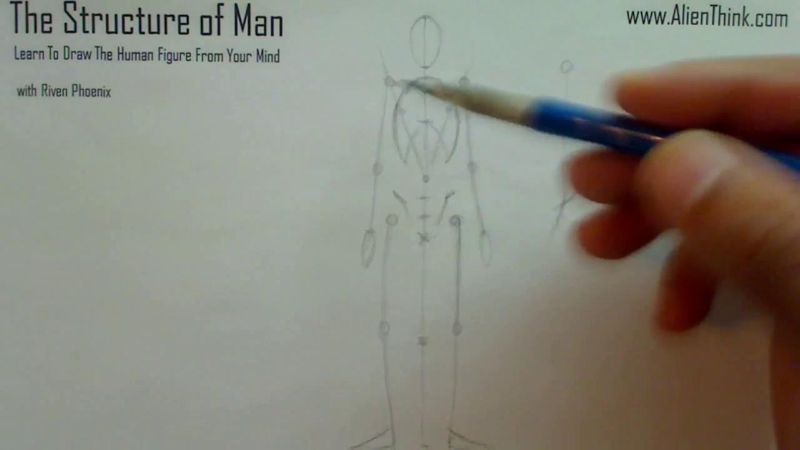
Once we did this where the pack muscle, the bottom of the pack was in the chin, if we

really just divide it in half, put a V shape, we knew that the clavicle is over here.

And from here to here, if we go in half way, we know that the chest cavity is going to
start, meaning that this is the back of the chest cavity, right?
Because obviously it's going to be on an angle.
And we will understand as to why that is when we move through that process.
So I'm just telling you as to why I did that when I went up everything as a reason to
its reality in figure drawing.
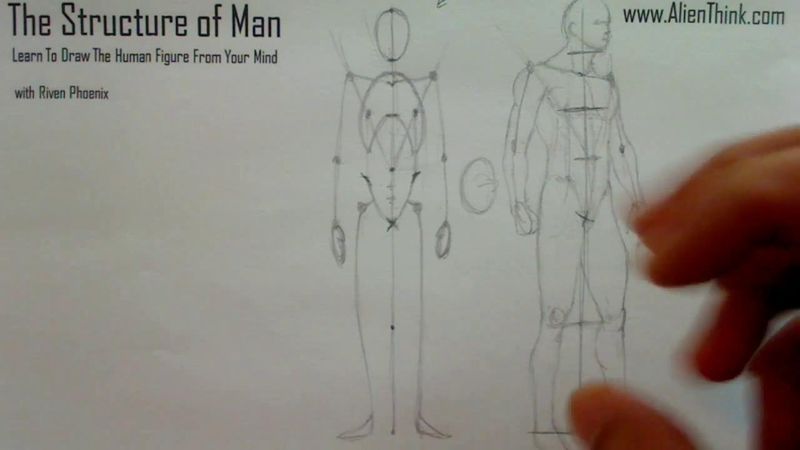
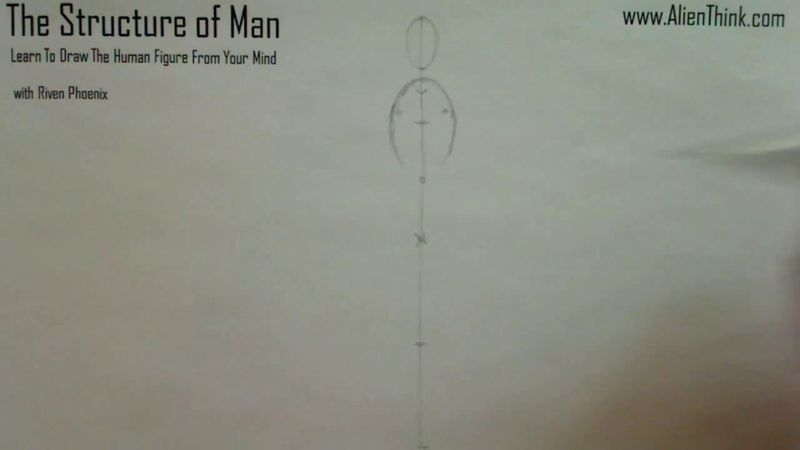
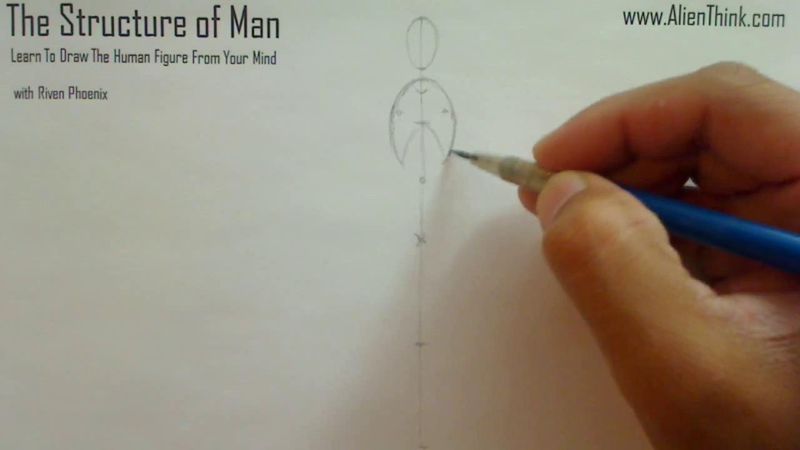
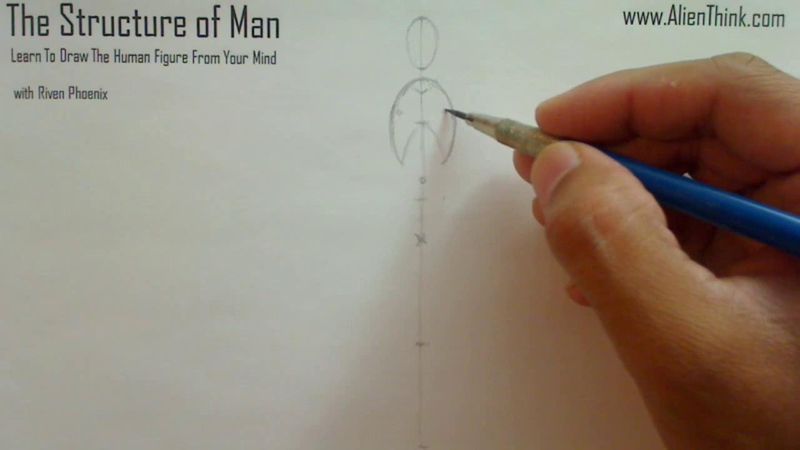
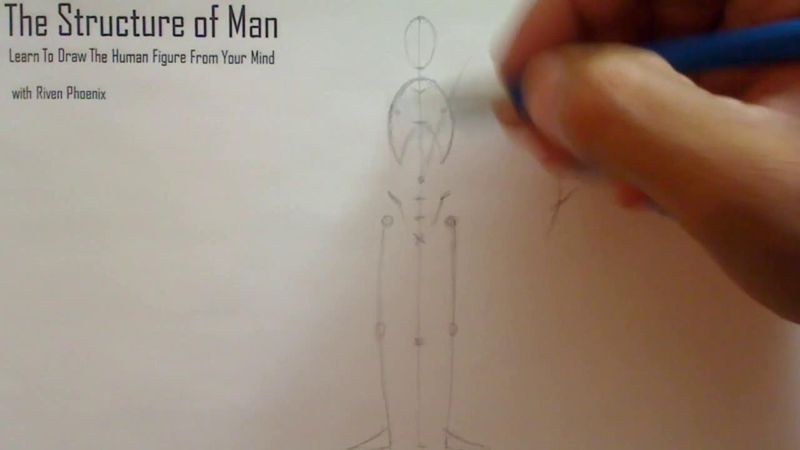
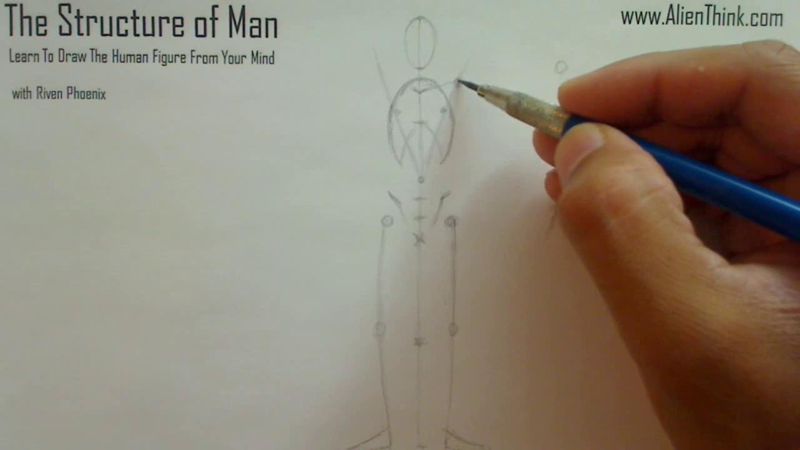
So once we have this, we can now just draw out like this ball shape nicely over here.
And we knew that the width of this is really the height of the head, meaning that this
is where the bottom of the pack is.
So if I did the nipples over here, meaning from here to here, it's the same thing as
here to here, it's the same thing as here to here, I just switched it.
So once I have the nipples, I know that obviously the chest cavity is going to be going around
like this.
Notice that I'm just being very sketchy about this now, right, because this is the power
of invention that allows us to do this.
So here's the naval area, here's the bottom of the pack muscles.
So if you really just divided this in half and came down one more, you would know that
it just goes like this, it curves up.
So this gives us a very basic idea of the chest cavity, right.
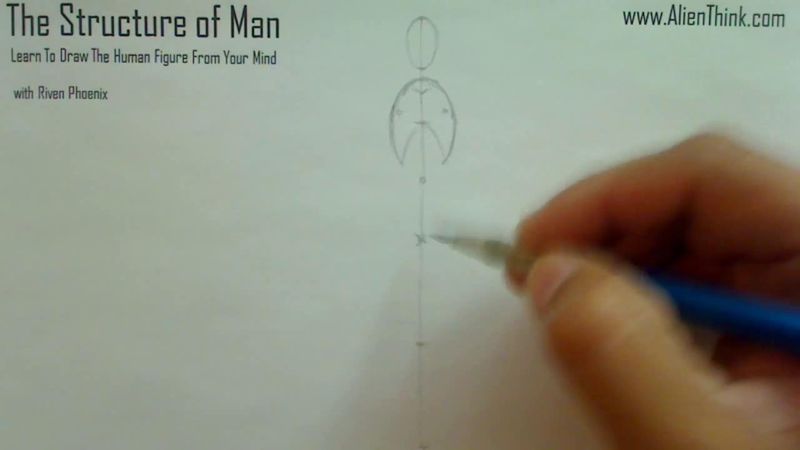
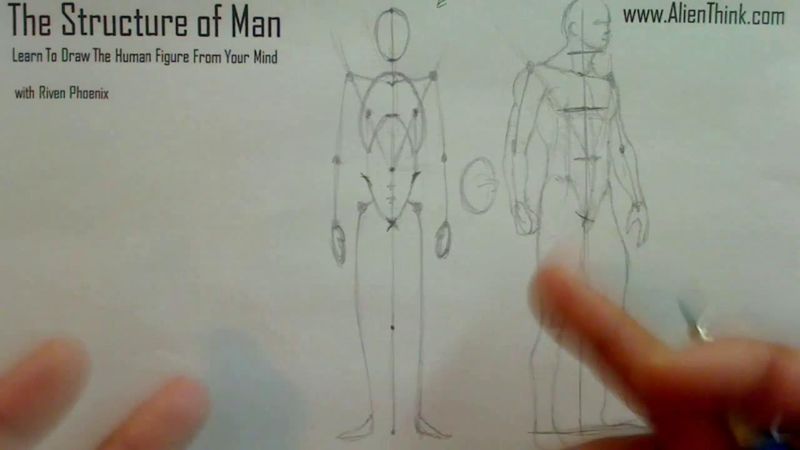
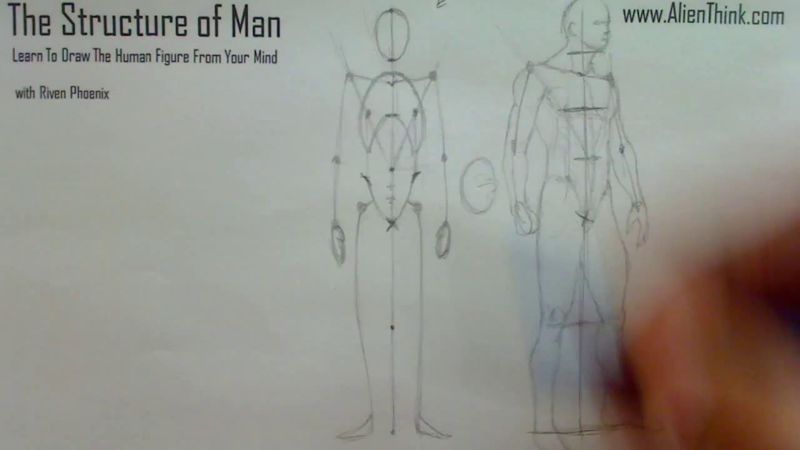
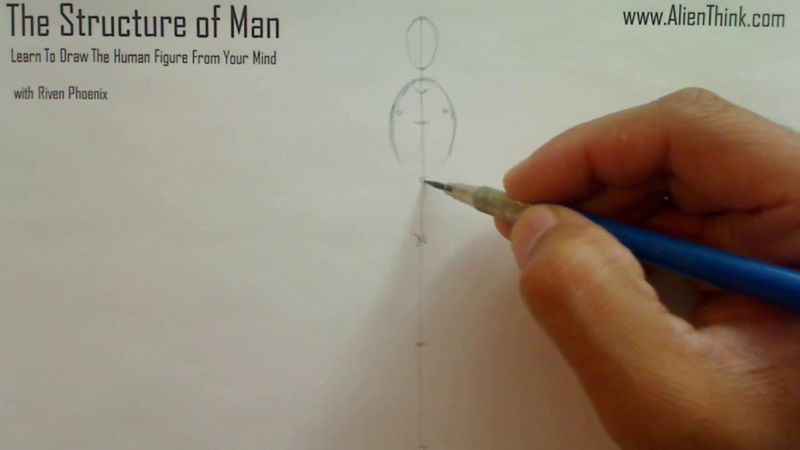
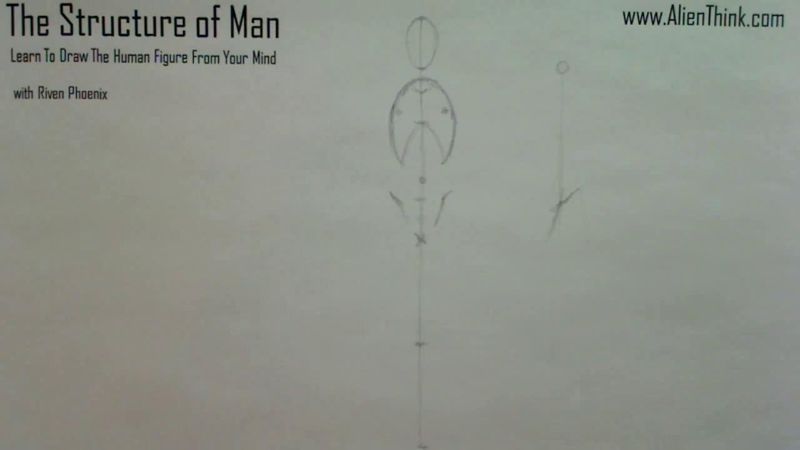
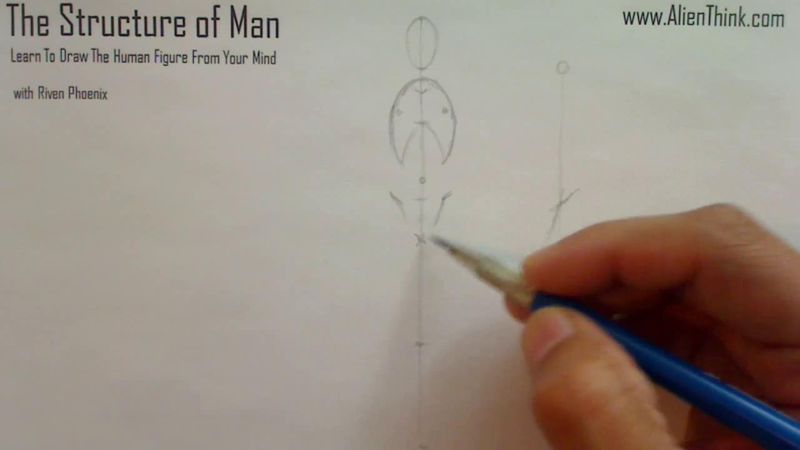
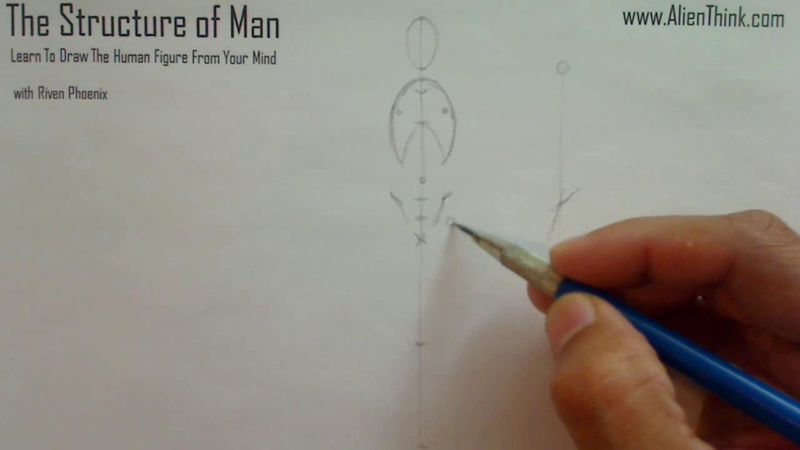
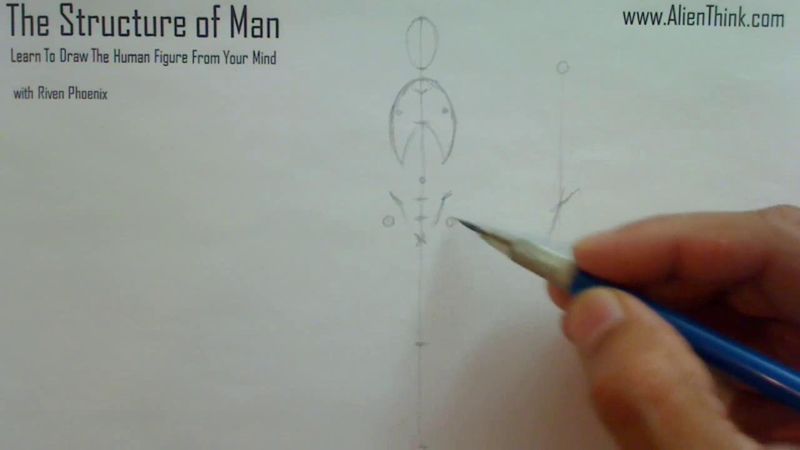
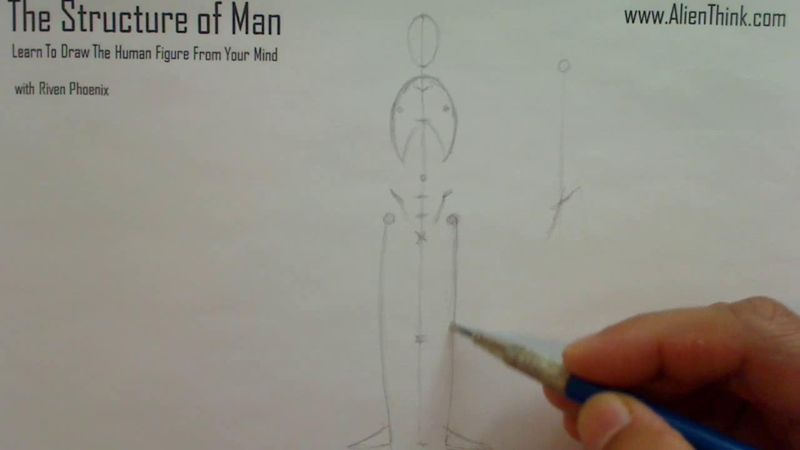
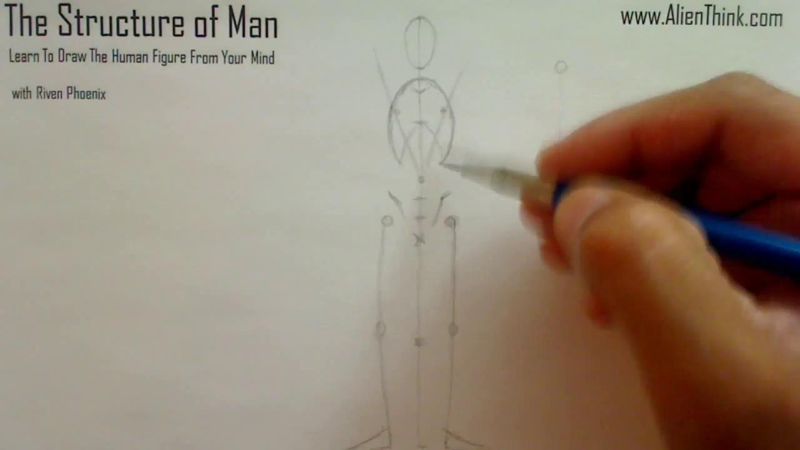
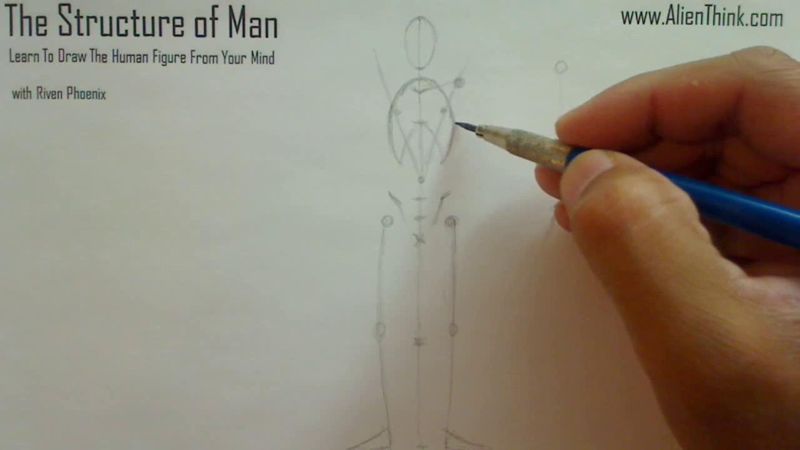
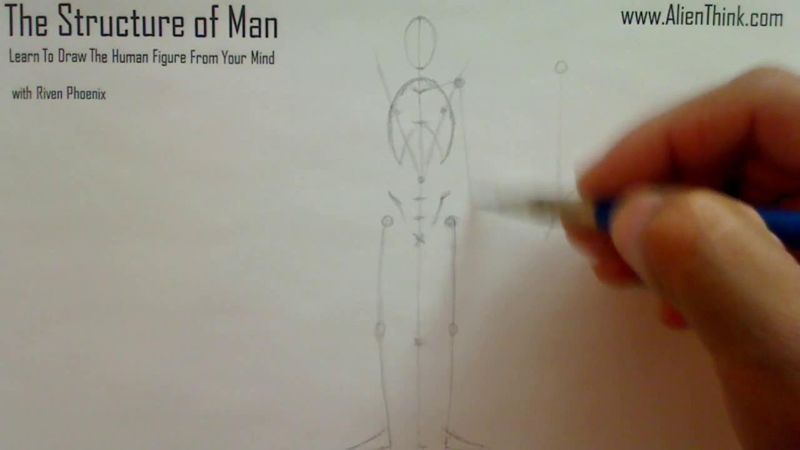
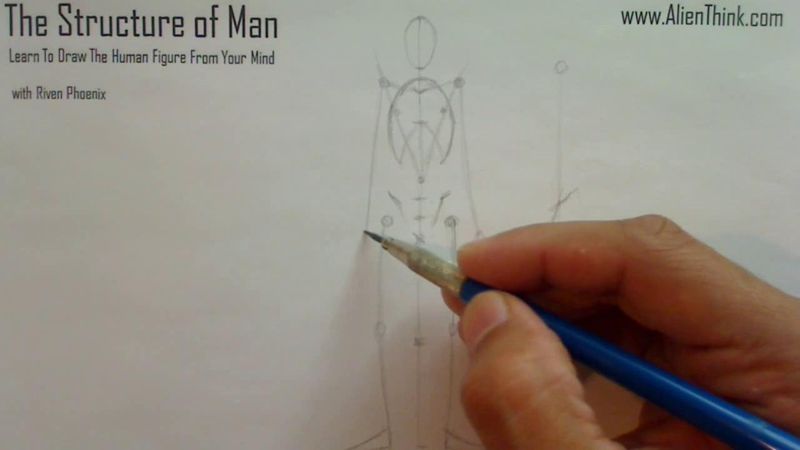
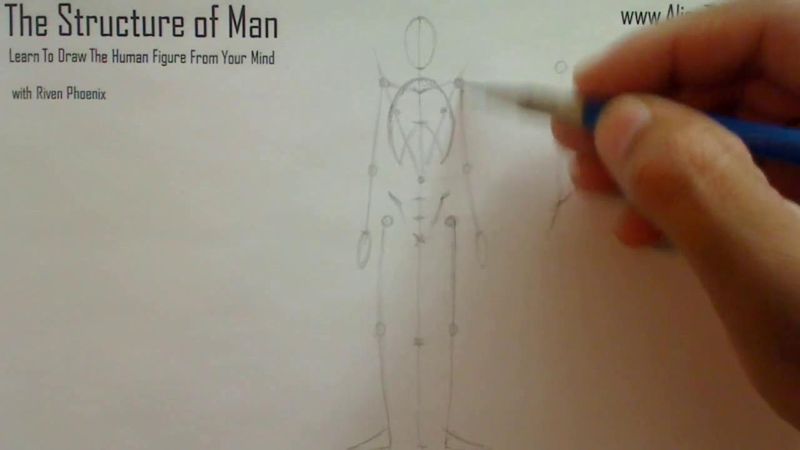
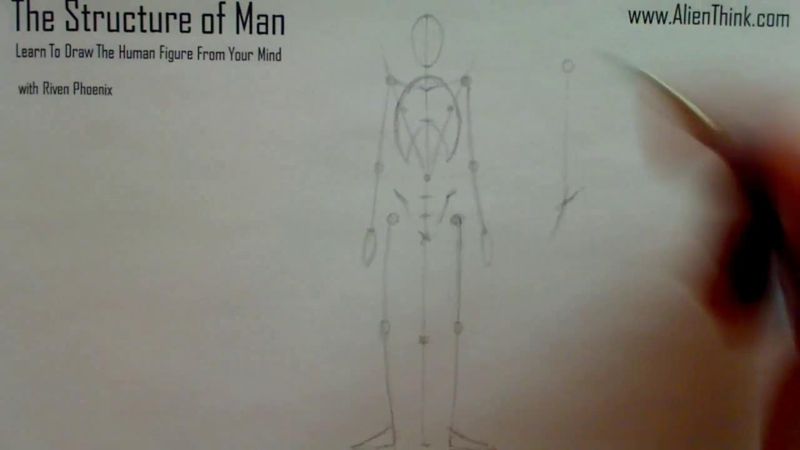
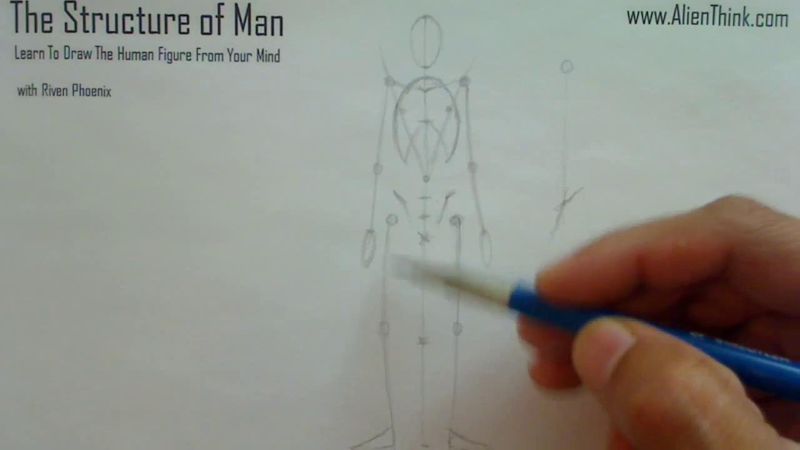
So once we have this, we wanted to now understand the pelvis area, and that is very simple.
We just took from the naval and from the crotch and really it's just dividing this section
in three different parts here.
Once you have this, you know that the love handle is going to be here, basically the point
of this.
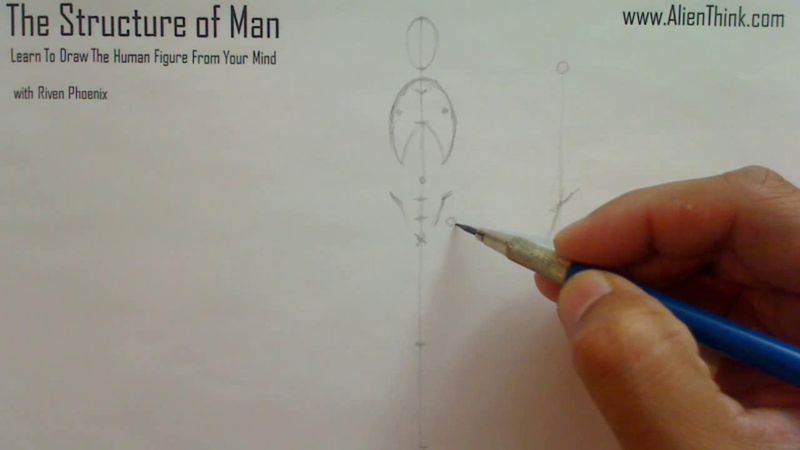
And where this nipple is, if we drew an imaginary line, we'll get this junction in here and
it would go like this, right, so you can just eyeball that.
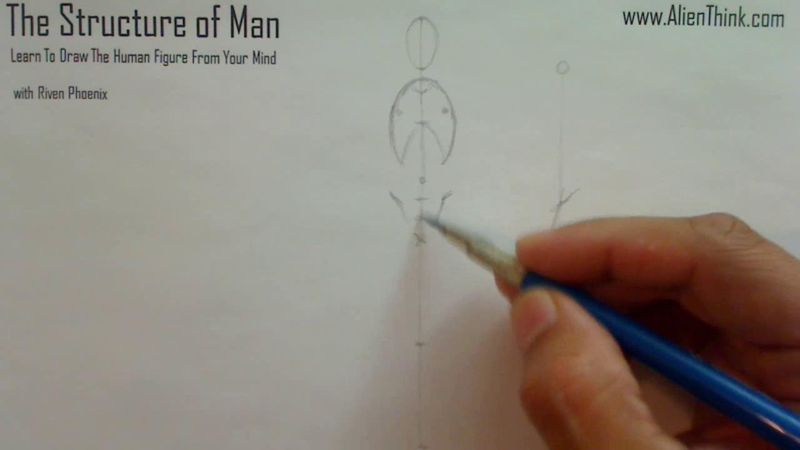
So let me explain this in a little more detail, what happened here.
See this, this is the nipple area here, this is the imaginary line going down in this area
here.
If I had to magnify what happened here, is that when I took that line down, I just picked
the point here, over here, and it went like this and this, right, it's a junction.
So this is where your love handle is going to be, your love handle is going to be here,
this is the area for the crotch going, this is where your leg is going to be, right.
So over here, I'm just going to do it this way, just be artistic about it.
And you'll see that as we move through these lessons that we will clean up this understanding,
like these are like these fuzzy areas in the mind that doesn't completely understand
and that's okay because we don't want to give it too much information.
We have to help that understand us to why things are the way they are.
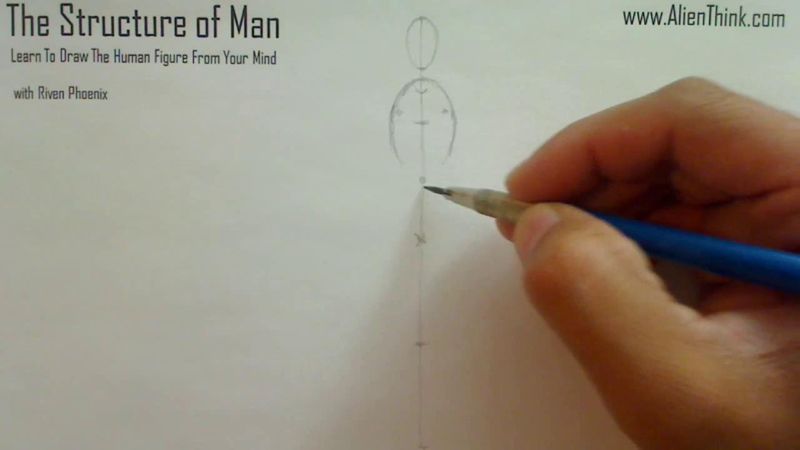
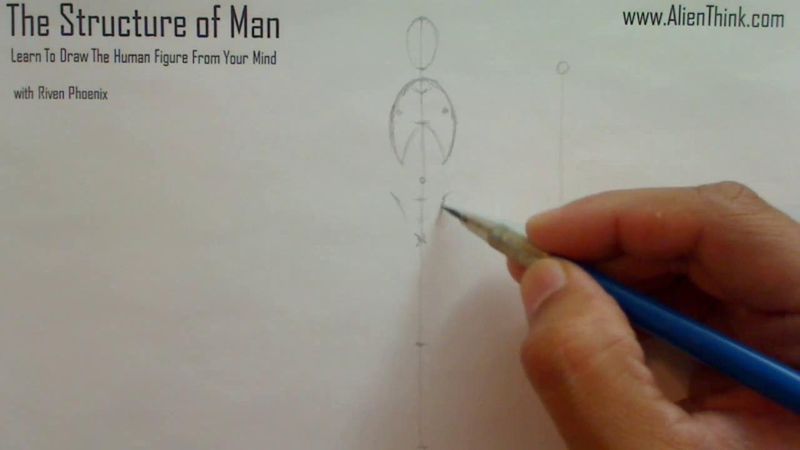
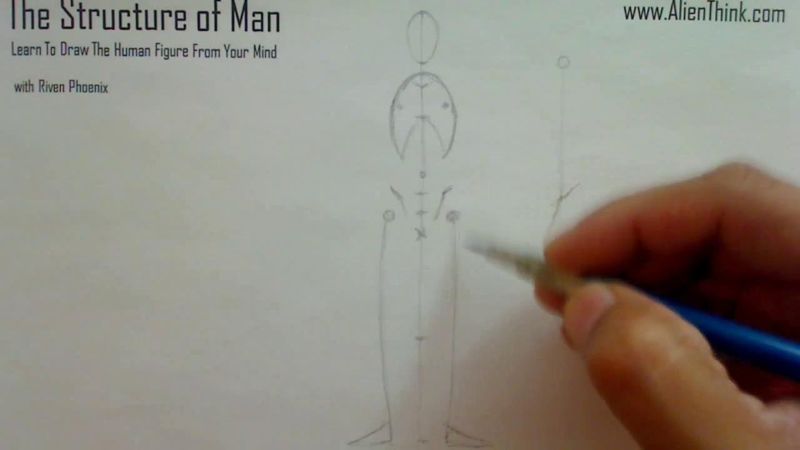
So once we have this, we then you, okay, well, where we had divided this, where we had
really just eyeball this, that this was divided in three different sections, one, two,
and three.
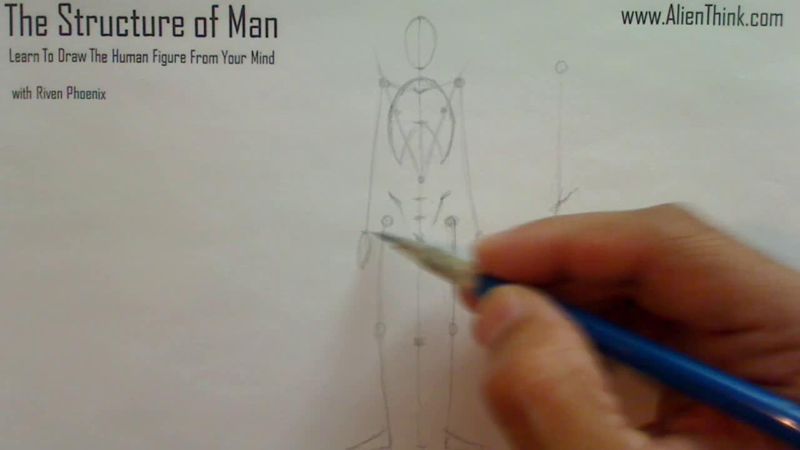
It's really this guy here where we can just put the ball joint here, meaning that this
ball joint really should be where this, see this chest cavity is, and just a little
onto the right of this.
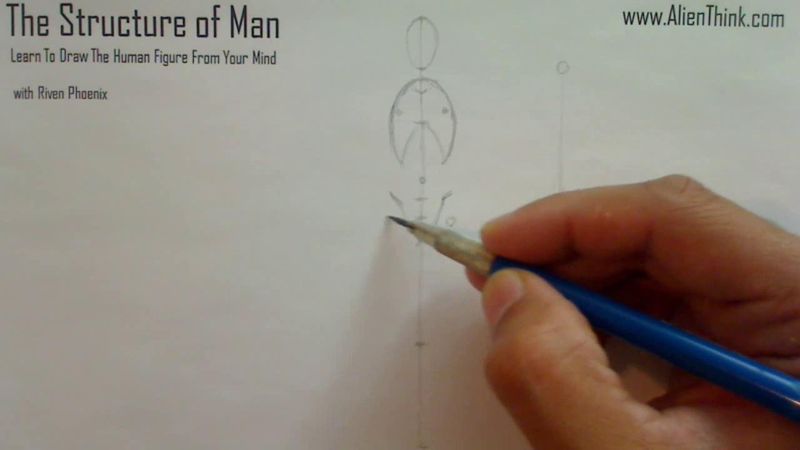
And this will, this is for the male, right, we're working on the male right now.
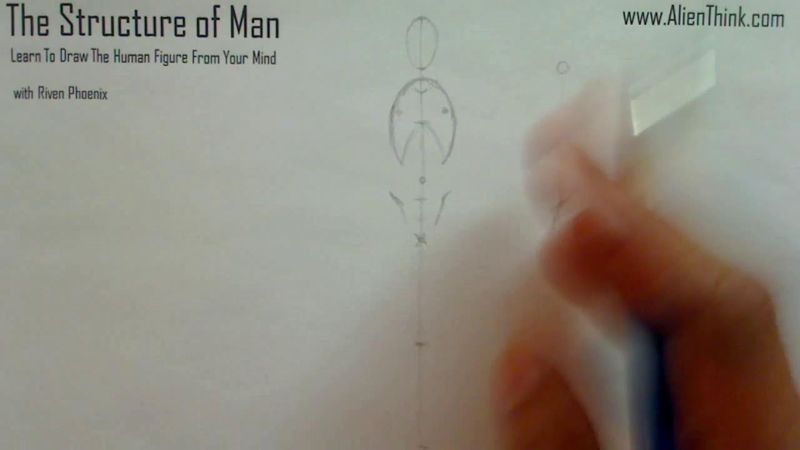
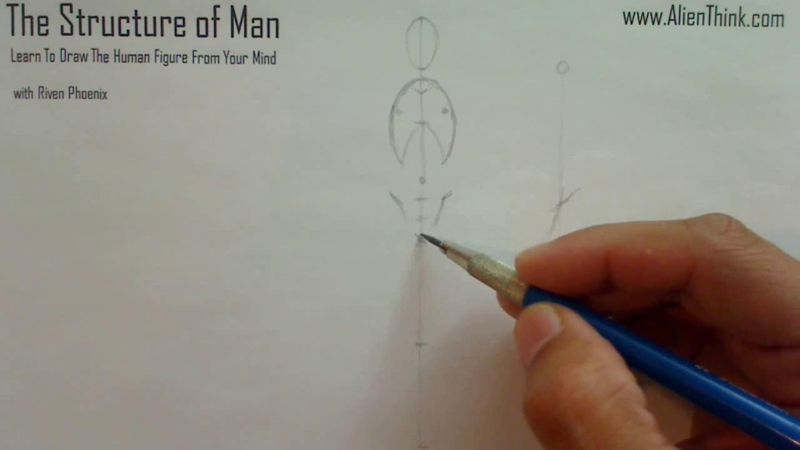
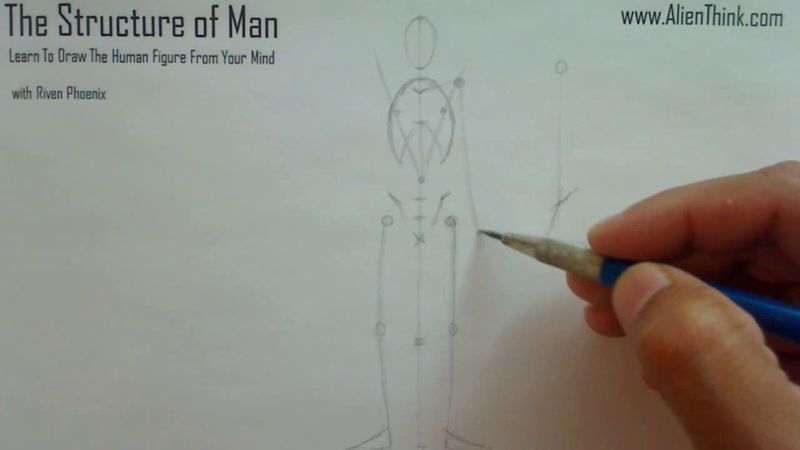
So once we have the ball joints here for the legs, we really can just put down a line
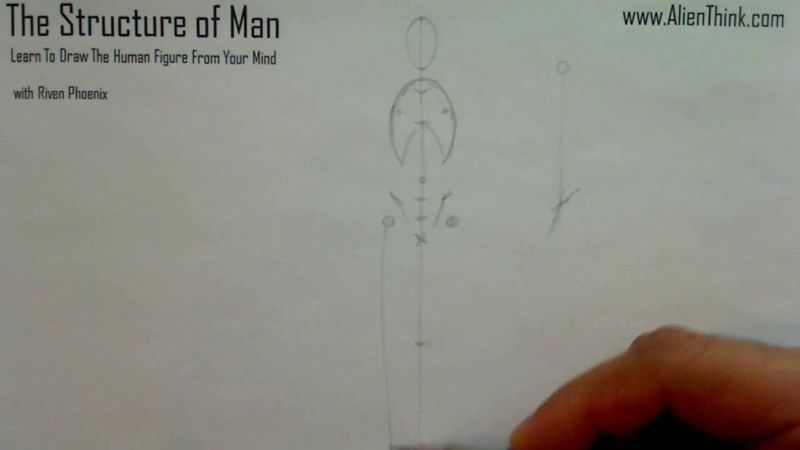
here for, let's say this leg over here and for the foot, we just did it like this.
In this way, we didn't have to get into too much detail because we don't want to right
now.
But we're deciding how to learn, right?

So here's the, let's say the other leg I can just put like this and for this one, I'm
just going to make the foot like this very simple, right?
As we move through this course, everything will become much more real and with a better
understanding of it.
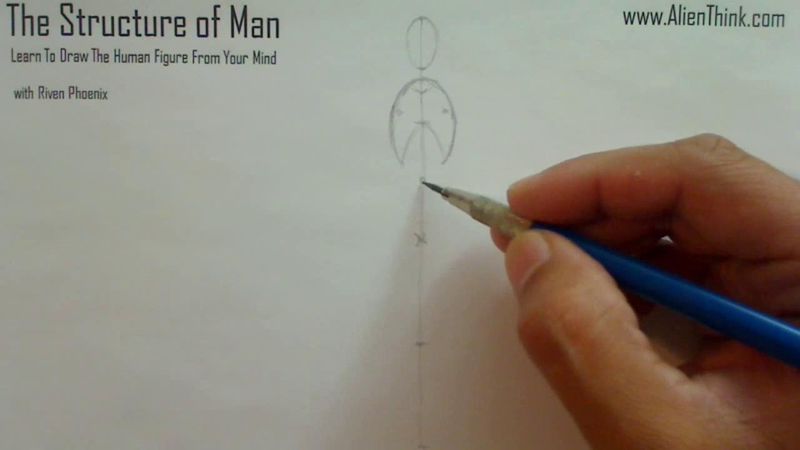
So here where the division was for the area for the knee, we just need to make sure that
the knee should be above this line.
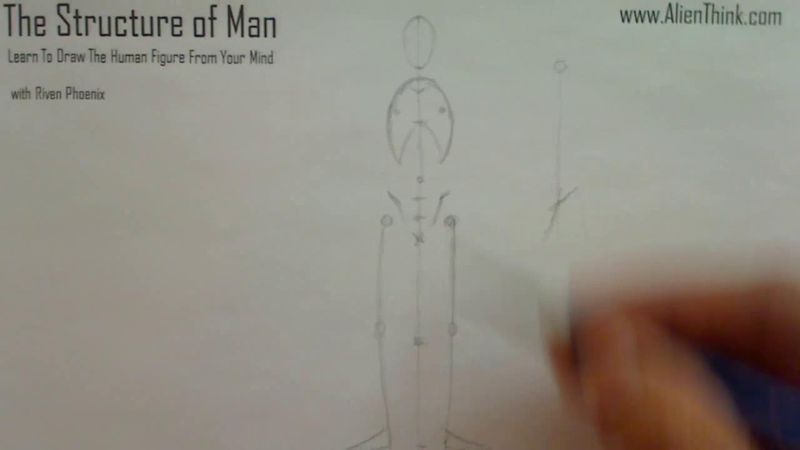
And this will give us a basic under the most basic concept of the figure, right?
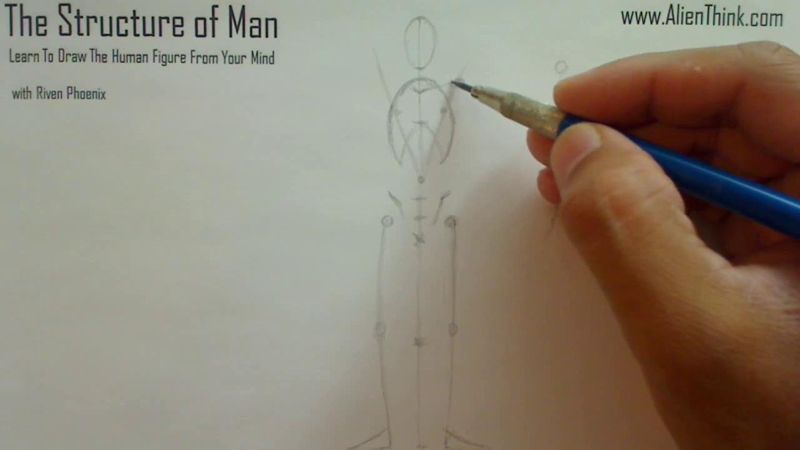
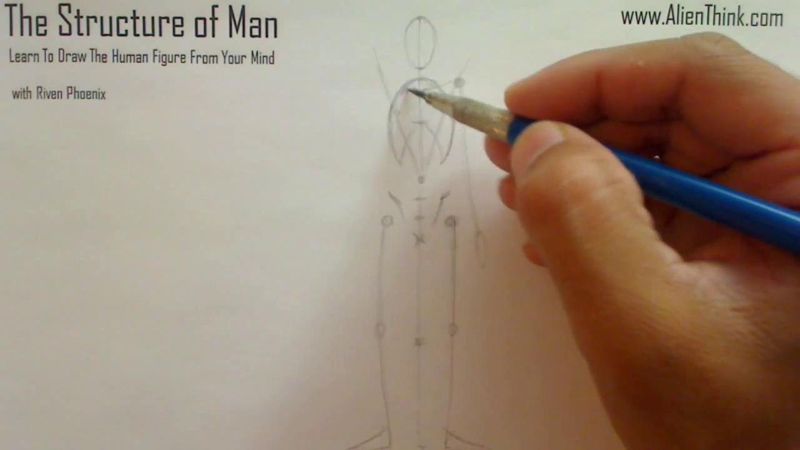
So once we have this where the navel was and the, and the navel, we can just draw like
this line here, right?
For now, I just want you to draw this line, but usually you, as you go through this
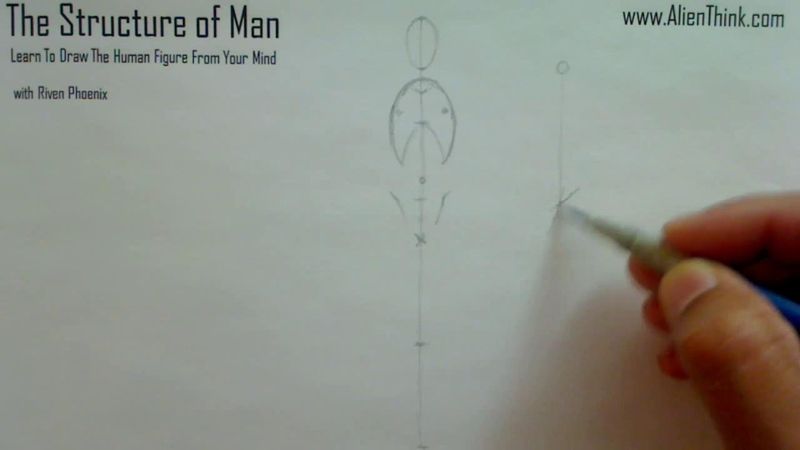
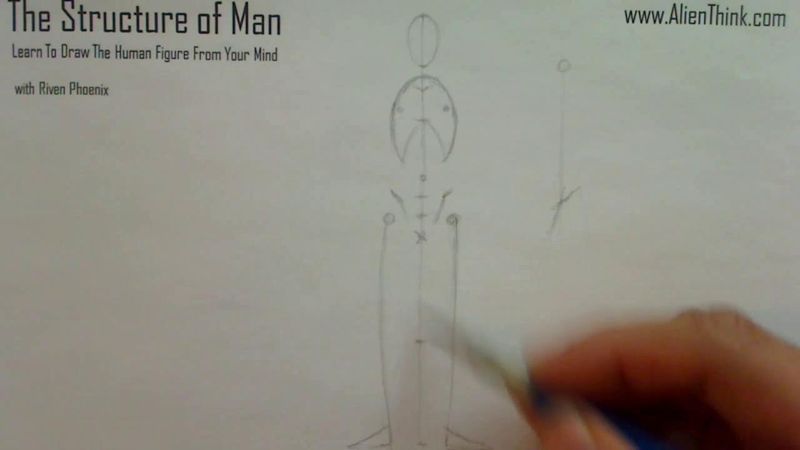
process, you'll be able to just eyeball it where the clavicle was.
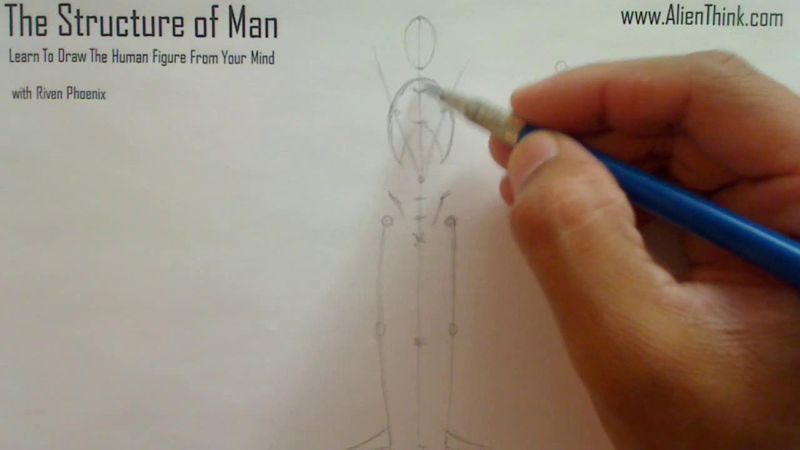
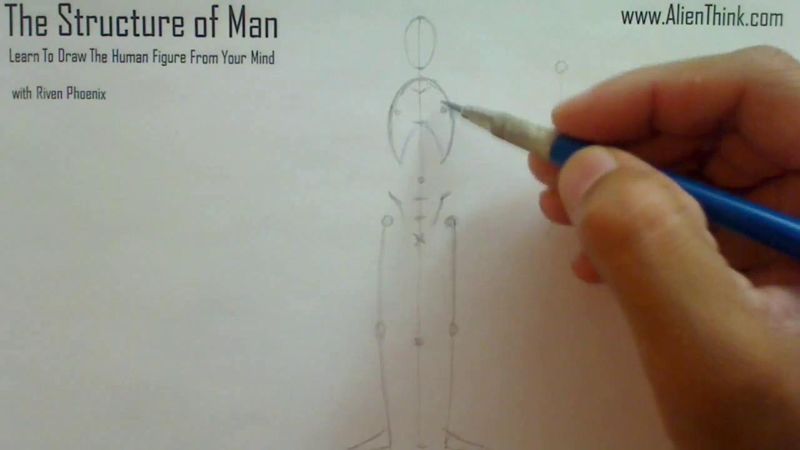
We had decided that where this top is and this is really just needs to be in the middle,
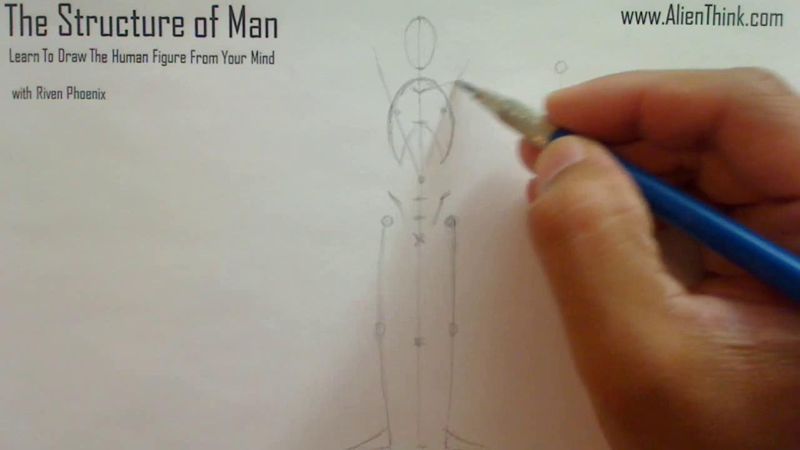
going like this and we get the ball joint.
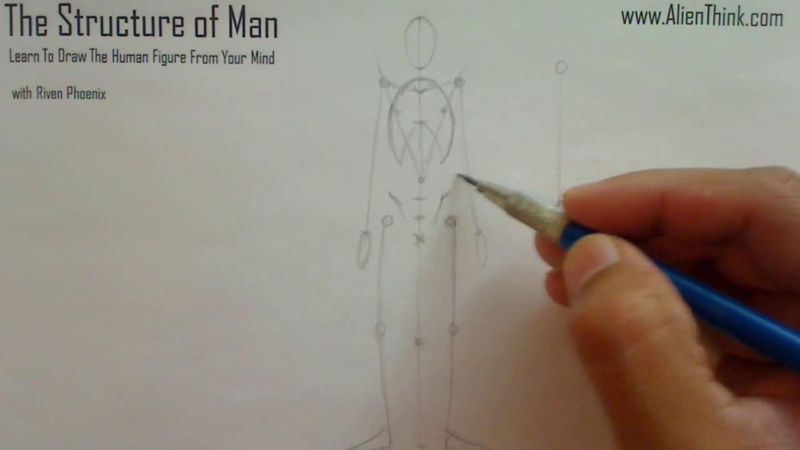
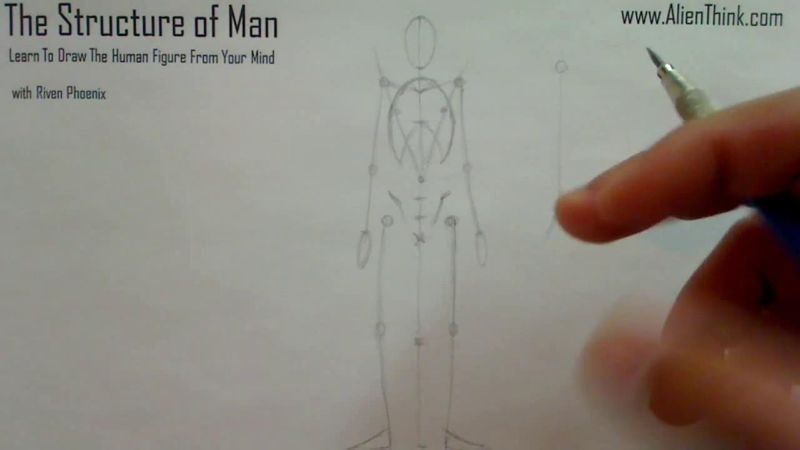
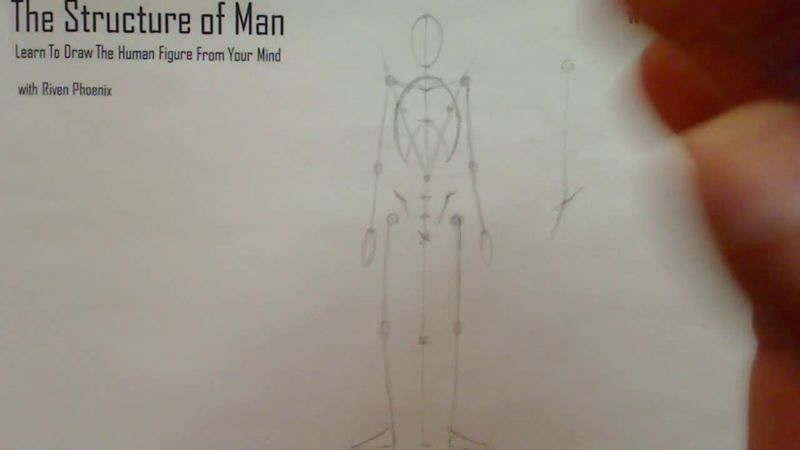
So we have to make sure two things here.
One is that we got to make sure that this ball joint here, which is clavicle and this
is going to be pretty much in the middle over here, right?
It's just approximate.

Obviously, this can move up and down, but we're just going to do it like this.
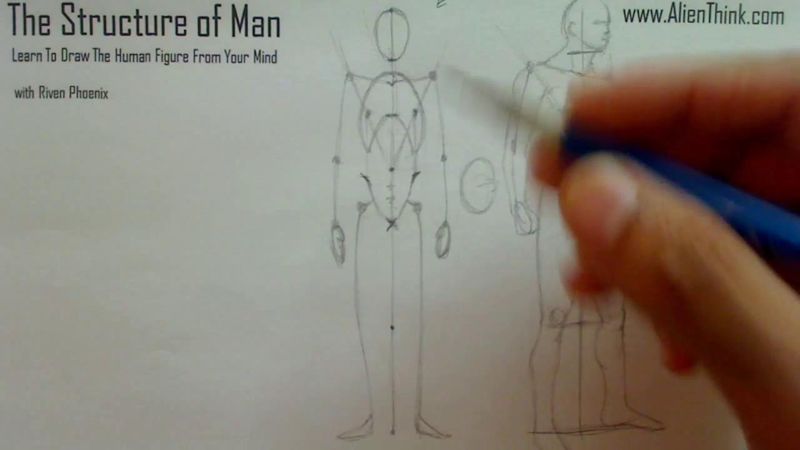
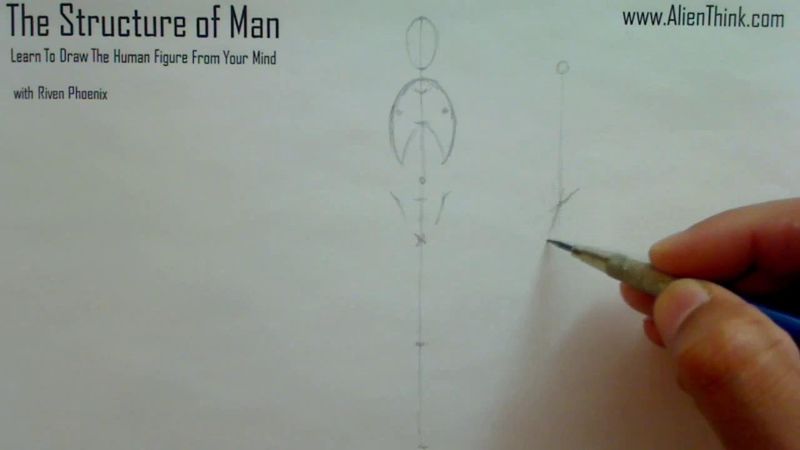
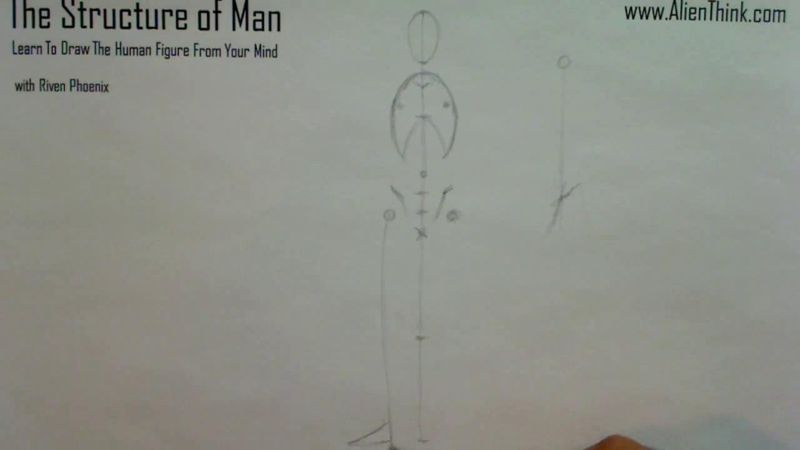
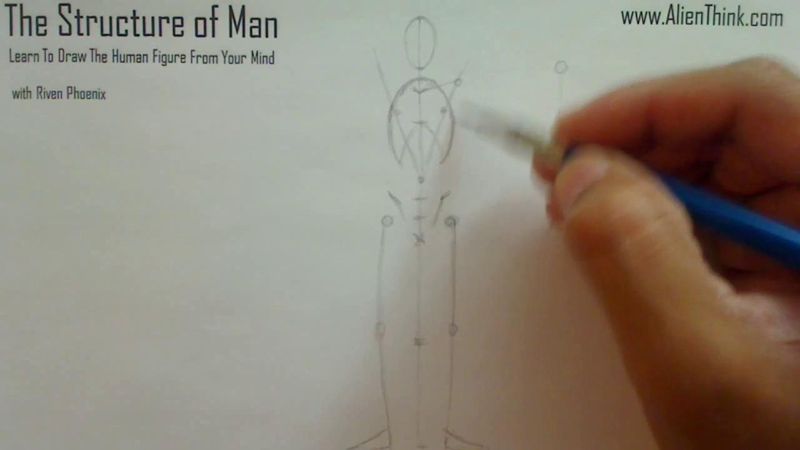
And when we make this joint over here, we need to make sure that this thing does not collide
at all with this.
So I can't put it here because it will collide here.
We need to give it here, put it here.
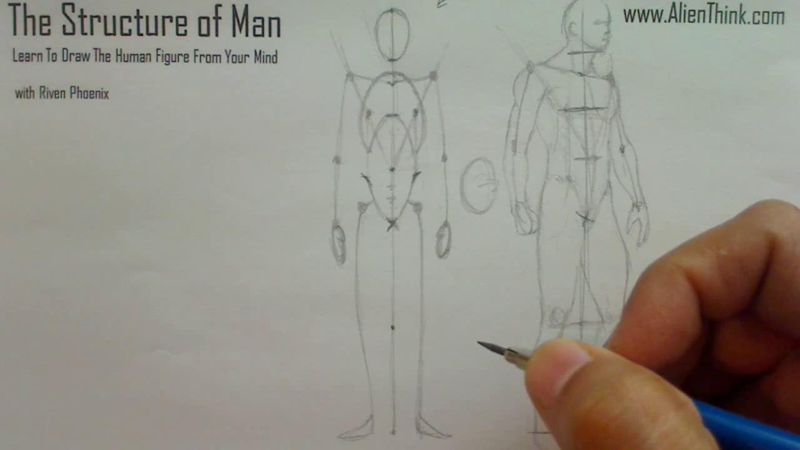
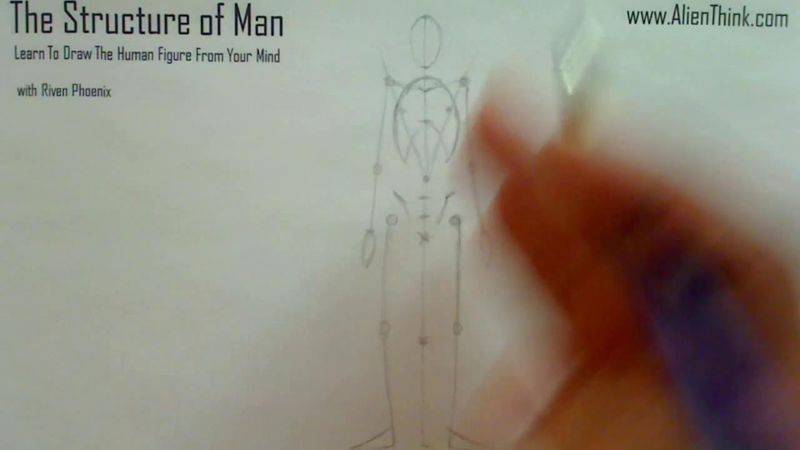
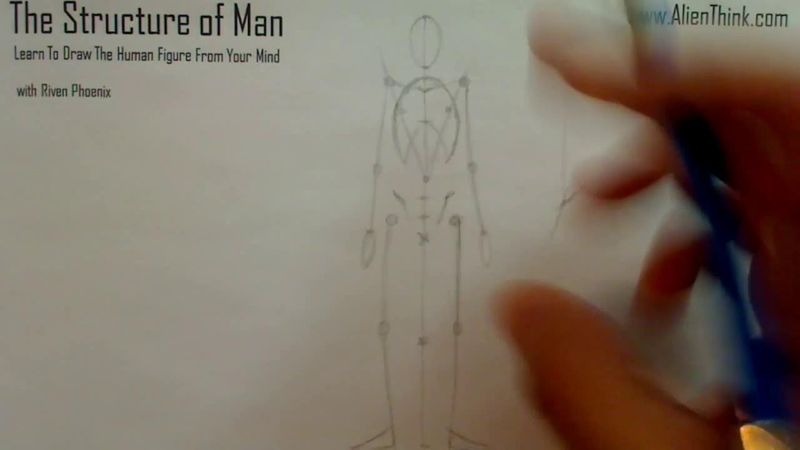
So when we make the arm like this and we stop it here at the wrist where this is, right?
This is where the arm is, it's just going to be flowing, right?
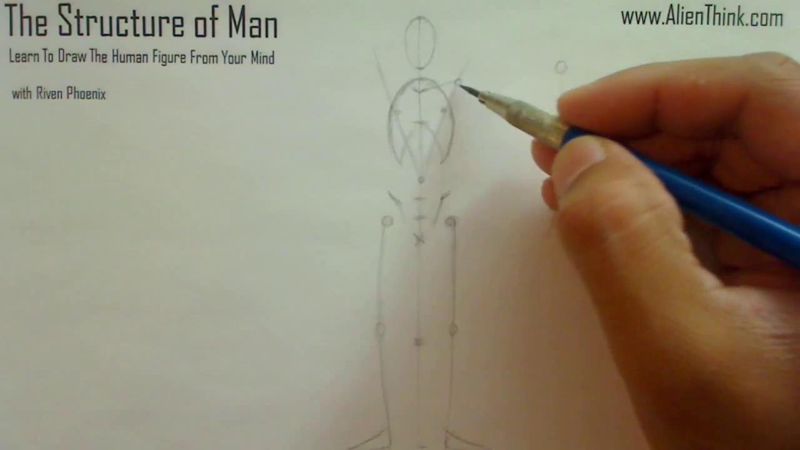
So we can do the same thing here again for this guy over here and here when I draw out
the hand like this, the whole arm, I know where the, where the crotch is.
I'm just going to cut it off here that this is where the hand is going to be, right?
So the wrist is based on the location for where the crotch is and where the naval is.
If you do it like a pendulum, you know that the elbows are basically going to be just
like this, right?
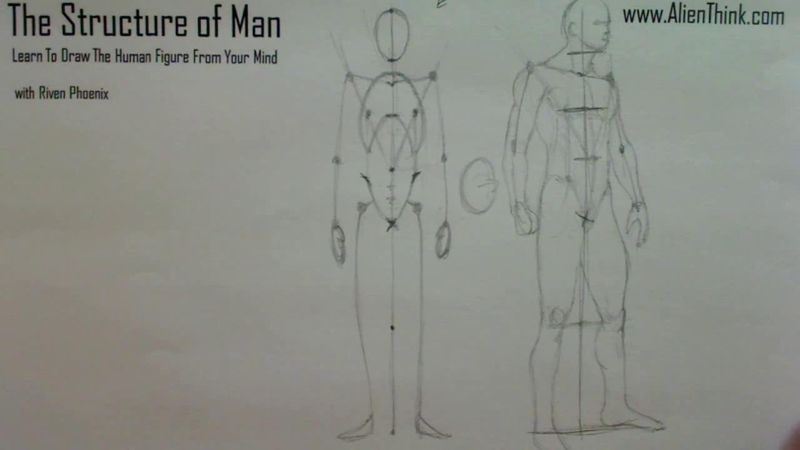
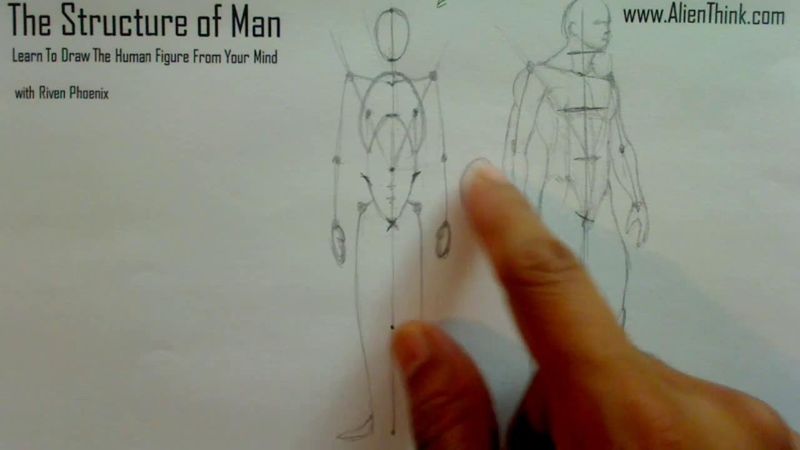
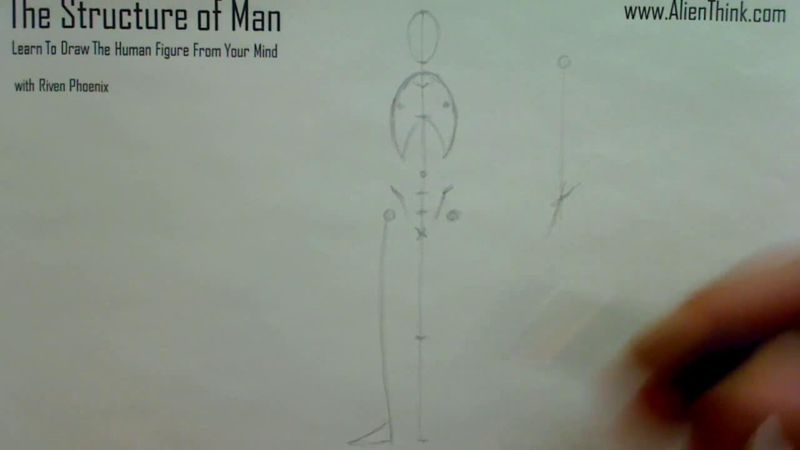
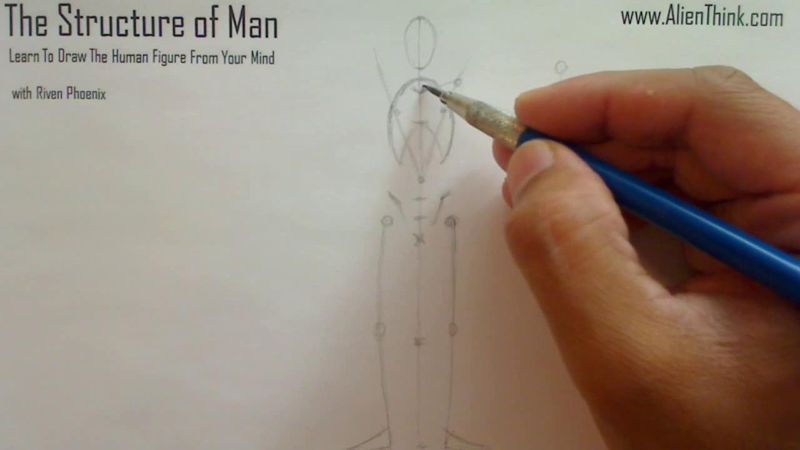
So here we've proven onto paper that yes, the, the concept of invention, it is truly
powerful because we will able to very rapidly create our own toolkit of understanding the
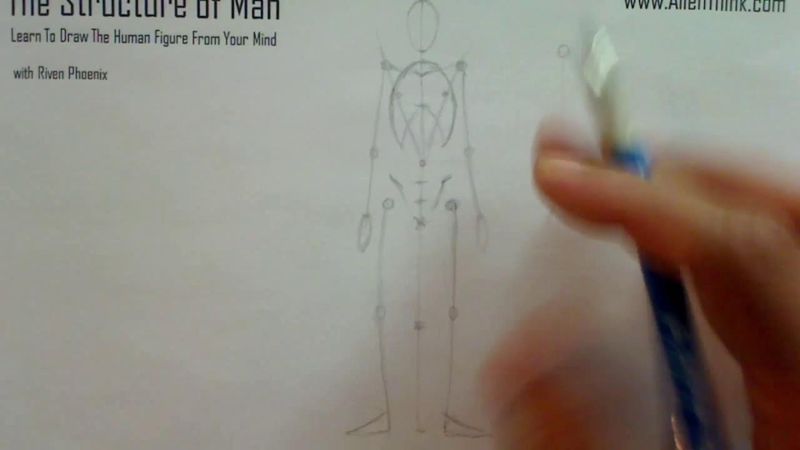
basic core structure of the figure.
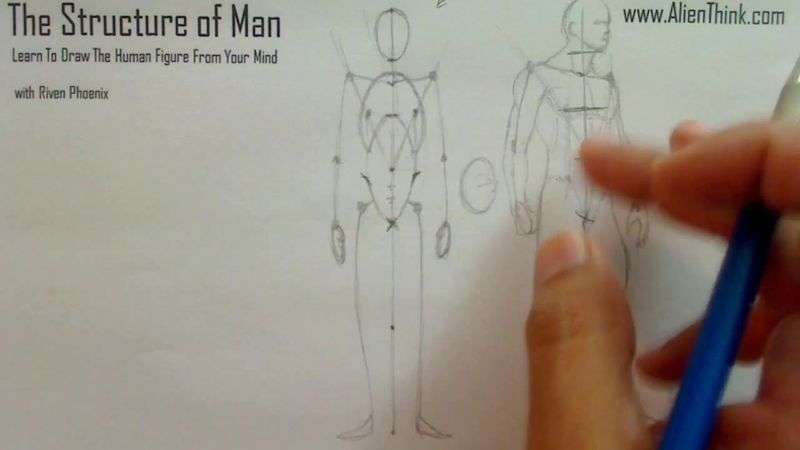
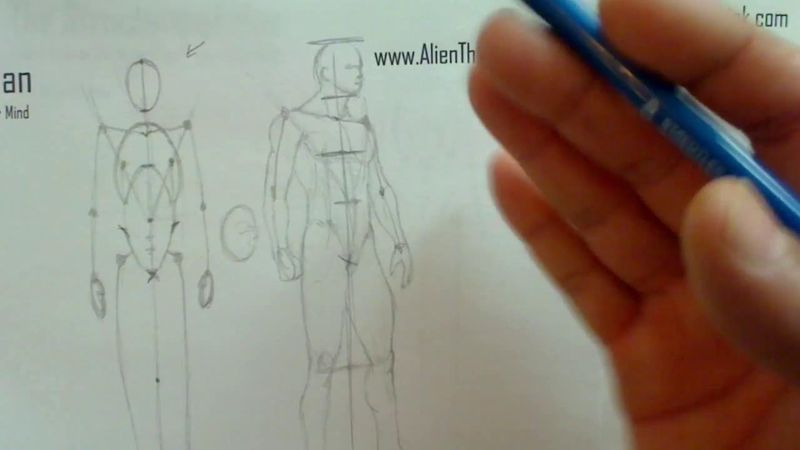
So in the next lesson, we'll move forward from this and start to look at the back view
of the figure, right?
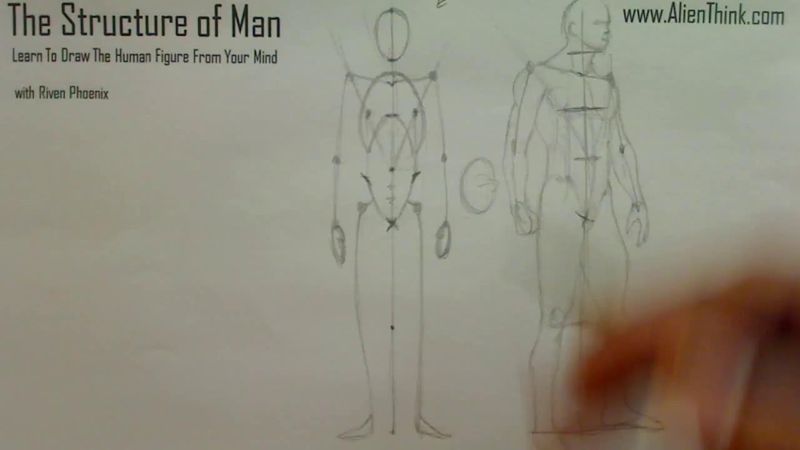
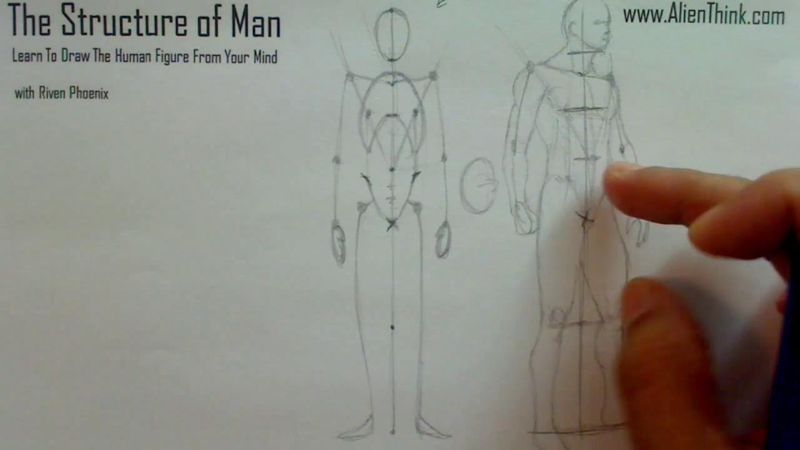
So you can clean up your drawings or what I strongly suggest is that all the drawings
that you do in this course is put them in a sketchbook, right?
And you will actually see in just a few lessons as to why this is going to be so important
for you, right?
So if you want to maybe tuck in this leg here or just make the much more solid lines,

you can do that, right?
The drawing should go through a drawing process, right, in phases.
Just like I showed you in the first lesson, when I drew out this figure, it went through
a process of drawing, right, stages.
So getting to the habit of understanding your process, once you've got this, this is
like a conceptual sketch, and then just clean it up a little bit.
Okay, so I will see you in the next lesson, thanks.