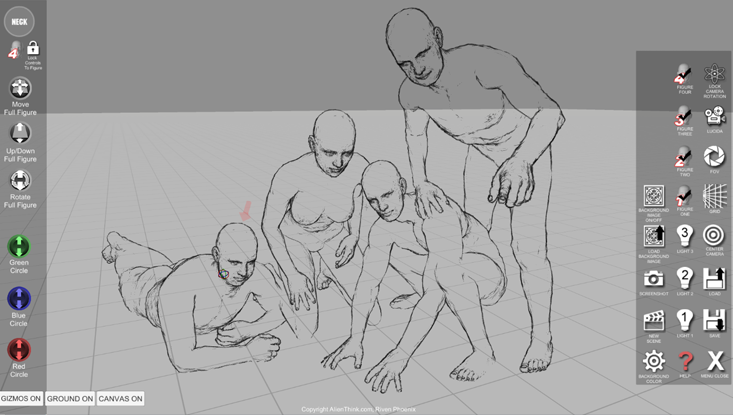
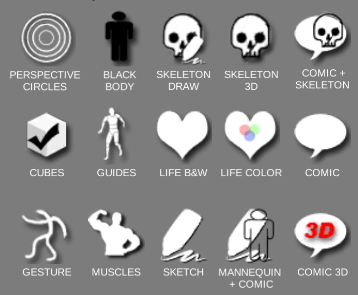
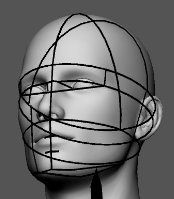
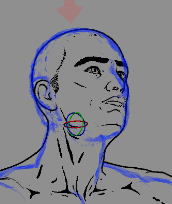
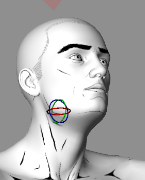
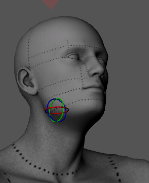
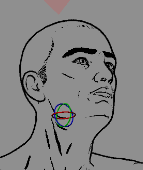
2D & 3D Sketching Modes
Switch seamlessly between 3D forms and 2D sketching guides. Visualize your character in sketch lines to help you draw on paper faster.

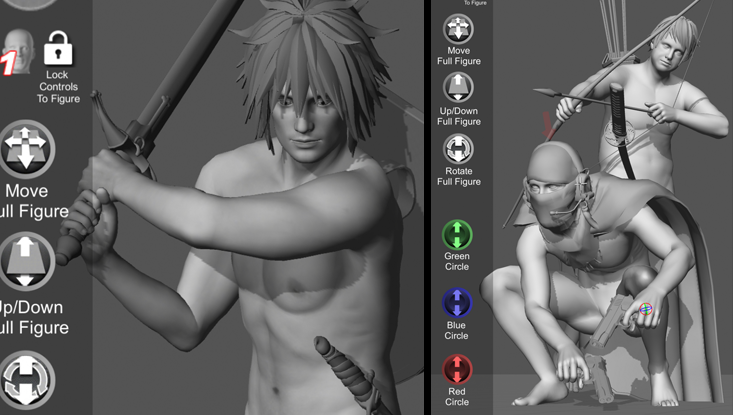
Weapons & Props
Attach swords, guns, and everyday objects to hands. The props move with the figure, allowing for complex action scenes.
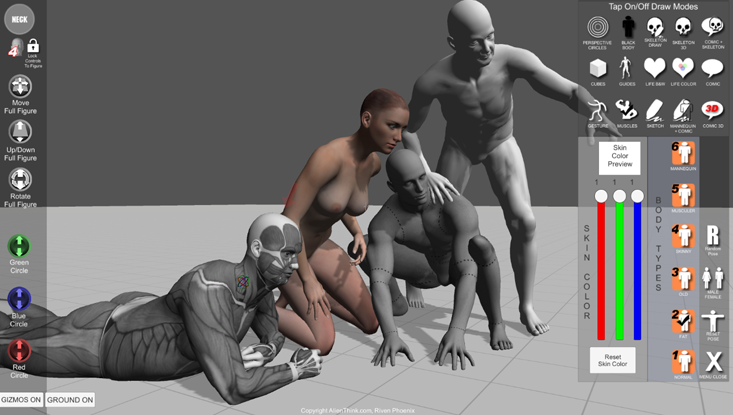
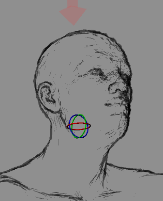
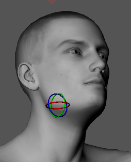
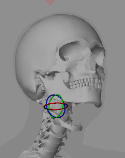
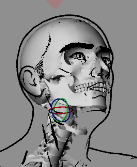
Anatomical Muscle Maps
See exactly how muscles wrap around the body. Perfect for anatomy study and realistic shading.
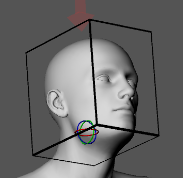
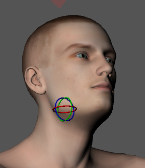
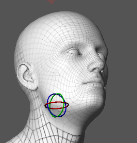
Export to OBJ
Take your pose into Blender, ZBrush, or Maya. Export the 3D mesh to continue your sculpting workflow.